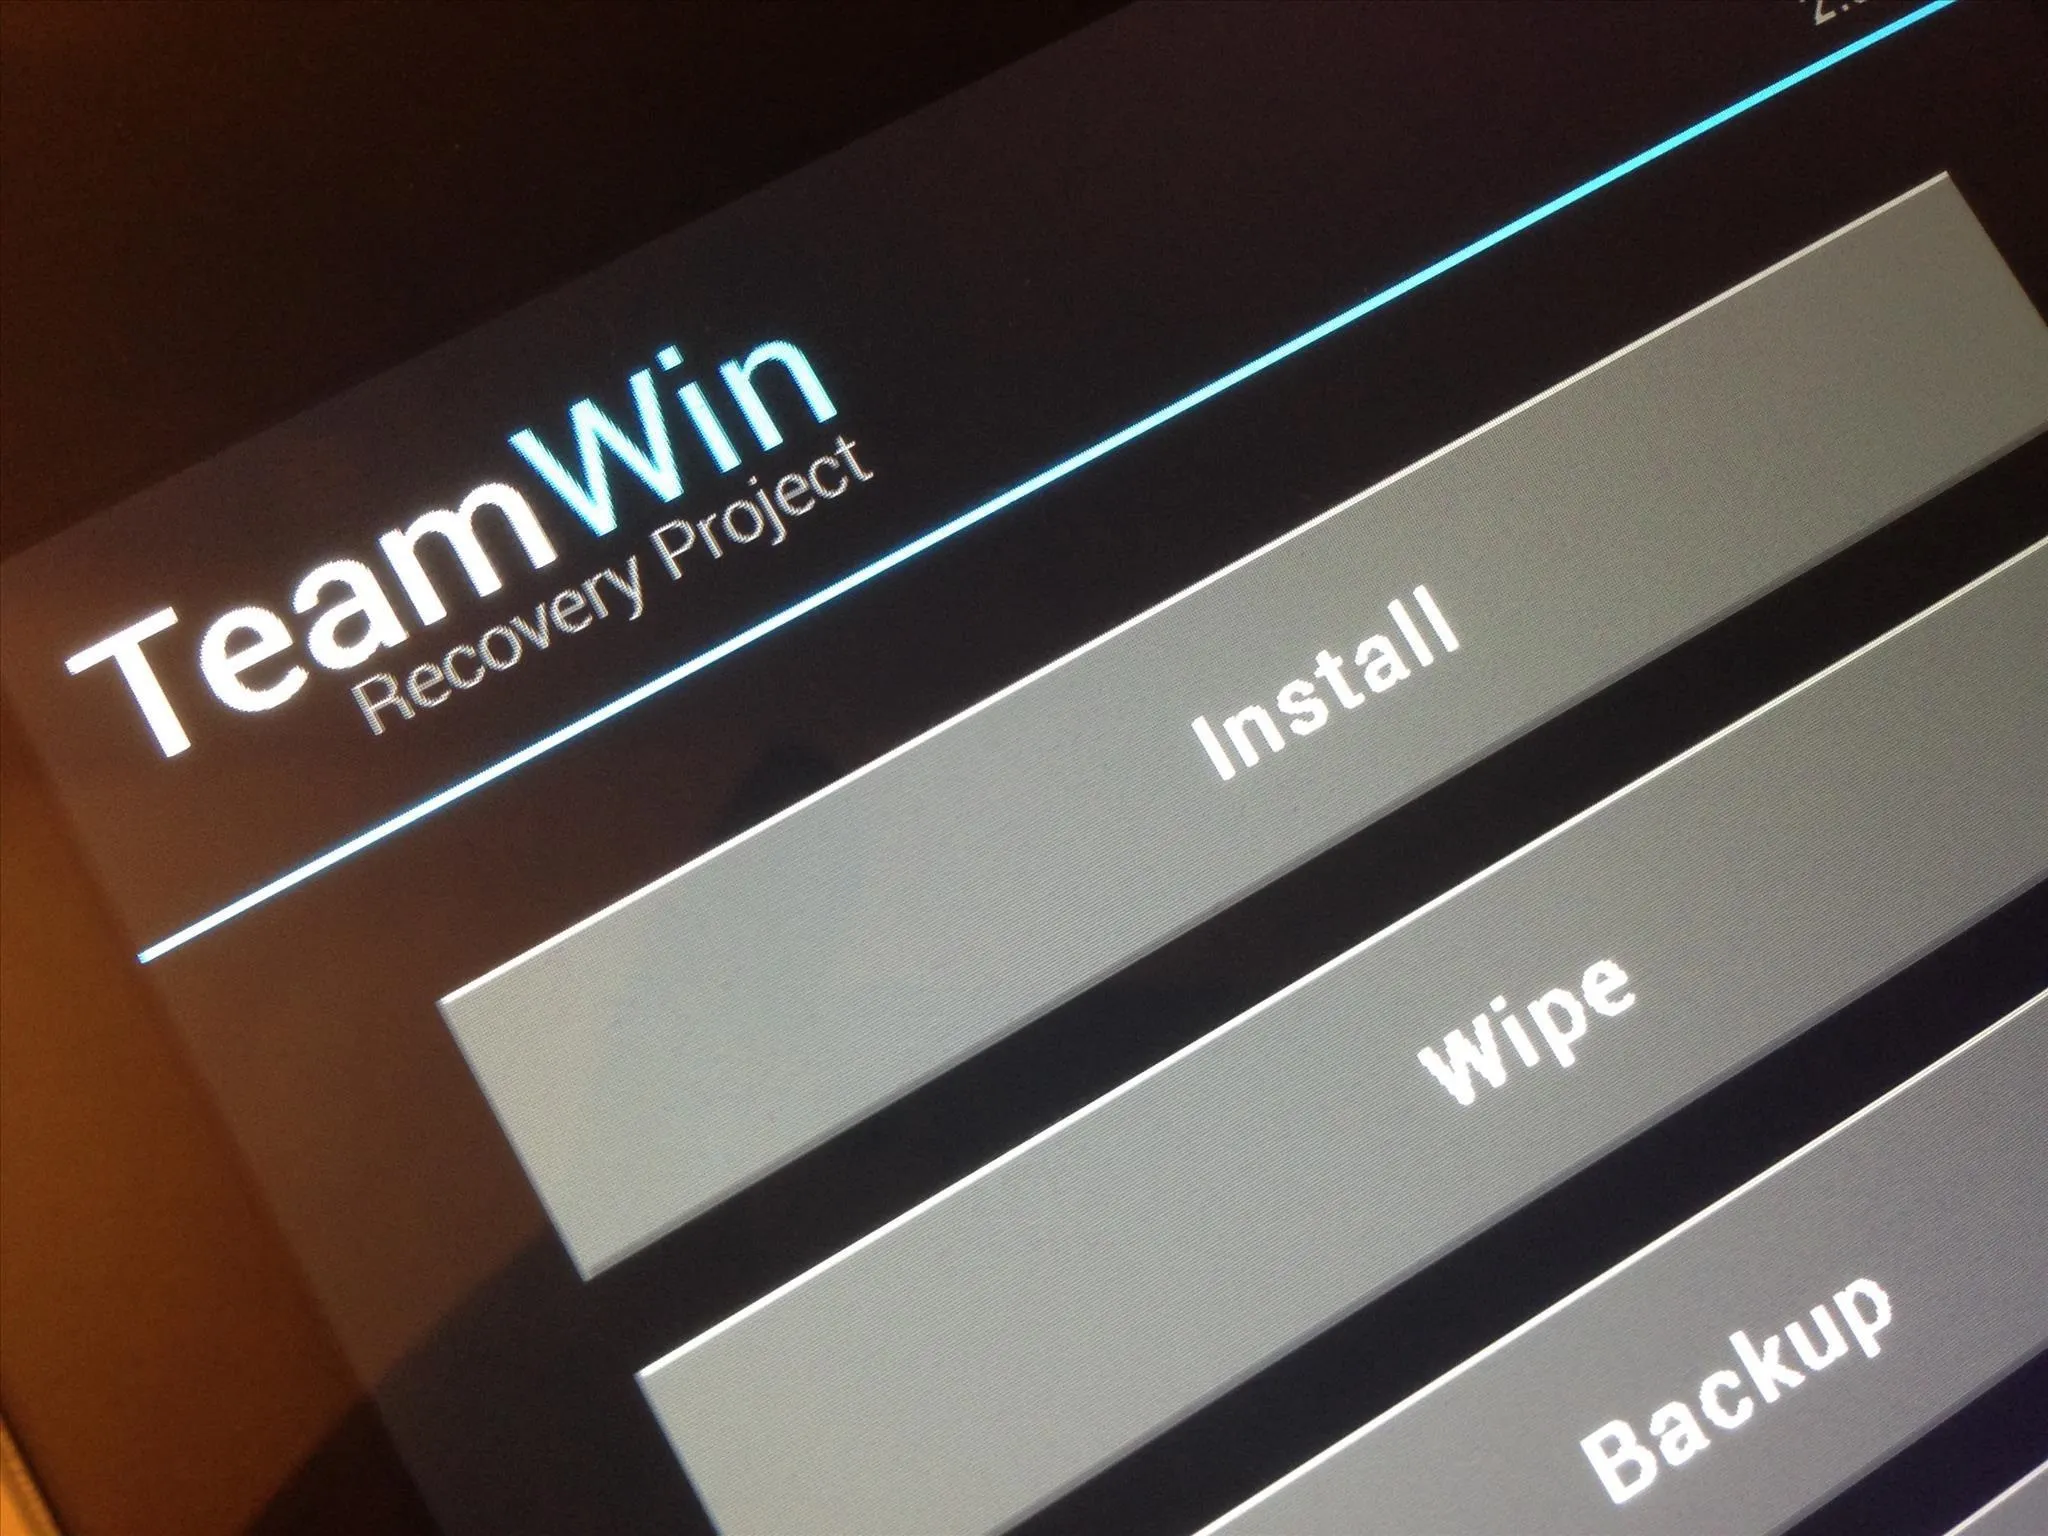
If MacGyver had a Nexus 7, he'd most definitely have TWRP installed. It's the softModder's Swiss Army knife for all things modding. You can flash custom ROMs, install add-ons, recover from a disaster, and much more.
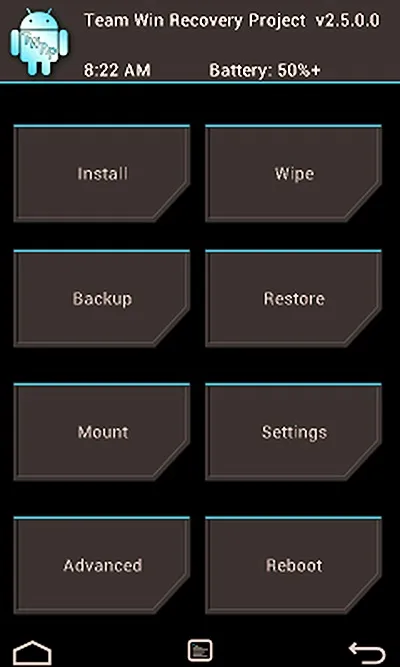
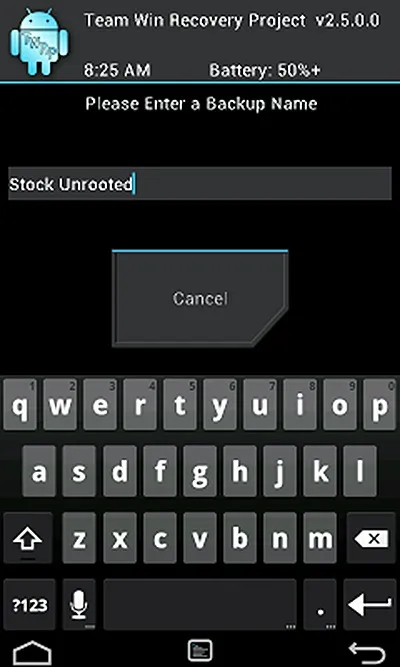
But even with a wide array of modding features, TWRP, which stands for Team Win Recovery Project, falls short in the UI category. Its buttons are ugly, fonts are jagged, and it downright looks out of place compared to the rest of Android Jelly Bean.


If you ask me, TWRP needs a serious UI overhaul. So today, I'm going to show you how to make TWRP look less like the Windows command line and get the clean slick look of Jelly Bean. Let's jump right in and begin!
Step 1: Make Sure You Have TWRP Installed
Before you can theme TWRP, you need to make sure you actually have TWRP installed. If you don't have it, check out my guide on rooting or my article on Recovery Tools to install TWRP on your Nexus 7.
Step 2: Download and Install TWRP Holo Theme
Many may not be aware of this, but TWRP is highly customizable. Free skins and themes created by the dev community can dramatically change the look of TWRP.
We'll be using the TWRP Holo Theme by XDA member z31s1g to make TWRP look like the rest of Android. This skin in particular was originally made for the HTC One X by XDA member thecoby, but it's now been ported for use on our Nexus 7s.
Either download the Dark theme here or the Light theme here.
Step 3: Installing the Holo Theme
- Rename the file name to to "ui.zip".
- On your SD card, open the TWRP folder and create a folder called "theme".
- Copy "ui.zip" into the "theme" folder.
- Restart your Nexus 7 in TWRP and enjoy!

That's it! Now TWRP will match the look of Android Jelly Bean.
Be sure to check out other free themes over here on this XDA thread if you want more customization options. Give it a try and tell us if it worked for you!


Comments
No Comments Exist
Be the first, drop a comment!