Android is constantly being refined, and the tools used to root and install custom recoveries are no exception. Earlier methods to root and install custom recoveries were very long and complicated. Any misstep along the way and you can end up with a bricked tablet.
That's the risk many would-be softModders make on their first trek into modding territory. Luckily, the process is much easier now, and only requires one click of the mouse!
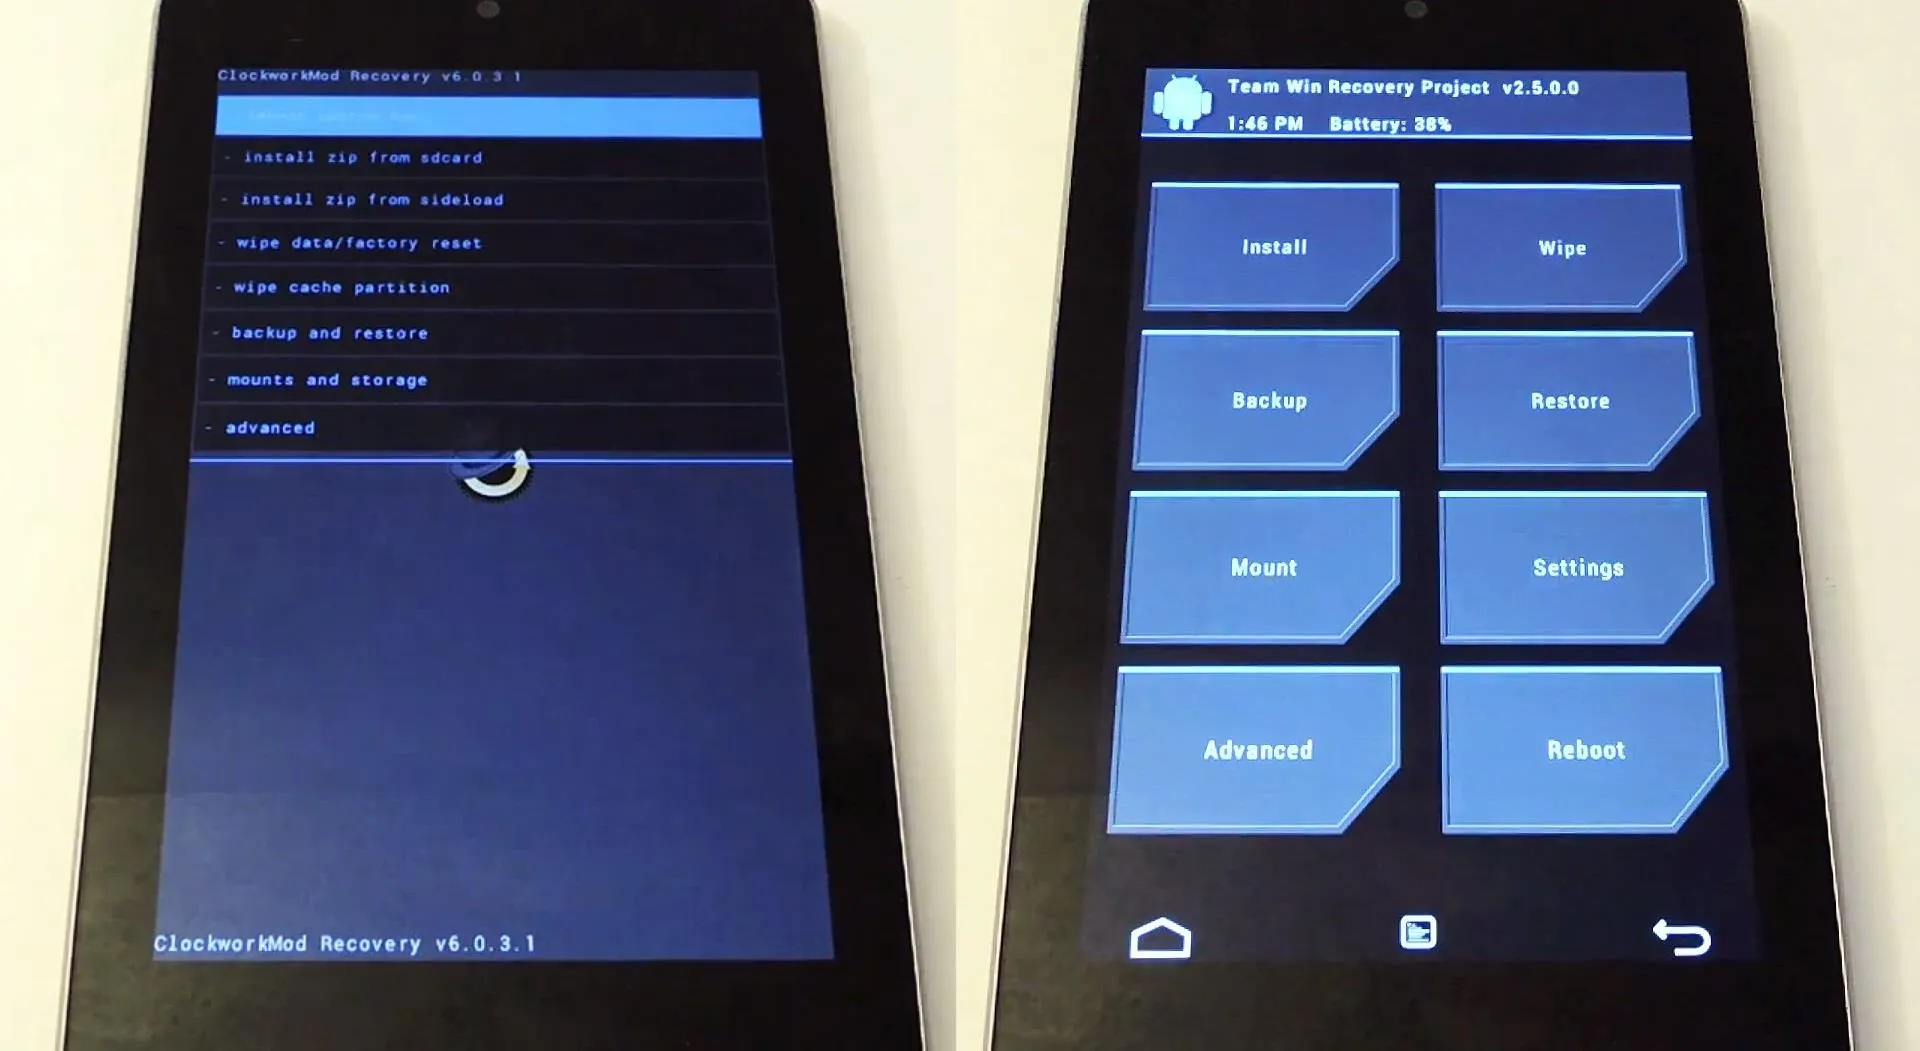
Today, I'll show you how to quickly (major understatement there) and safely install a custom recovery on your Nexus 7 tablet! You can't mess up! Let's begin!
Step 1: Download and Install Recovery Tools
First, you're going to want to download Recovery Tools from Google Play.

This app requires you to be rooted. If you're not, visit my definitive guide to softModding your Nexus 7 to get rooted.
Step 2: Open Up Recovery Tools
Launch the Recovery Tools app from the app drawer.
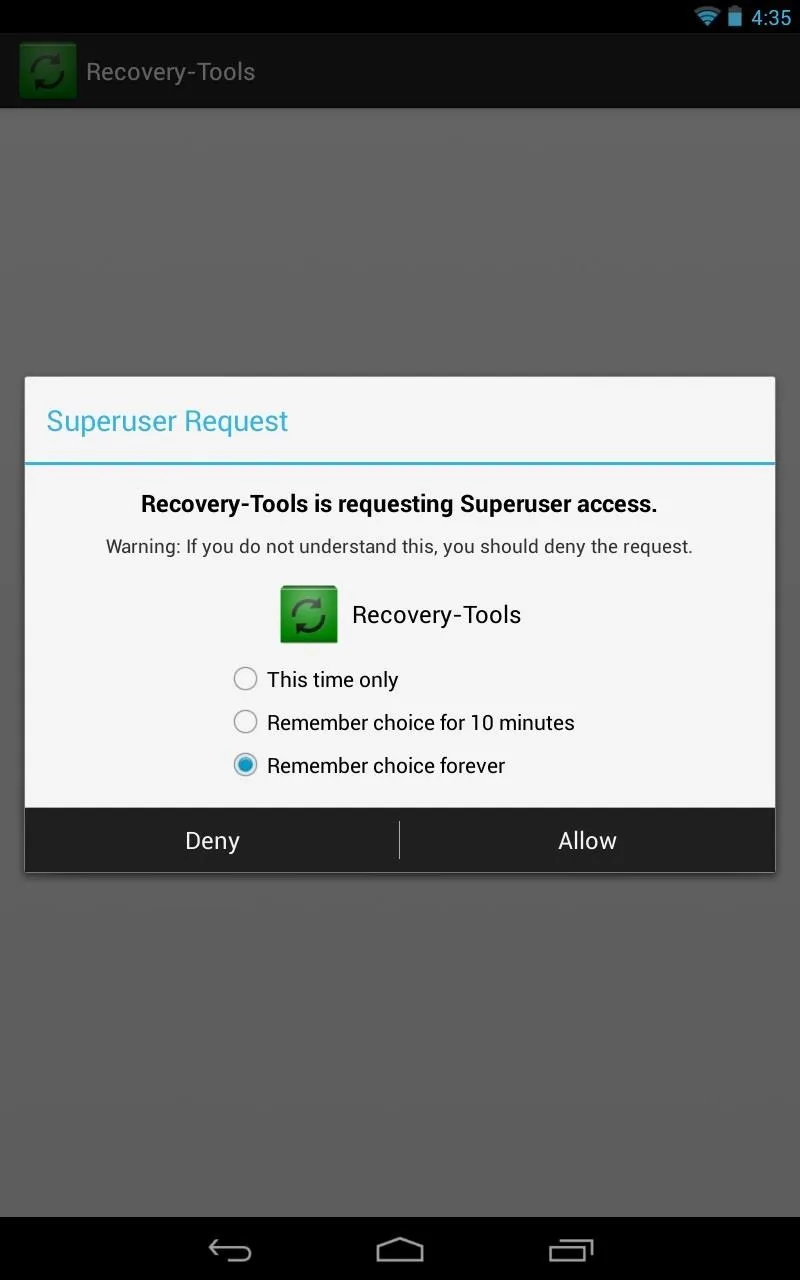
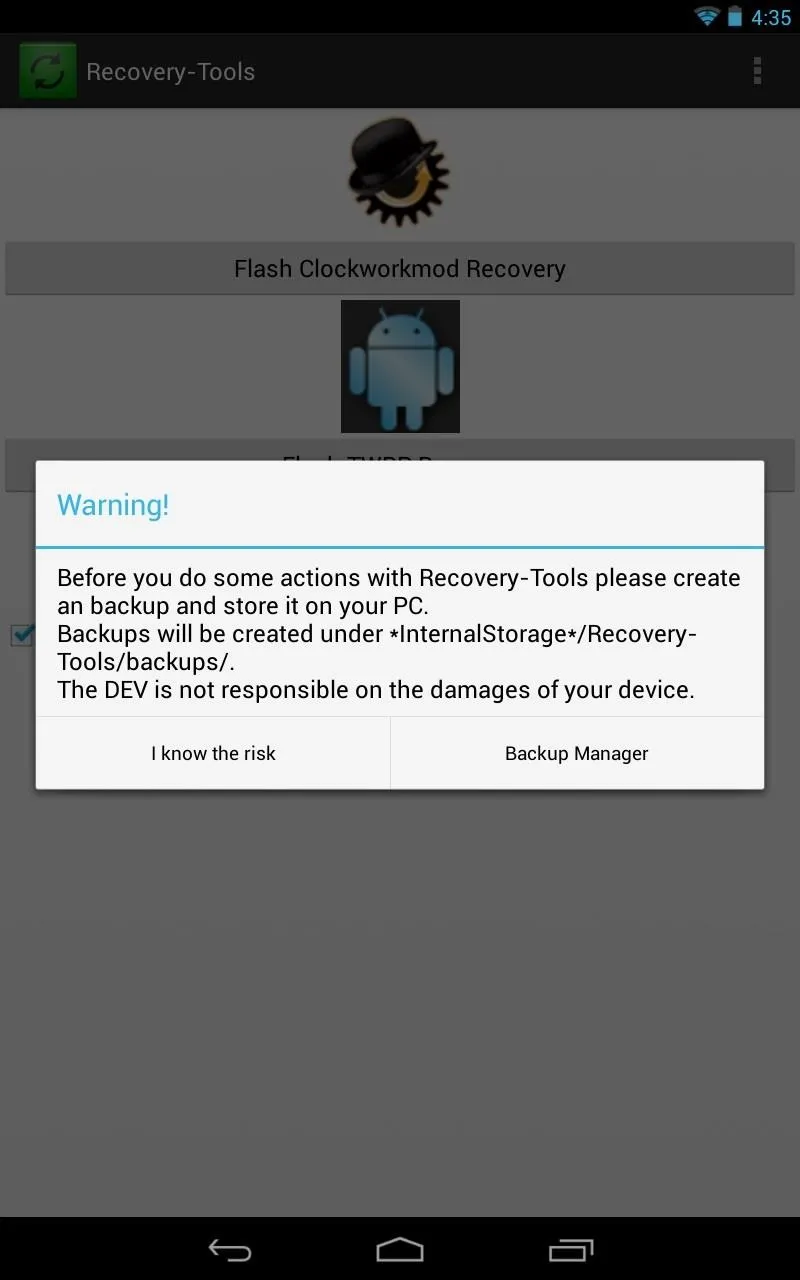


It'll ask for root permissions, so tap Allow, then tap I know the risk after the warning message.
Step 3: Choose Your Recovery
Now, you've got two choices for a recovery on your Nexus 7 tablet—either TWRP (Team Win Recovery Project) or CWM Touch (ClockworkMod Touch). Both will work great and perform the same functions, but I recommend TWRP.
About TWRP
TWRP is the most popular custom recovery for touch-only tablets. It provides all the normal custom recovery functions, like backups, .zip flashing, and restoring. Large buttons make this easy to use, and it's also updated frequently. This is my favorite.
About CWM Touch
CWM is a touch-enabled custom recovery of CWM. It was originally the first and only available custom recovery, until TWRP was released. Since its original release, it has had touch support added in, although not done as well as TWRP's, in my opinion (ouch is sometimes hit or miss).
Step 4: Let It Works Its Magic
Afterward you make your choice, either TWRP or CWM, the app will download and flash it for you.
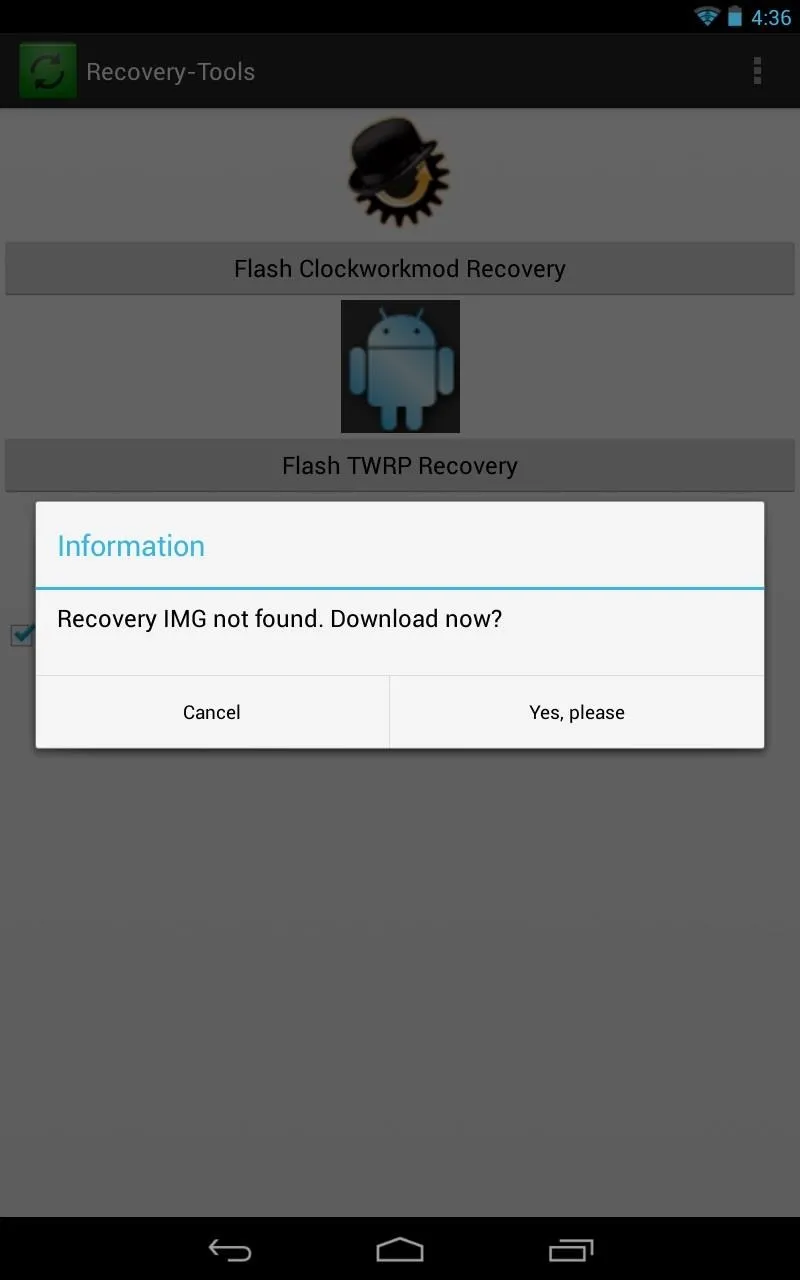
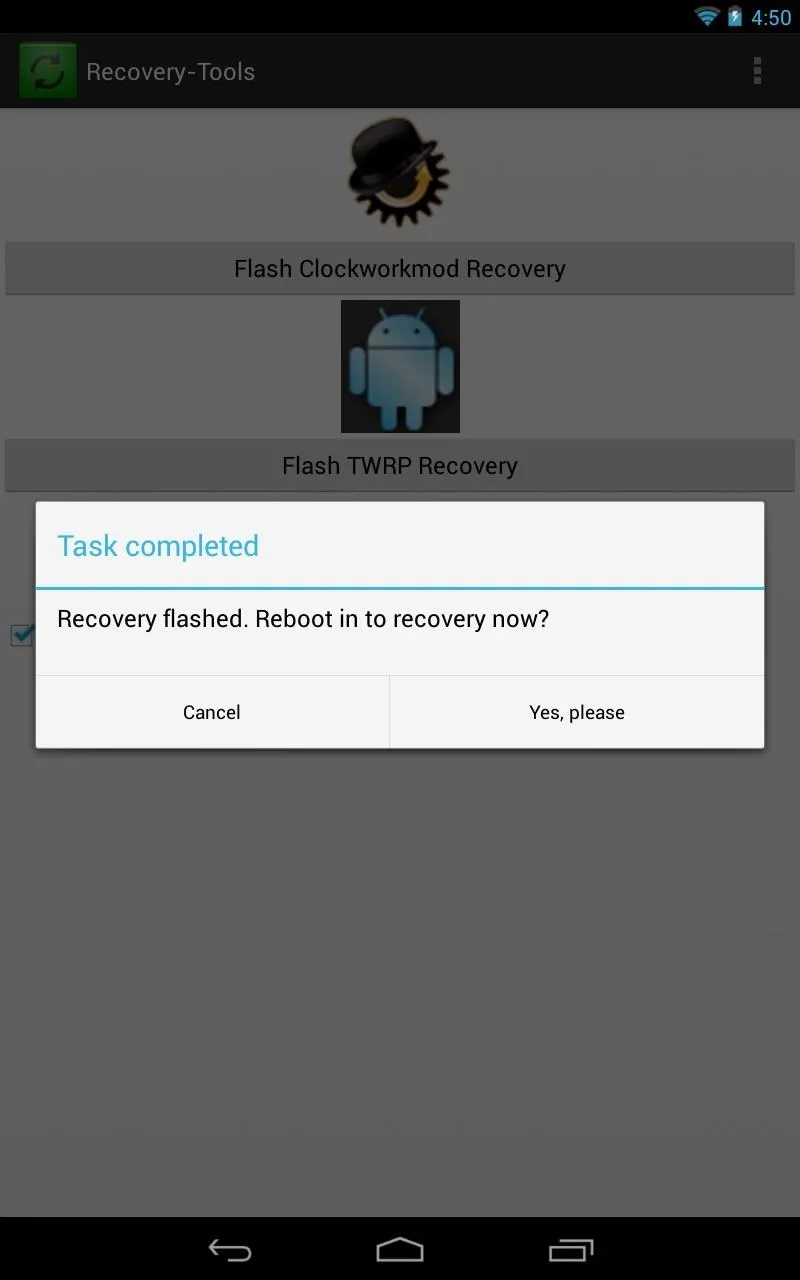


That's it! Reboot into your custom recovery if you want afterwards and see all that you can do! How easy was that?
Quick Tips for Using TWRP
- Choose Backup
- Swipe to Backup
- Tap Restore
- Tap a backup
- Swipe to Restore
Flashing a ZIP
- Tap Install
- Tap your ZIP file
- Swipe to Confirm flash
- Reboot
Quick Tips for Using CWM Touch
Making a Backup
- Select Backup and Restore
- Select Backup
- Follow on screen directions to complete the backup
Restoring a Backup
- Select Restore (or Advanced Restore if you wish to restore only a portion of your device)
- Follow on screen directions to complete the backup
- Select your 'Device-ID' from the list
- Select the backup you want to restore
- Follow on screen directions to complete
Flashing a ZIP
- Install ZIP from SD card
- Choose ZIP from SD card
- Choose ZIP file
- Choose yes
- Reboot
Tell us if it worked for you! Now get flashing!


Comments
No Comments Exist
Be the first, drop a comment!