We all have apps that we use most frequently, or system preferences that we're regularly adjusting. Whether it's Netflix or a new game that you're hooked on, there are times when you want quick and easy access versus searching for them, even if they're on your home screen.
Instead of hunting through your settings, app drawer, or home screen, I'm going to show you how to consolidate all of your most-used items into an easy-access floating panel. By using the free app Floating Toucher by Digital Life International, you can have access to various apps and toggles right at the tip of your finger, right when you need them.
Step 1: Get Floating Toucher
Floating Toucher works as a Swiss Army knife for your Android, placing apps, system preferences, and shortcuts in a panel which is accessed by tapping an inconspicuous, floating button on your screen. Grab it for free from the Google Play Store to get started.
Step 2: Set Up Your Panel
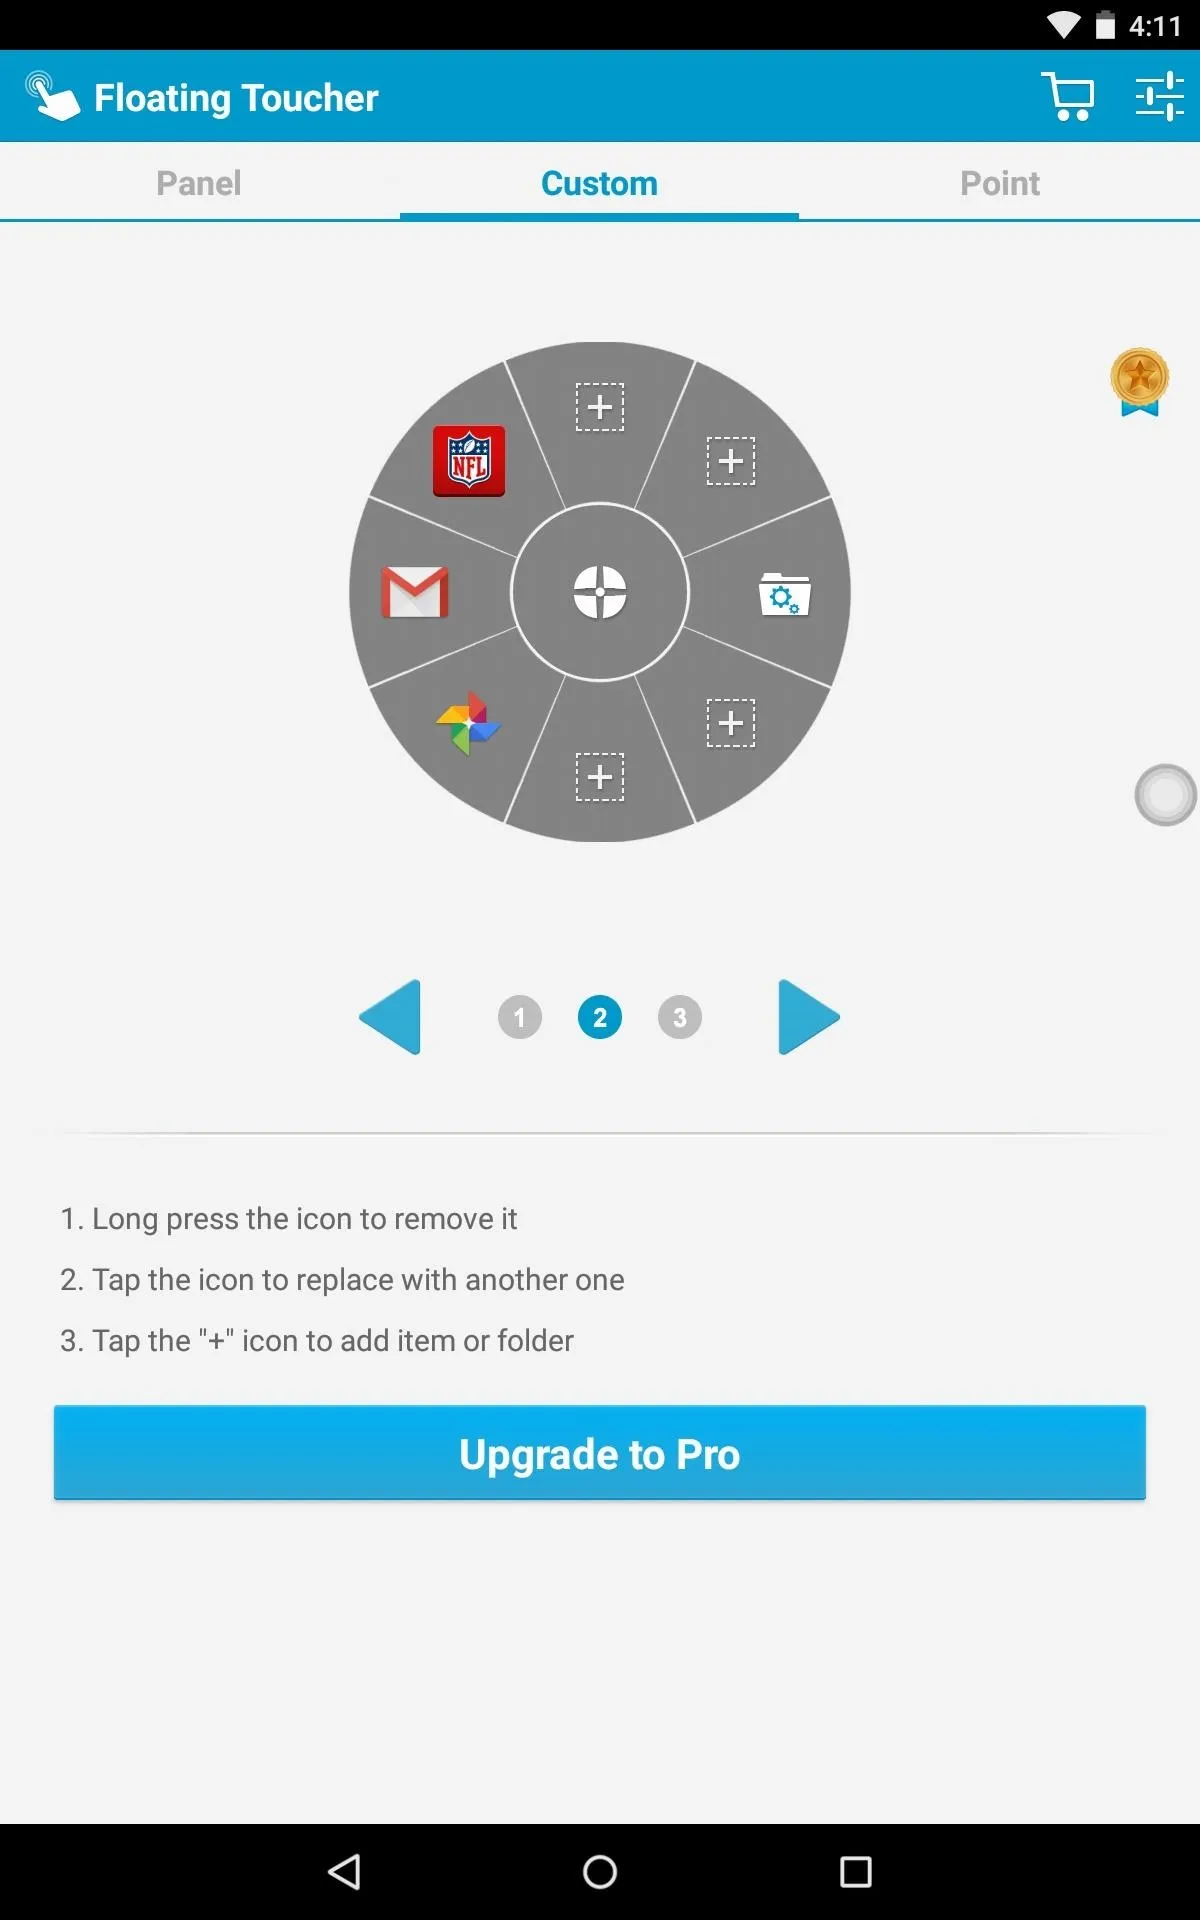
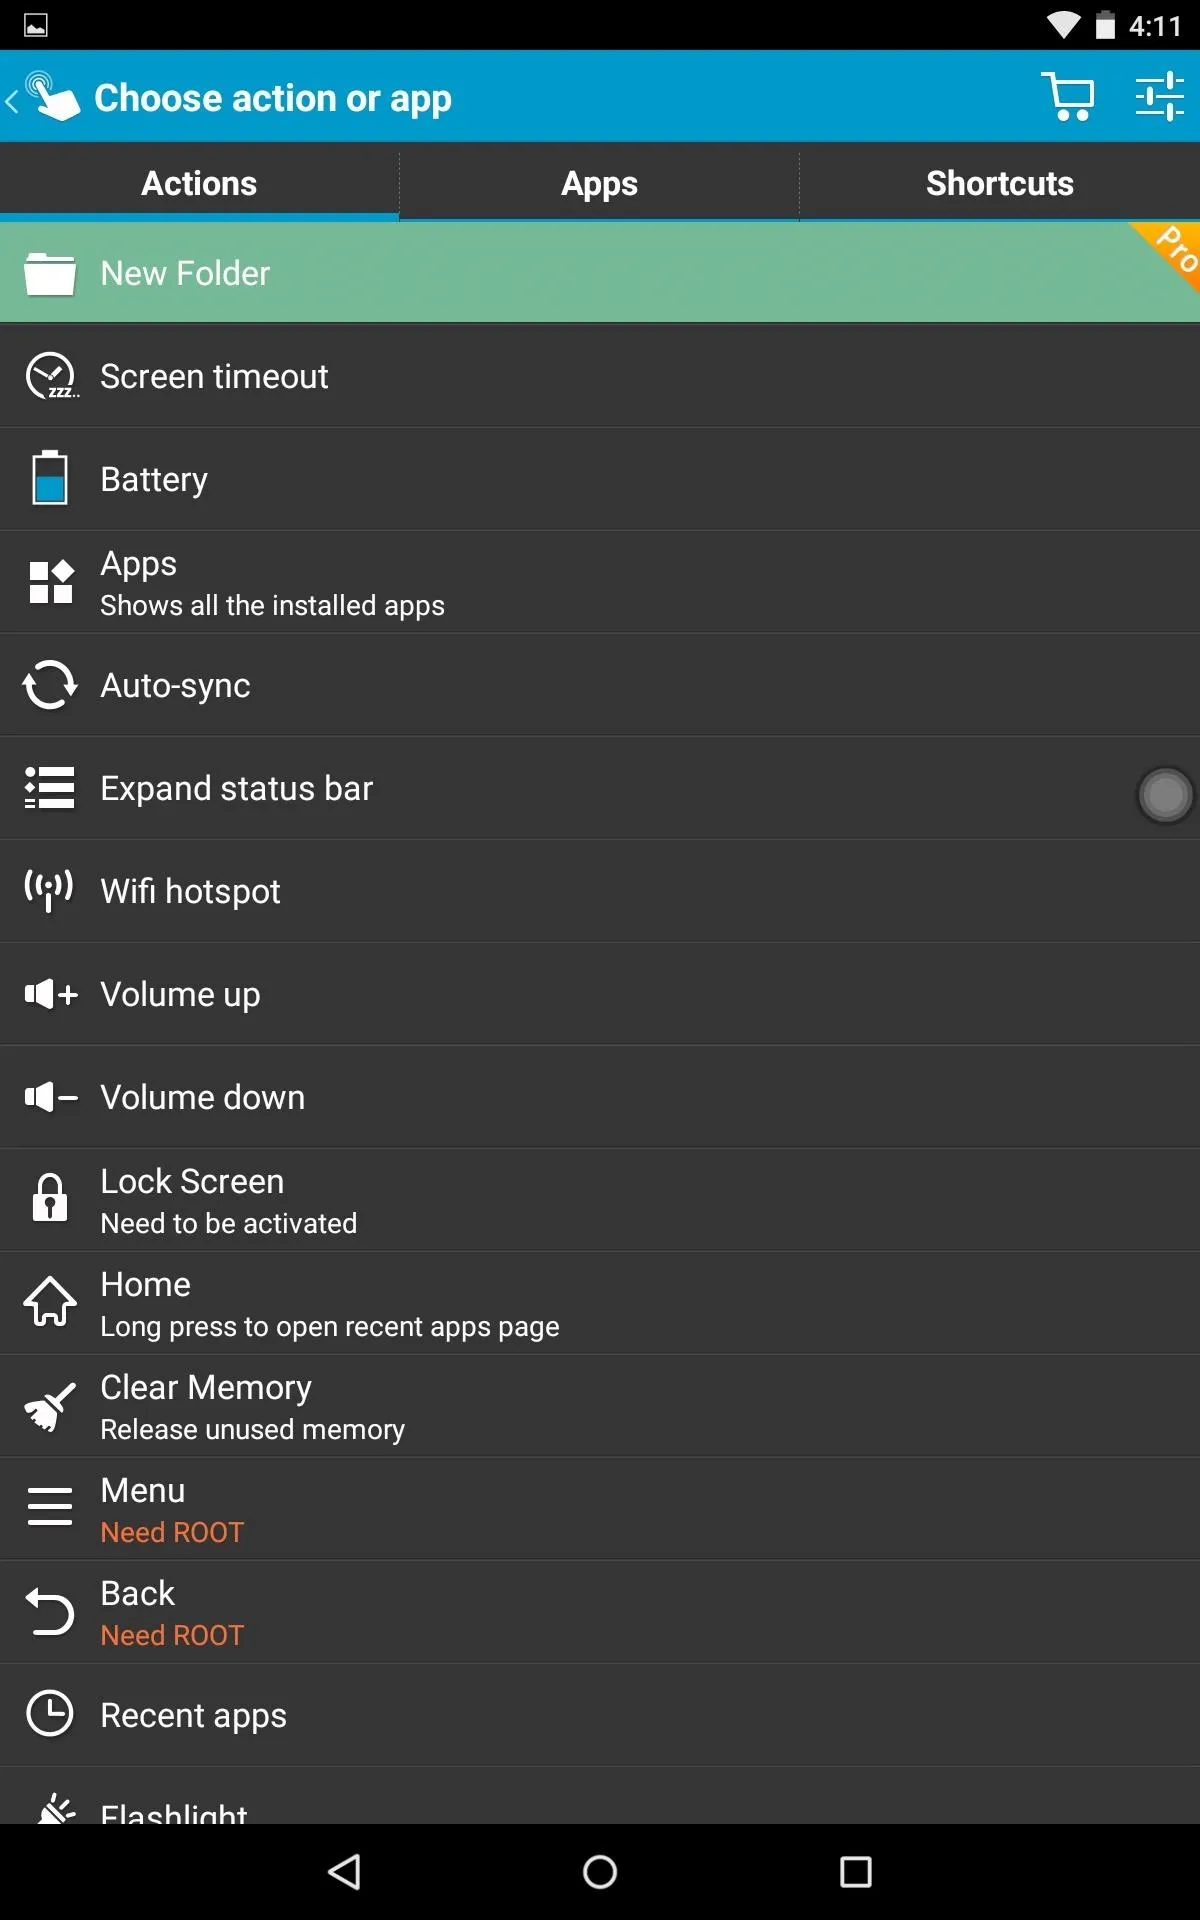
The first thing you'll want to do is add apps and toggles to your panel. To remove an existing slot, just tap and hold it, then select the empty space and choose from a list of your apps, actions, or shortcuts.


Step 3: Customize the Panel Display
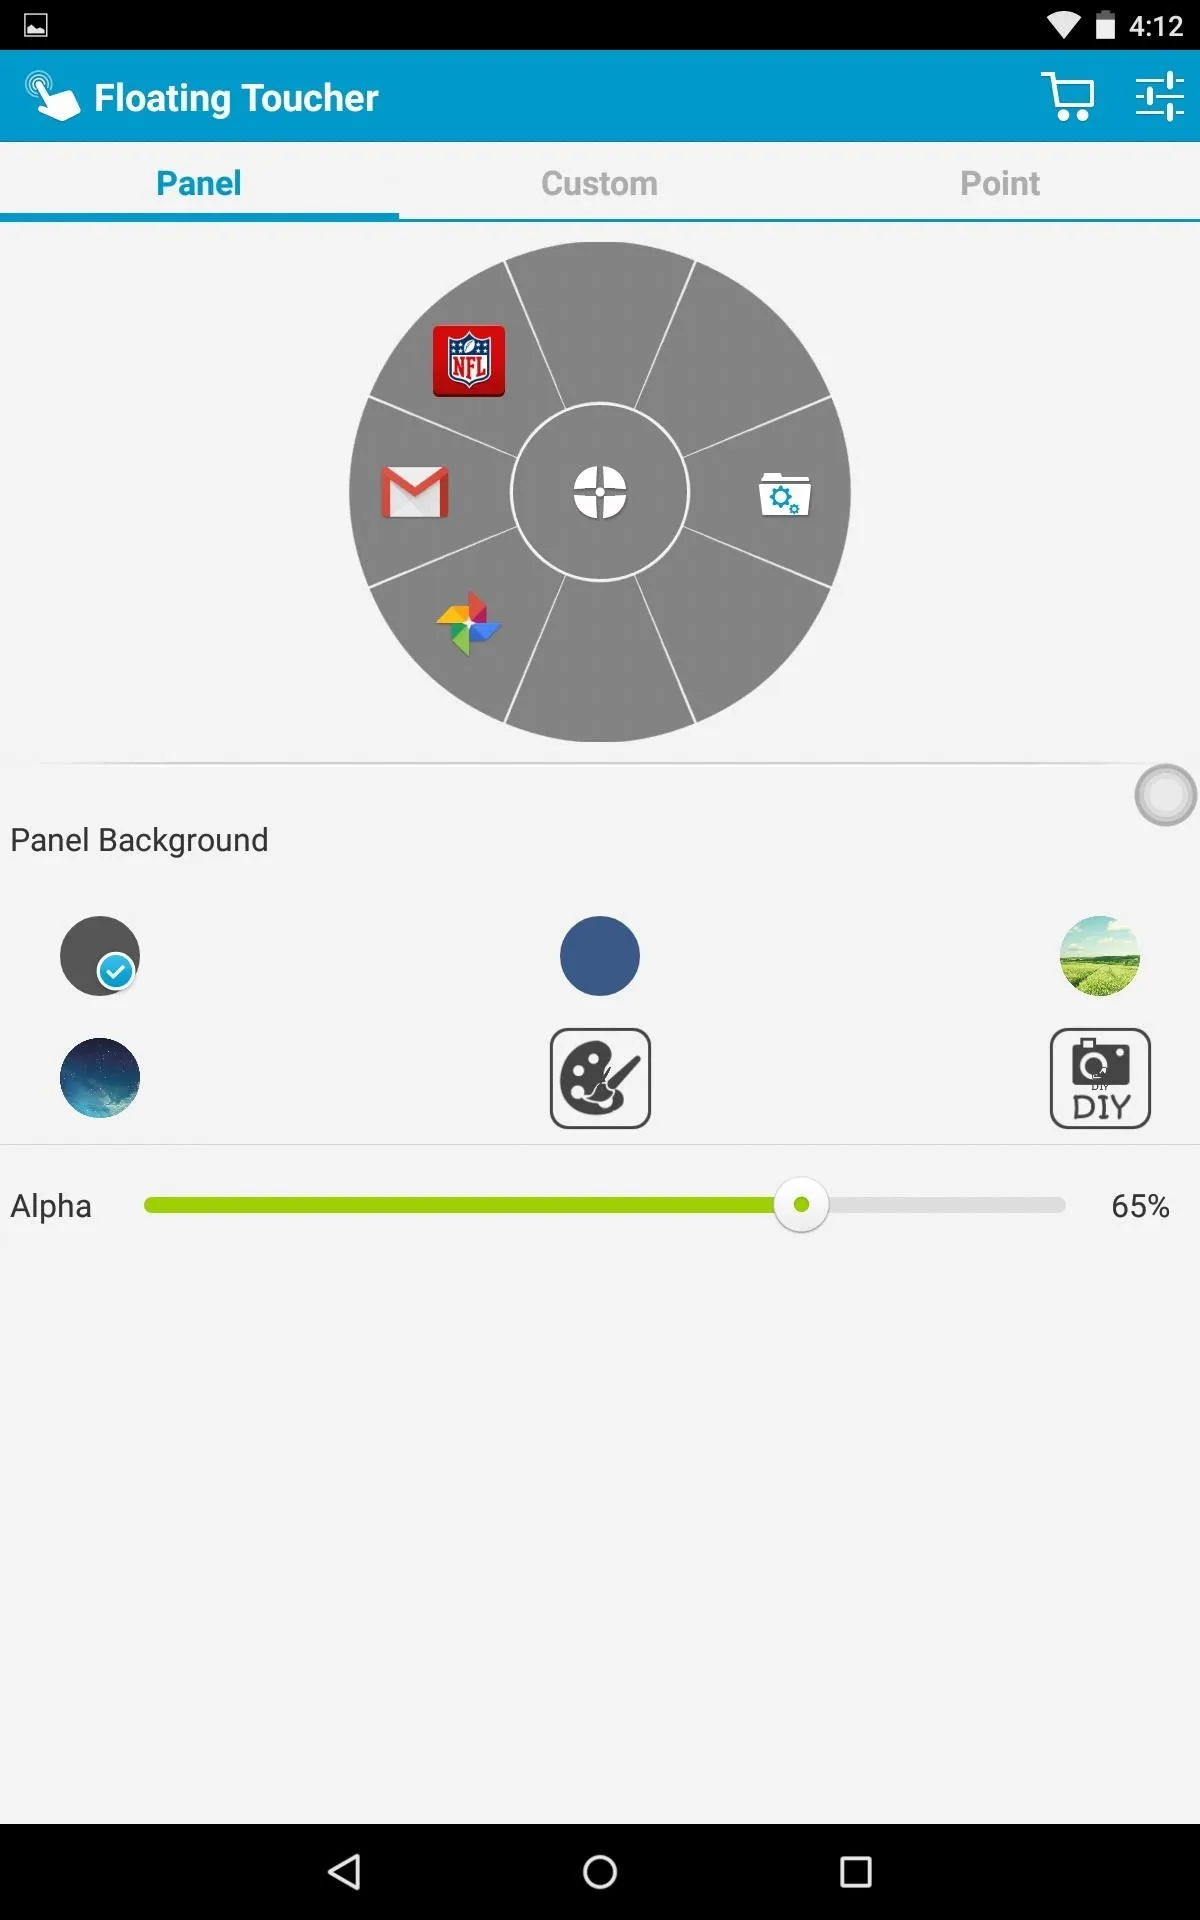
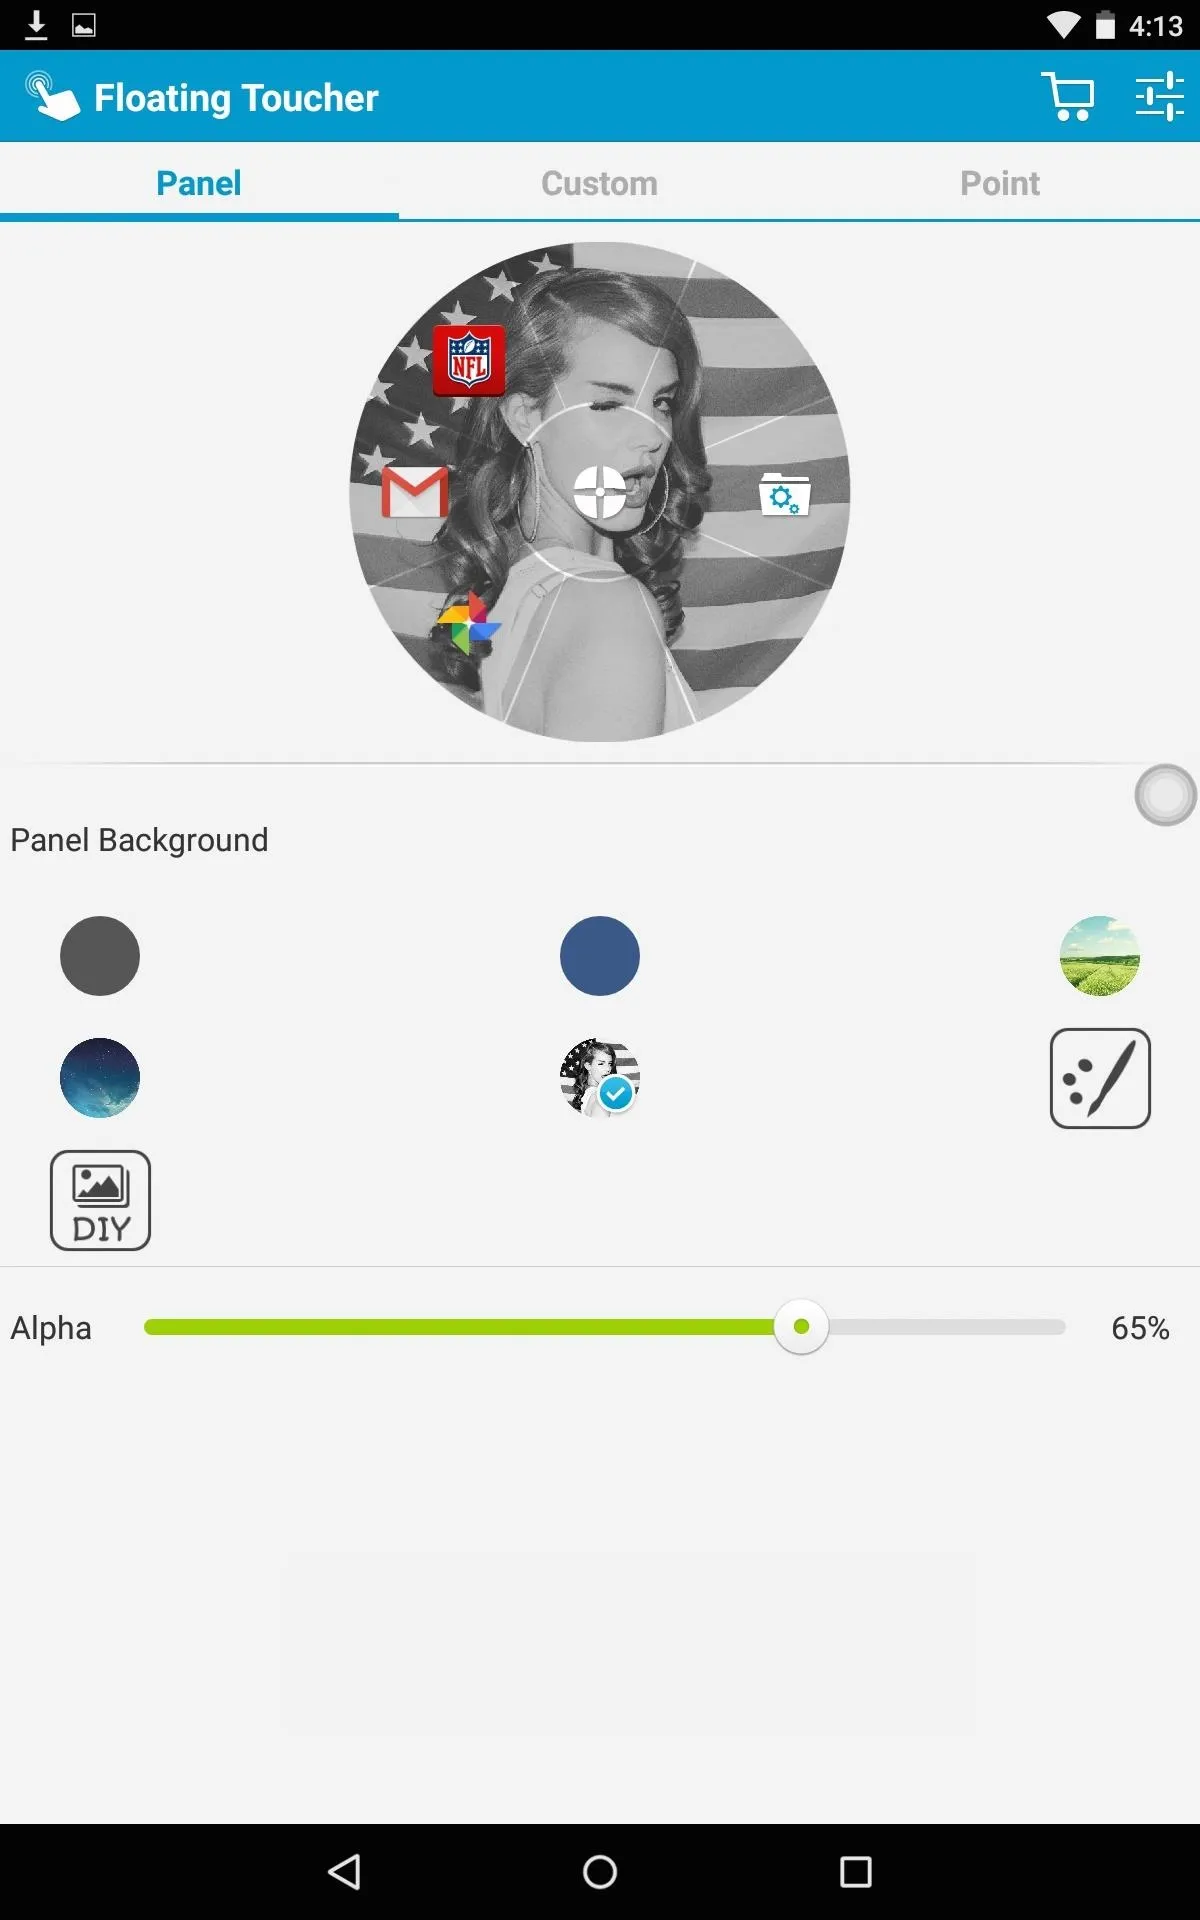
A great thing about this app is its customization options. You can choose from some basic colors and backgrounds, but the best thing to do is choose your own image from your gallery. After that, set the "Alpha" (i.e., transparency) level to your liking using the slider.


Step 4: Use a Unique Floating Pointer
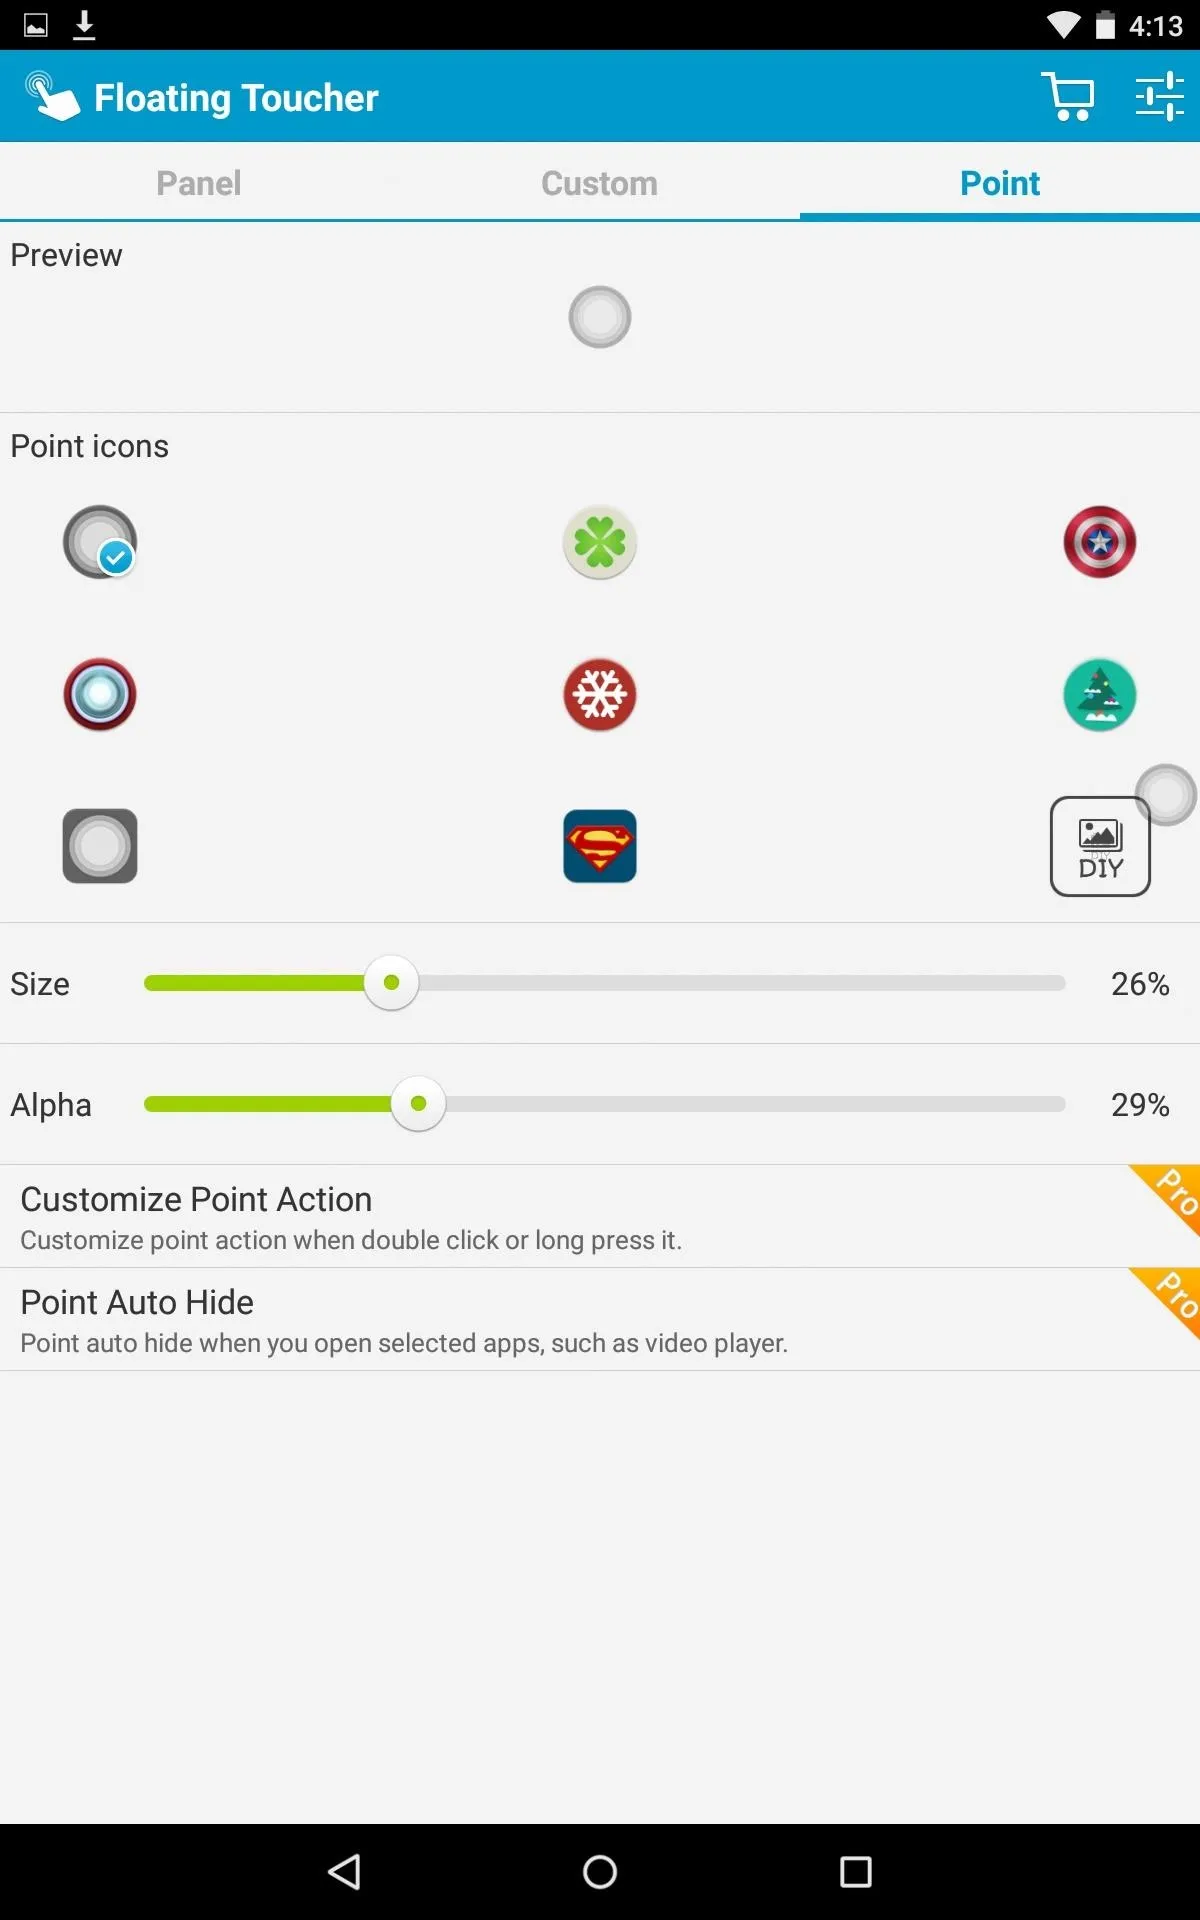
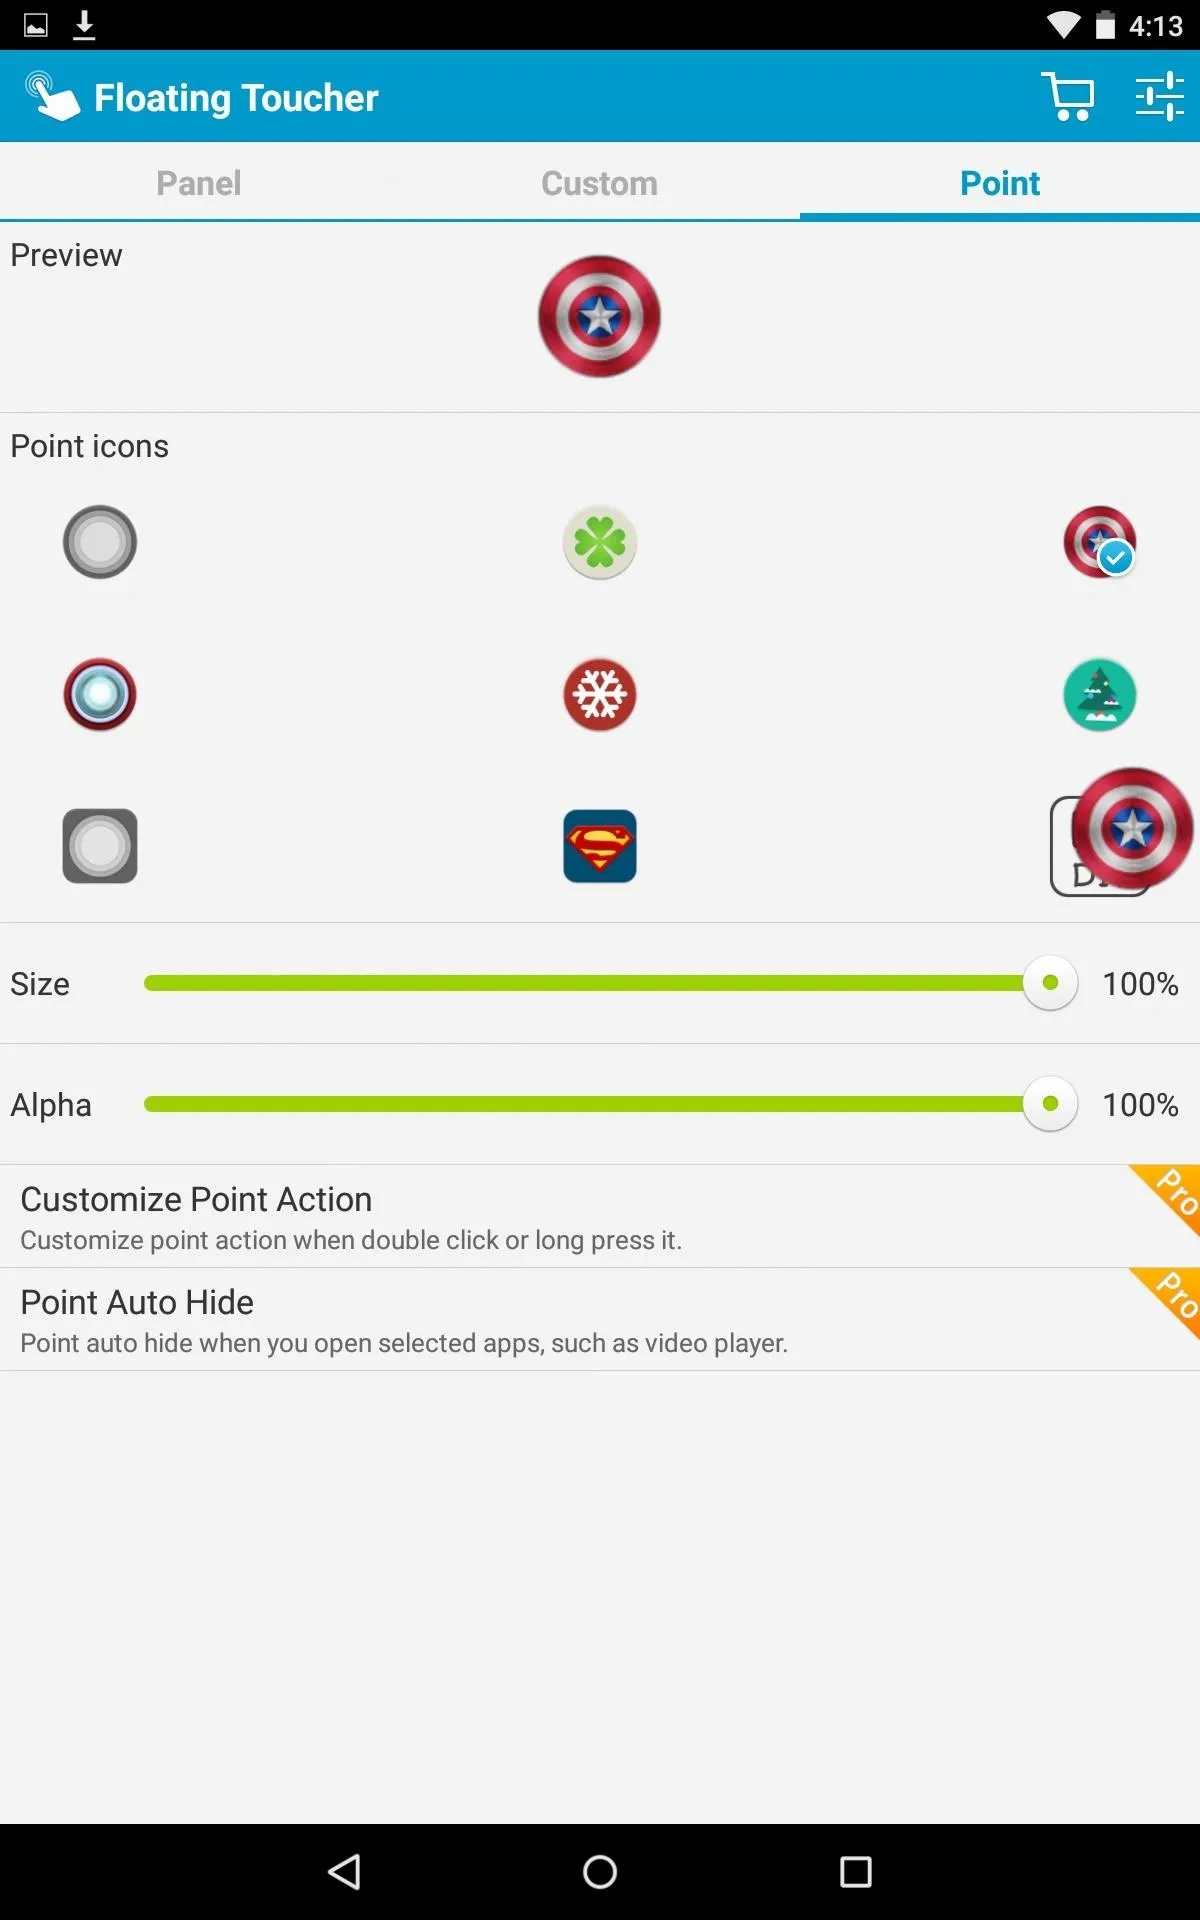
Along with customizing the panel, you can also choose from various icons to serve as a "pointer," the small circle that launches the floating panel. Unfortunately, you're not able to choose a custom image from your gallery unless you upgrade from within the app.


Extra Settings & Premium Features
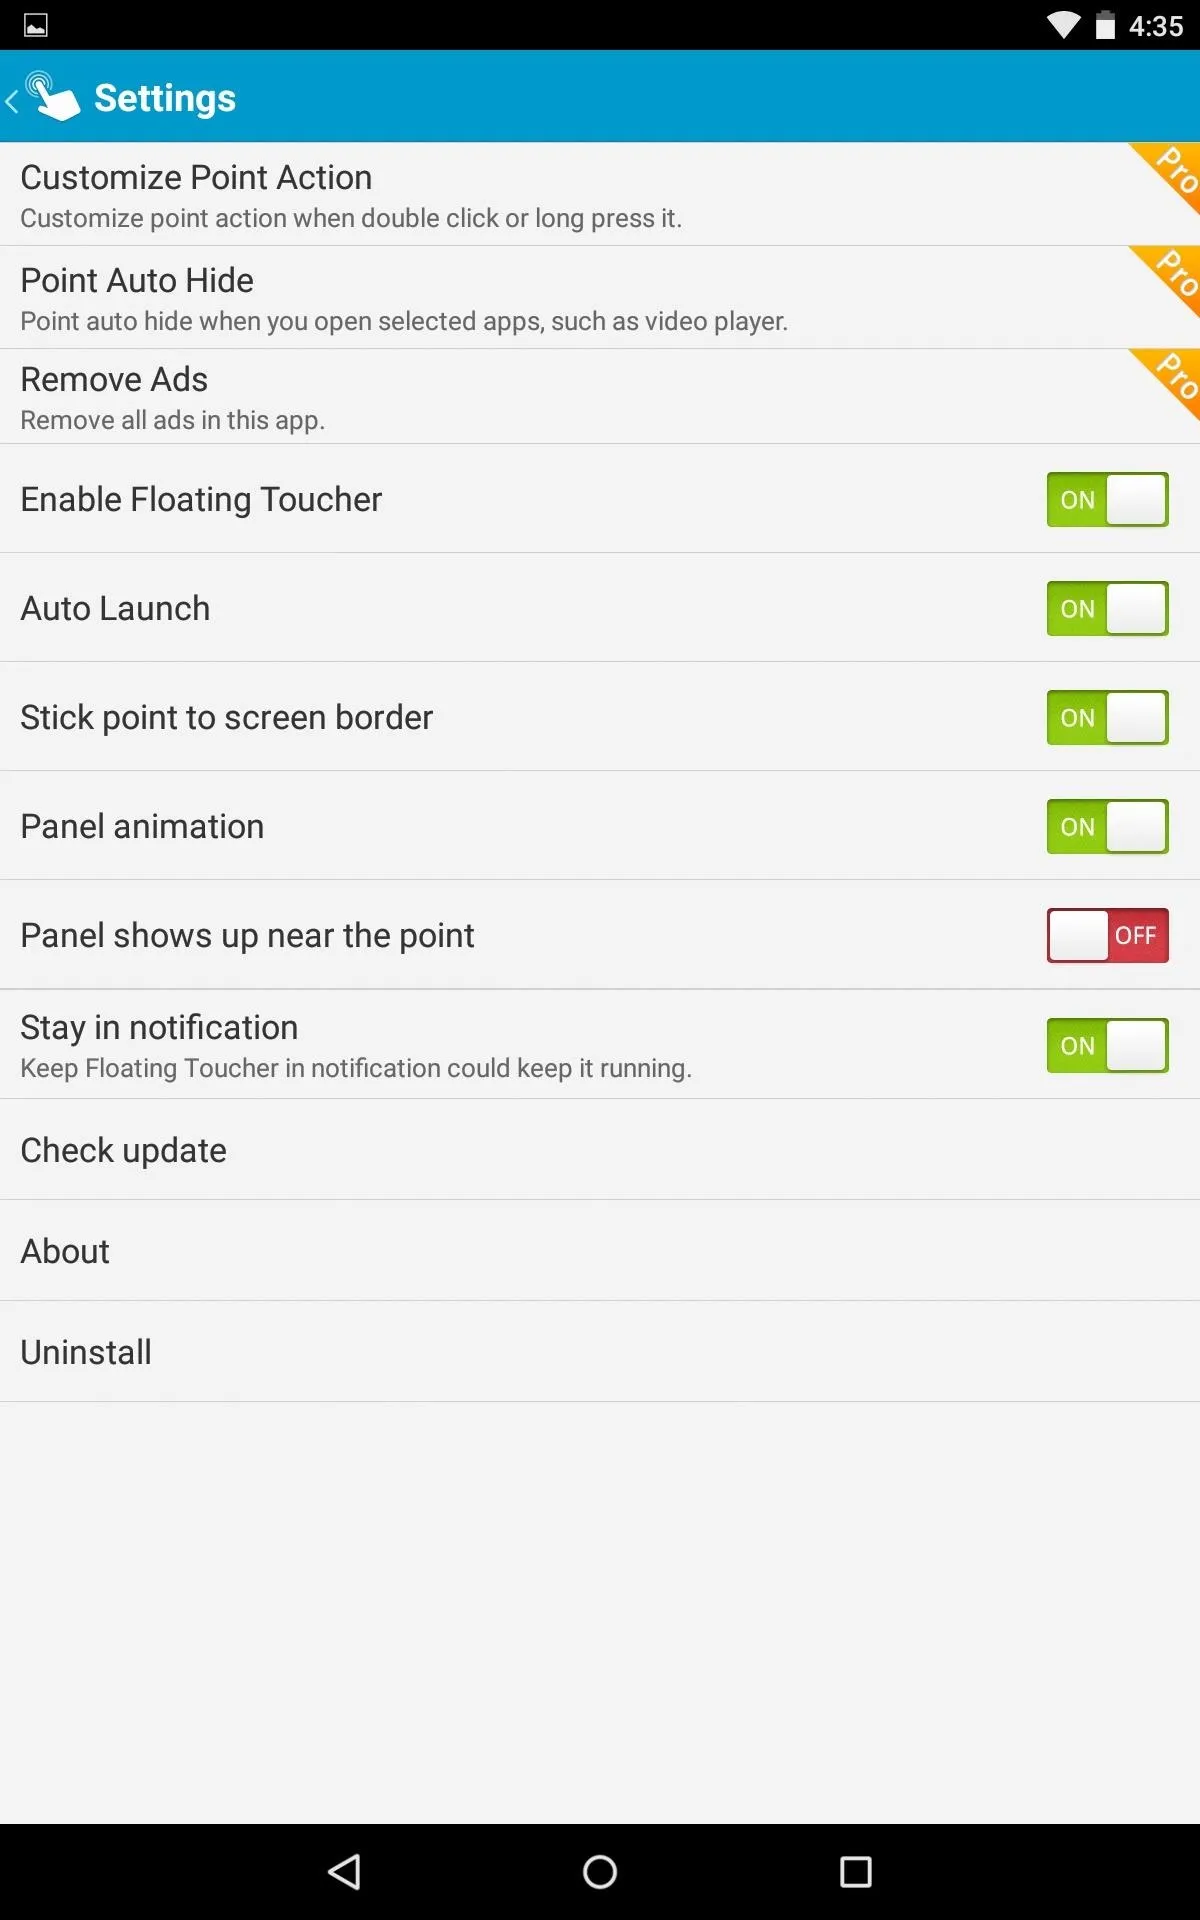
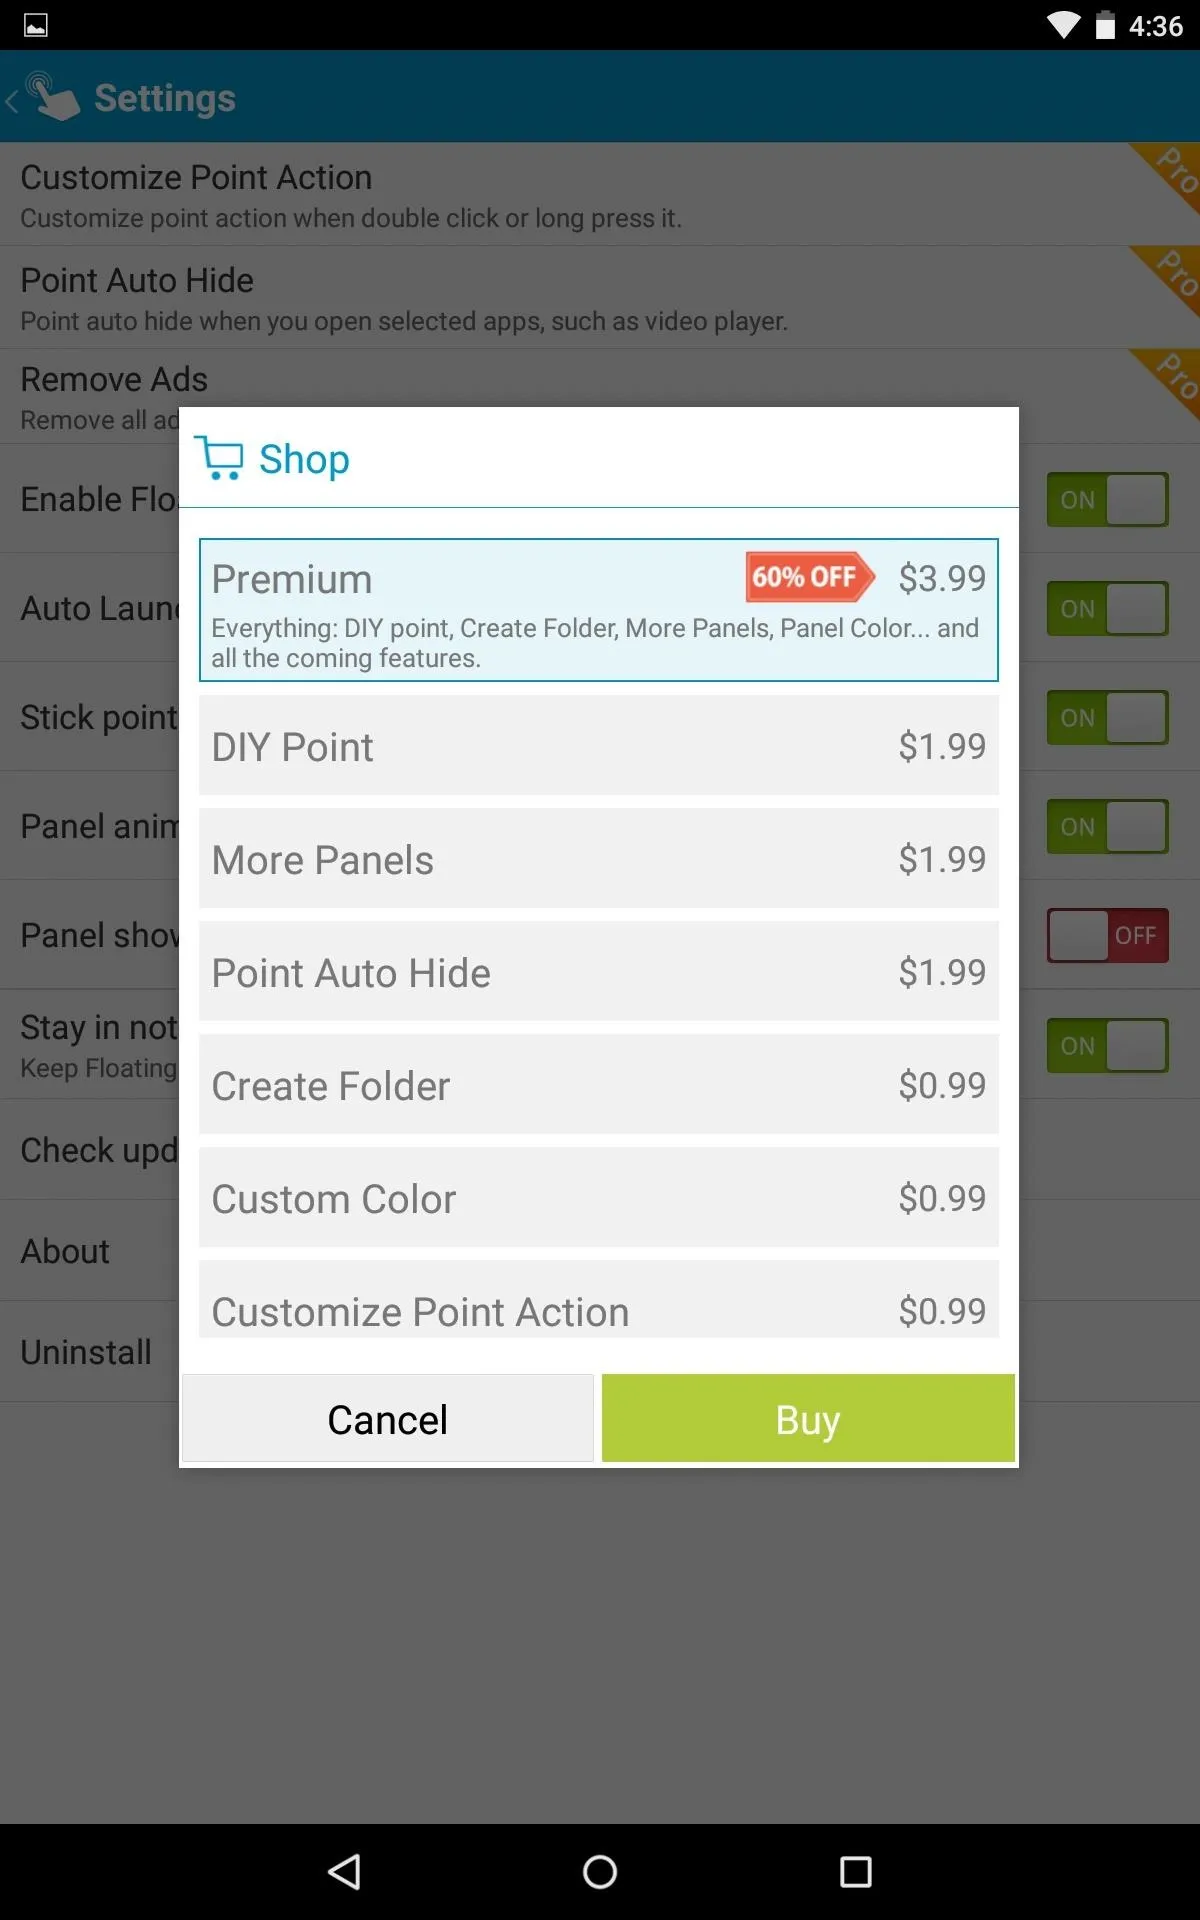
Under the settings you have a few options for the floating panel as well as some premium features, which you can unlock individually or purchase the full premium version for $3.99.
The free version does come with enough to absolutely make the app usable, but with premium features, you'll be able to add extra panels, add folders to your panel, choose a custom pointer image, and more.


Step 5: Use Your New Floating Toucher
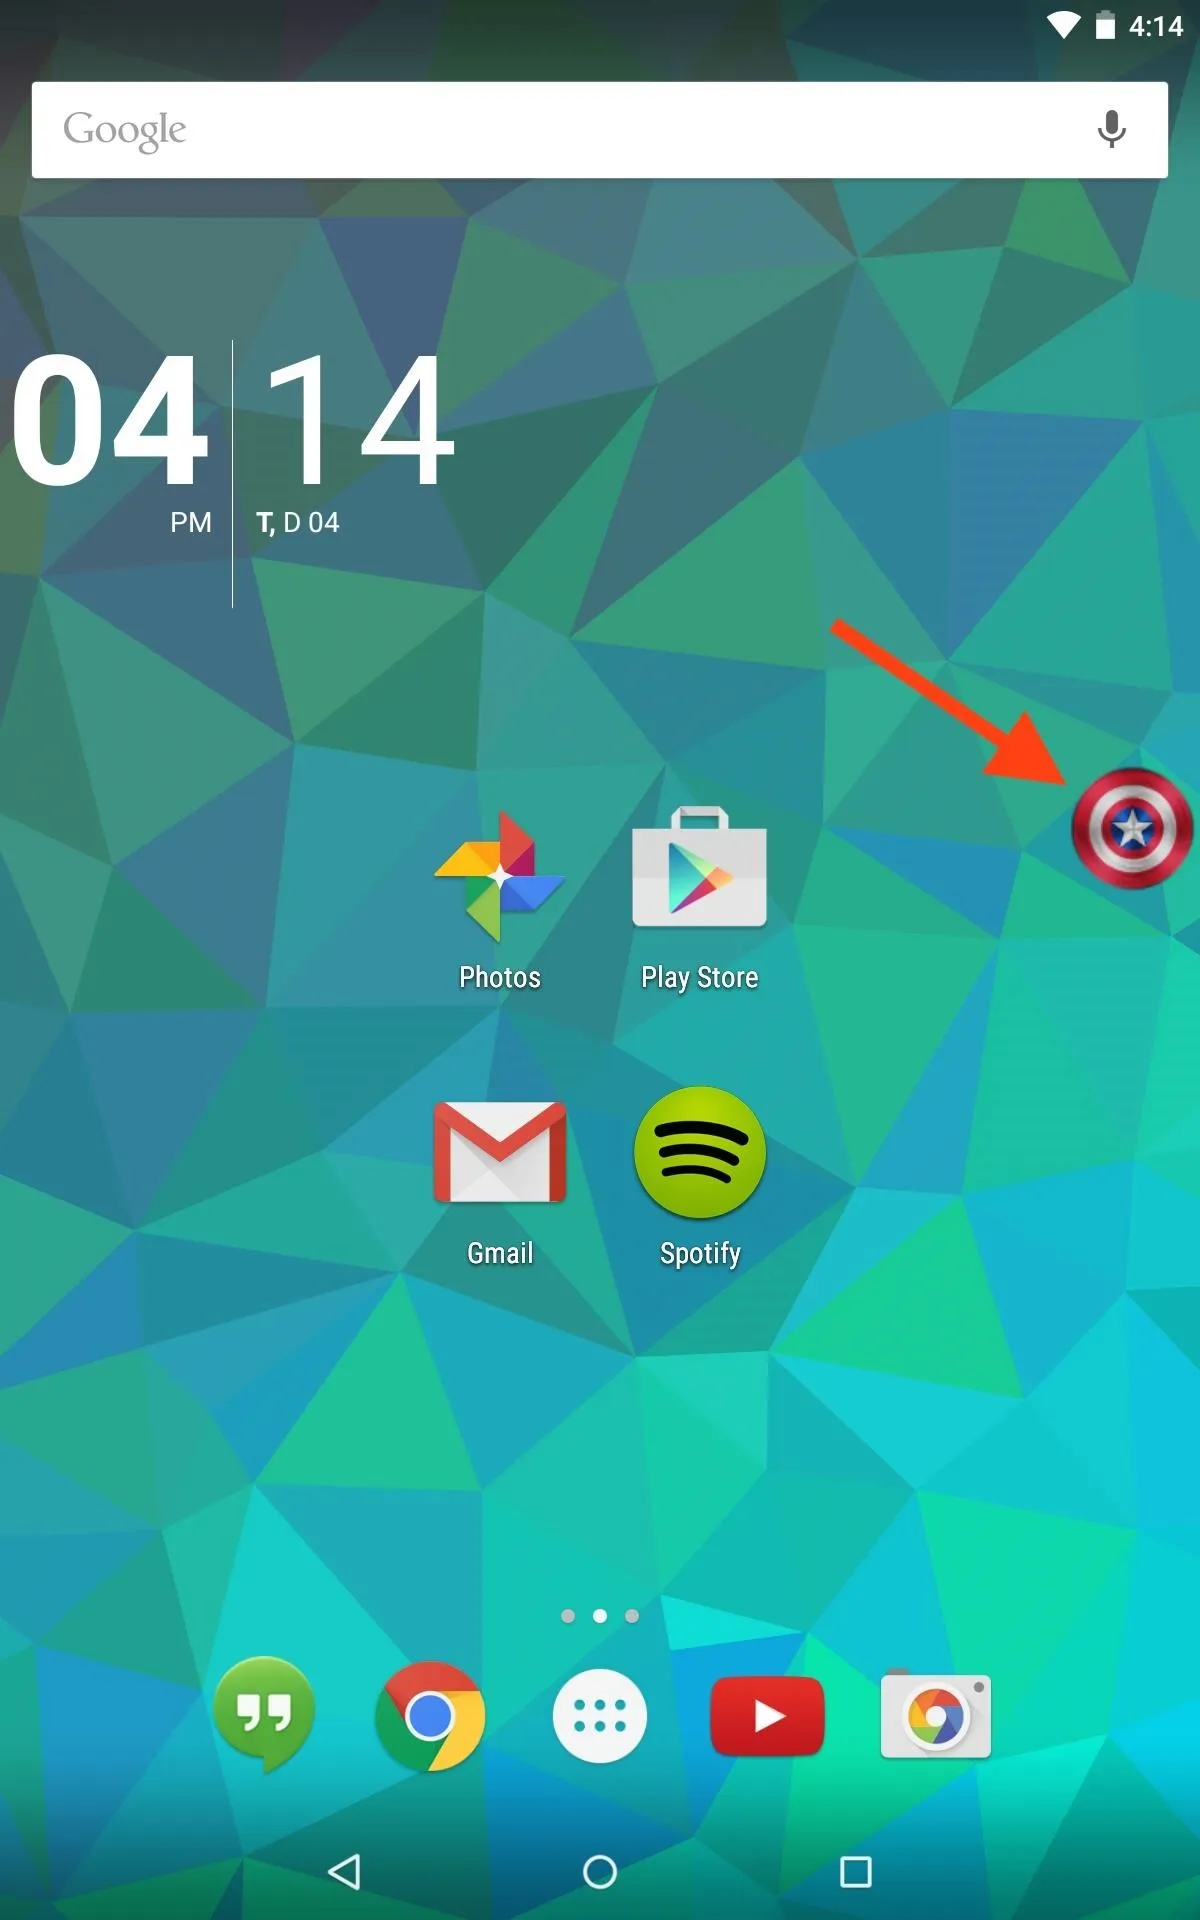
Once you've set your panel up, simply tap the floating pointer to launch it. The toucher can be hidden by long-pressing it, then re-enabled by tapping the notification in your Notification panel.
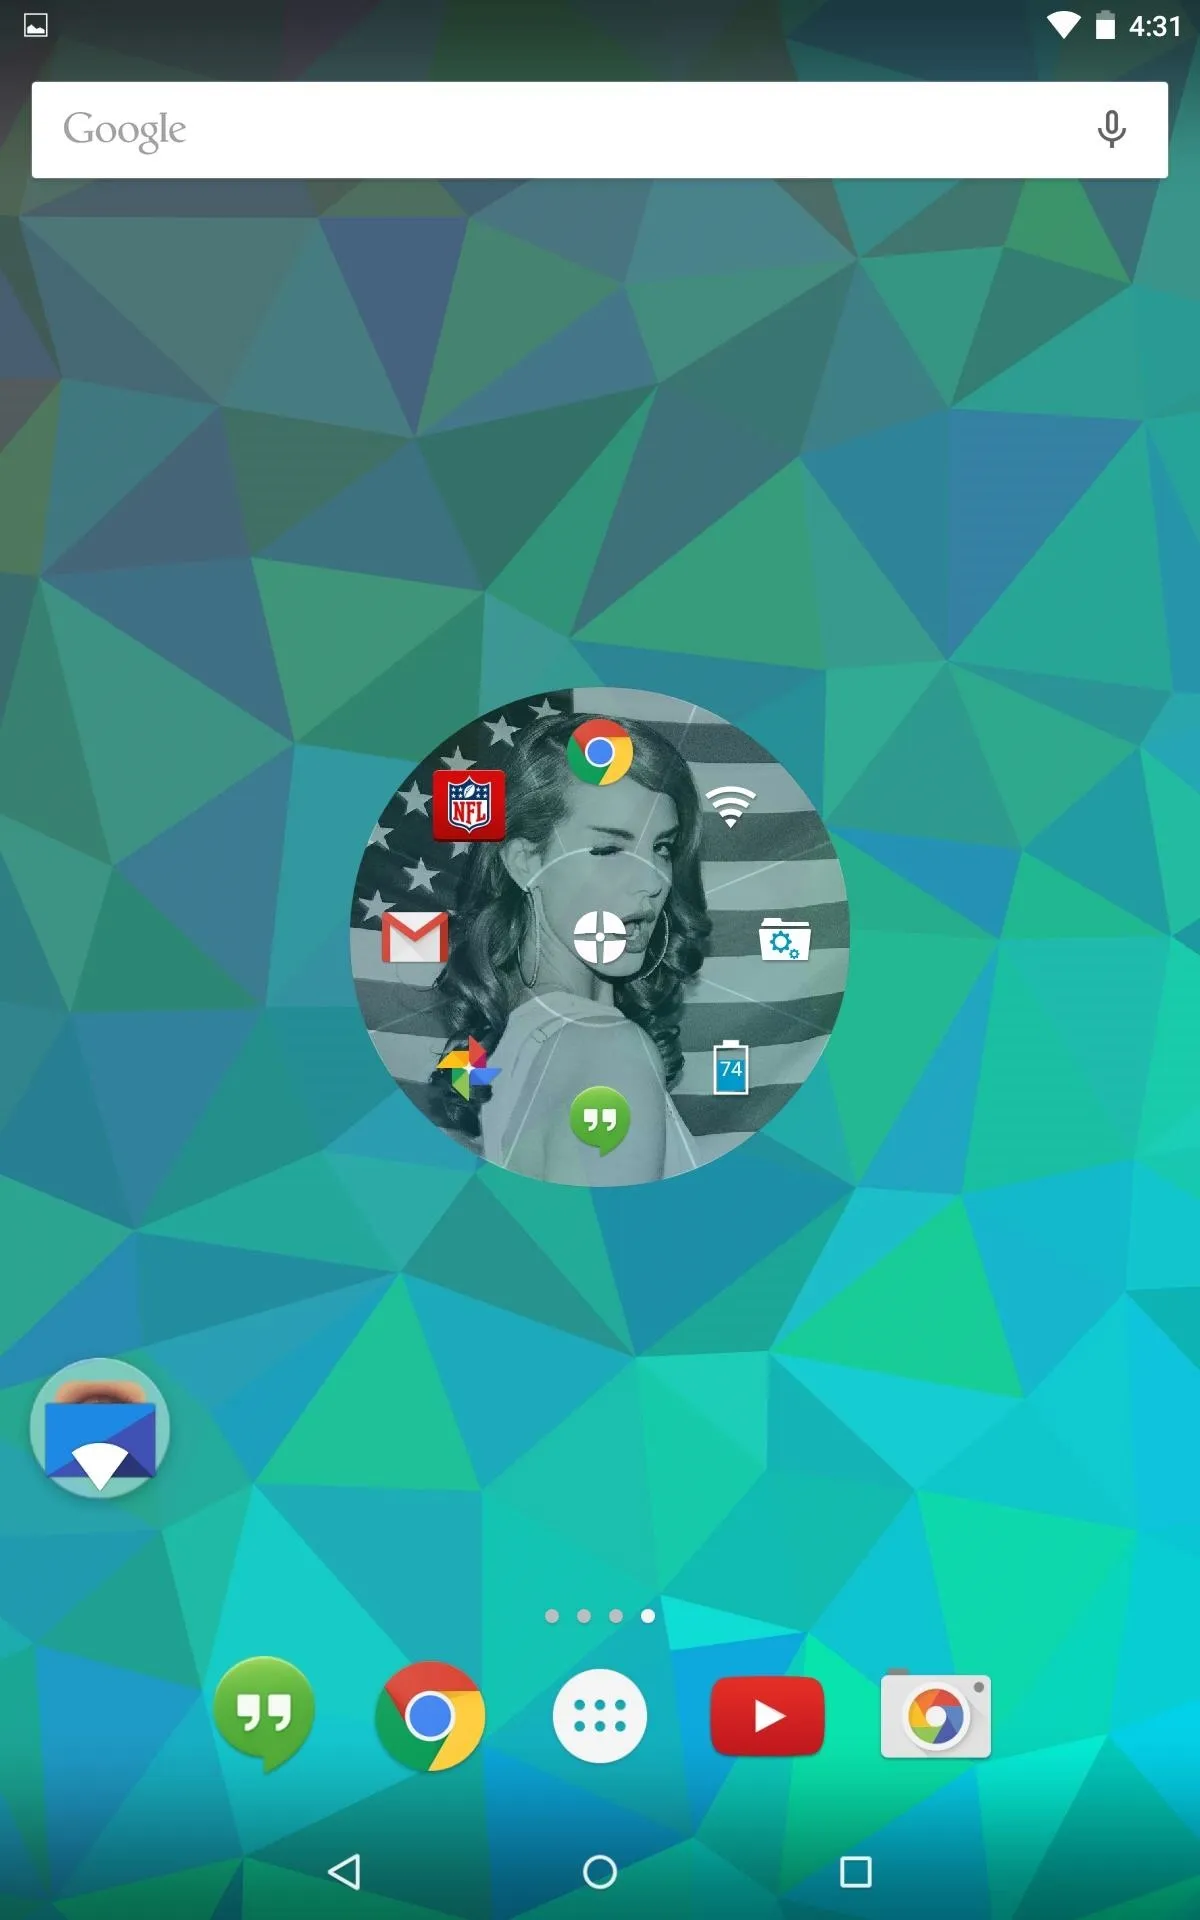


You can easily access the panel from within any screen and perform actions on the fly. Give it a try and tell us what you think in the comments below, or hit us up on our Facebook, Google+, and Twitter feeds.


Comments
No Comments Exist
Be the first, drop a comment!