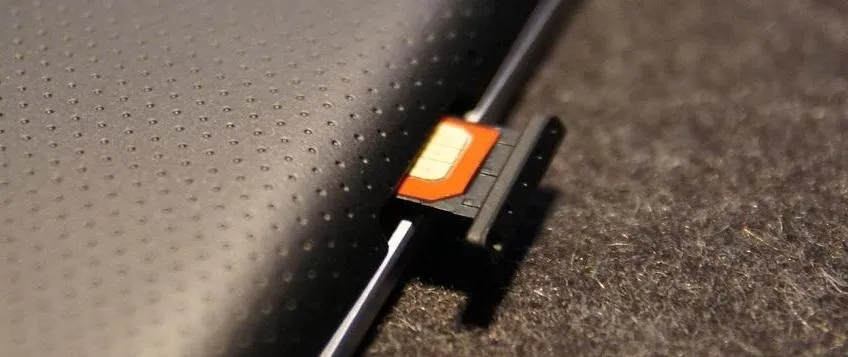
In a previous how-to, I showed how to send and receive text messages by wirelessly syncing them from your phone to your Nexus 7 tablet. Some eagle-eyed users may have notice that the Nexus 7 with 3G actually has a SIM card slot.
Now, syncing messages over to your tablet may be convenient, but how about sending text messages using your Nexus 7 3G with its own number attached? You can!
In this guide, I'll show you how to send and receive text messages on your Nexus 7 3G as it were a cell phone. Let's begin!
You'll need:
- Nexus 7 3G tablet (stock or rooted with custom recovery)
- SIM with an active phone number associated
Getting Started
Eject your SIM card slot on your Nexus 7 3G and insert your own SIM card with an active number in.
Stock Users: Download GO SMS Pro
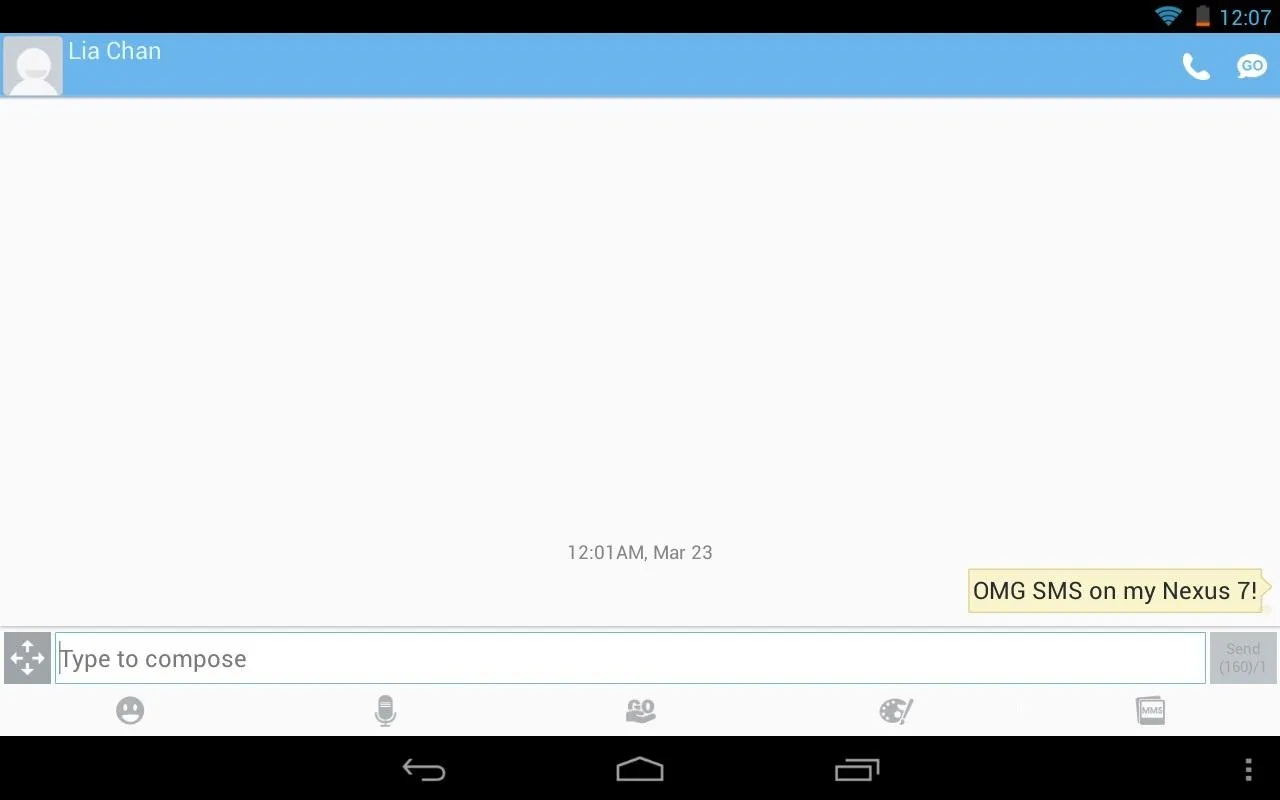
If your Nexus 7 3G is running stock and unmodded, open up the Play Store on your tablet and download GO SMS Pro (free). That's pretty much it. Launch GO SMS Pro and begin sending and receiving text messages from your Nexus 7 3G!
Screenshot of GO SMS Pro Sending a Text Message:
Rooted Users: Installing Stock Jelly Bean SMS App
The rooted method maybe be unfamiliar to some users, so before you proceed, head over to my definitive guide to modding a Nexus 7 to catch up on some terms and for instructions on getting your own tablet ready for this method.
Now, first off—the method for stock users also works with rooted tablets, but I'll show you how to get the actual Jelly Bean SMS app on your tablet. Begin by heading over to this link on your tablet. Ignoring the ads on the page, locate the download button to download the ZIP file needed.

Boot into your custom recovery, either with ROM Manager or using the "Reboot into Recovery" option when you hold down the power button.
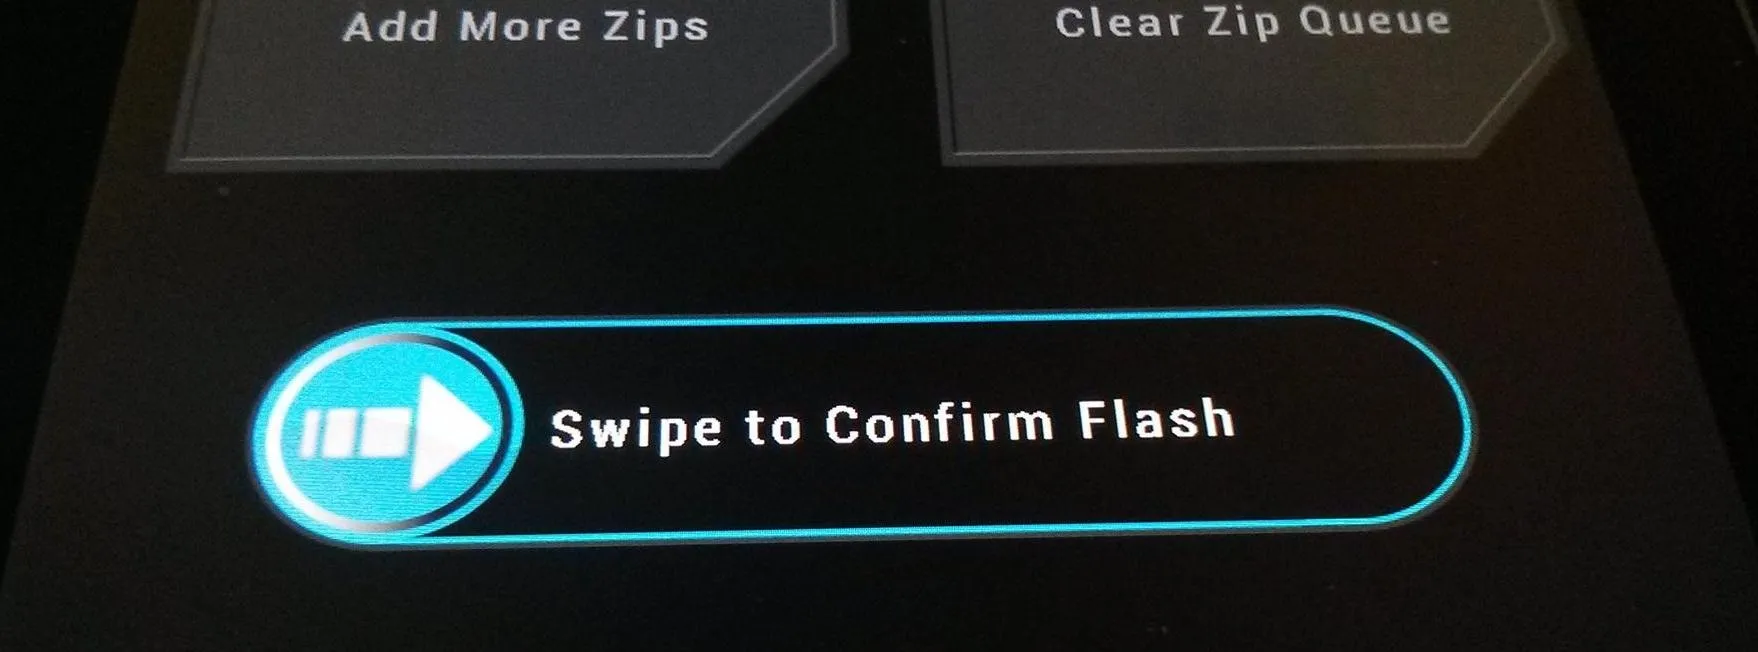
Flashing ZIP with Custom Recovery
Here I am using TWRP on my tablet.
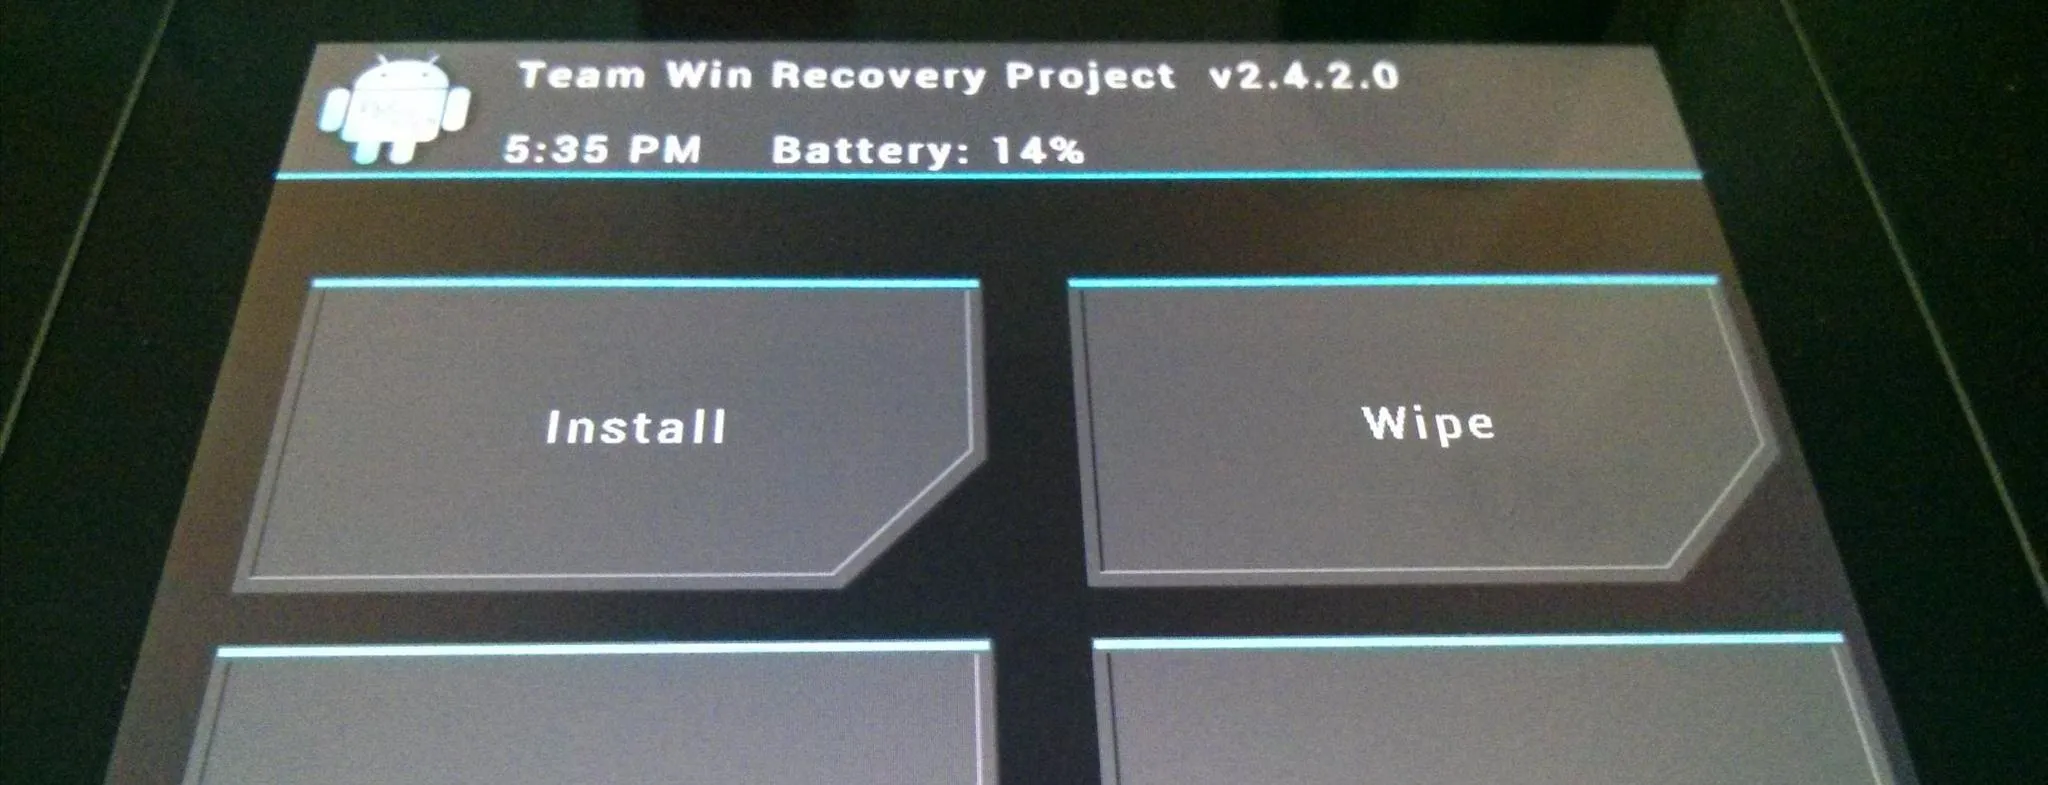
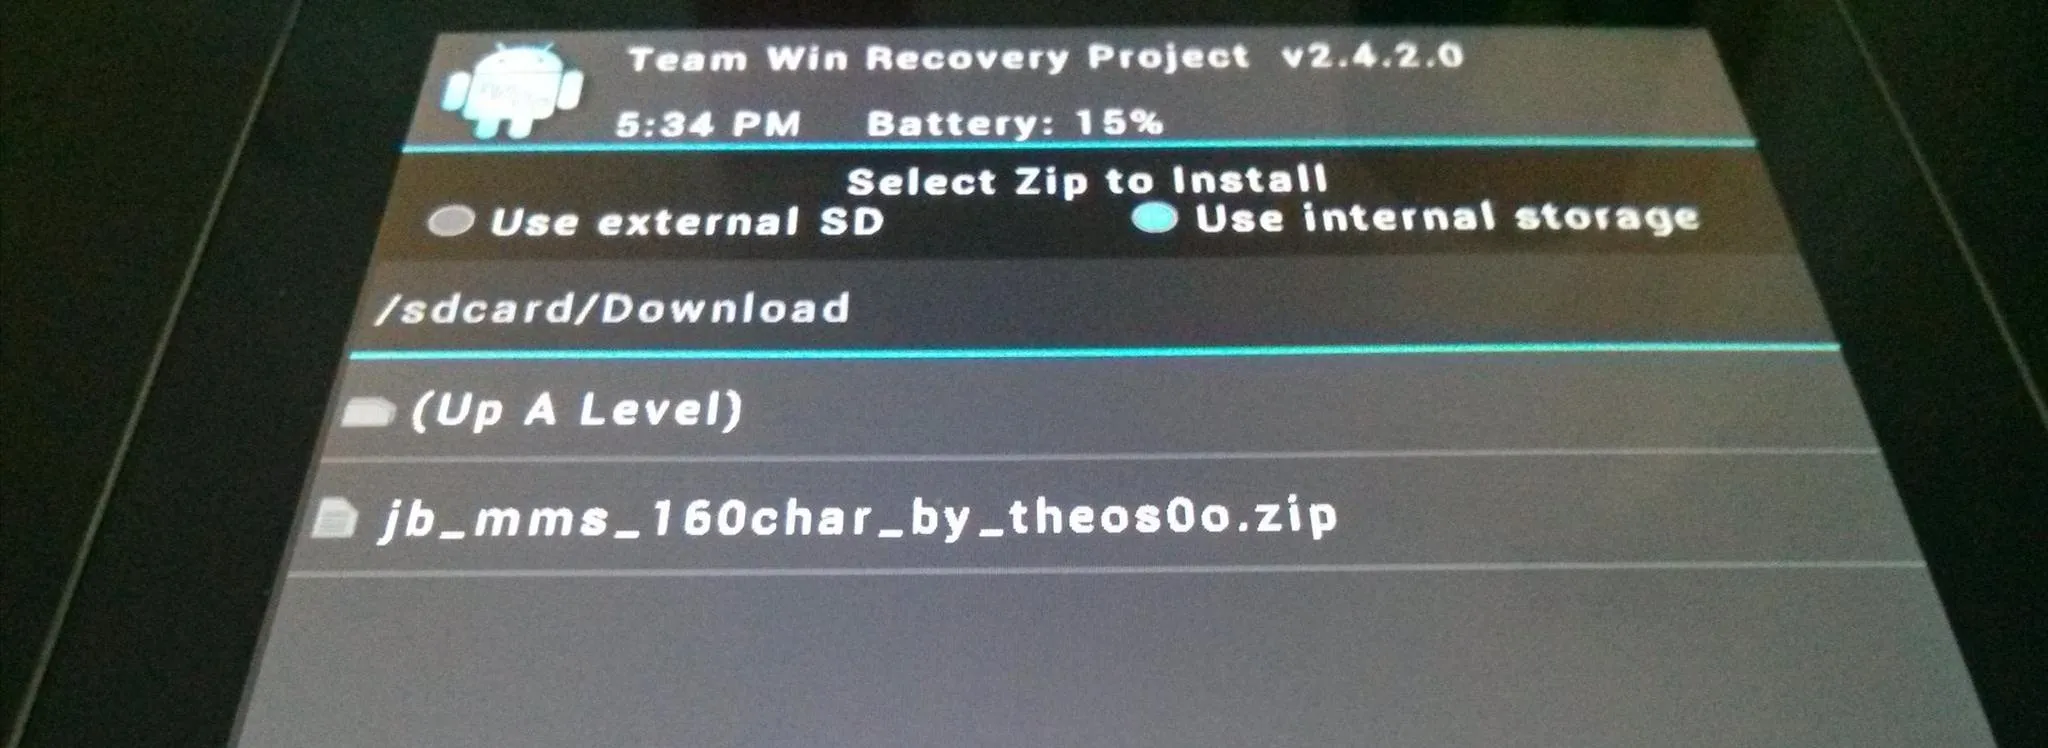


Flash the ZIP file and reboot the tablet.
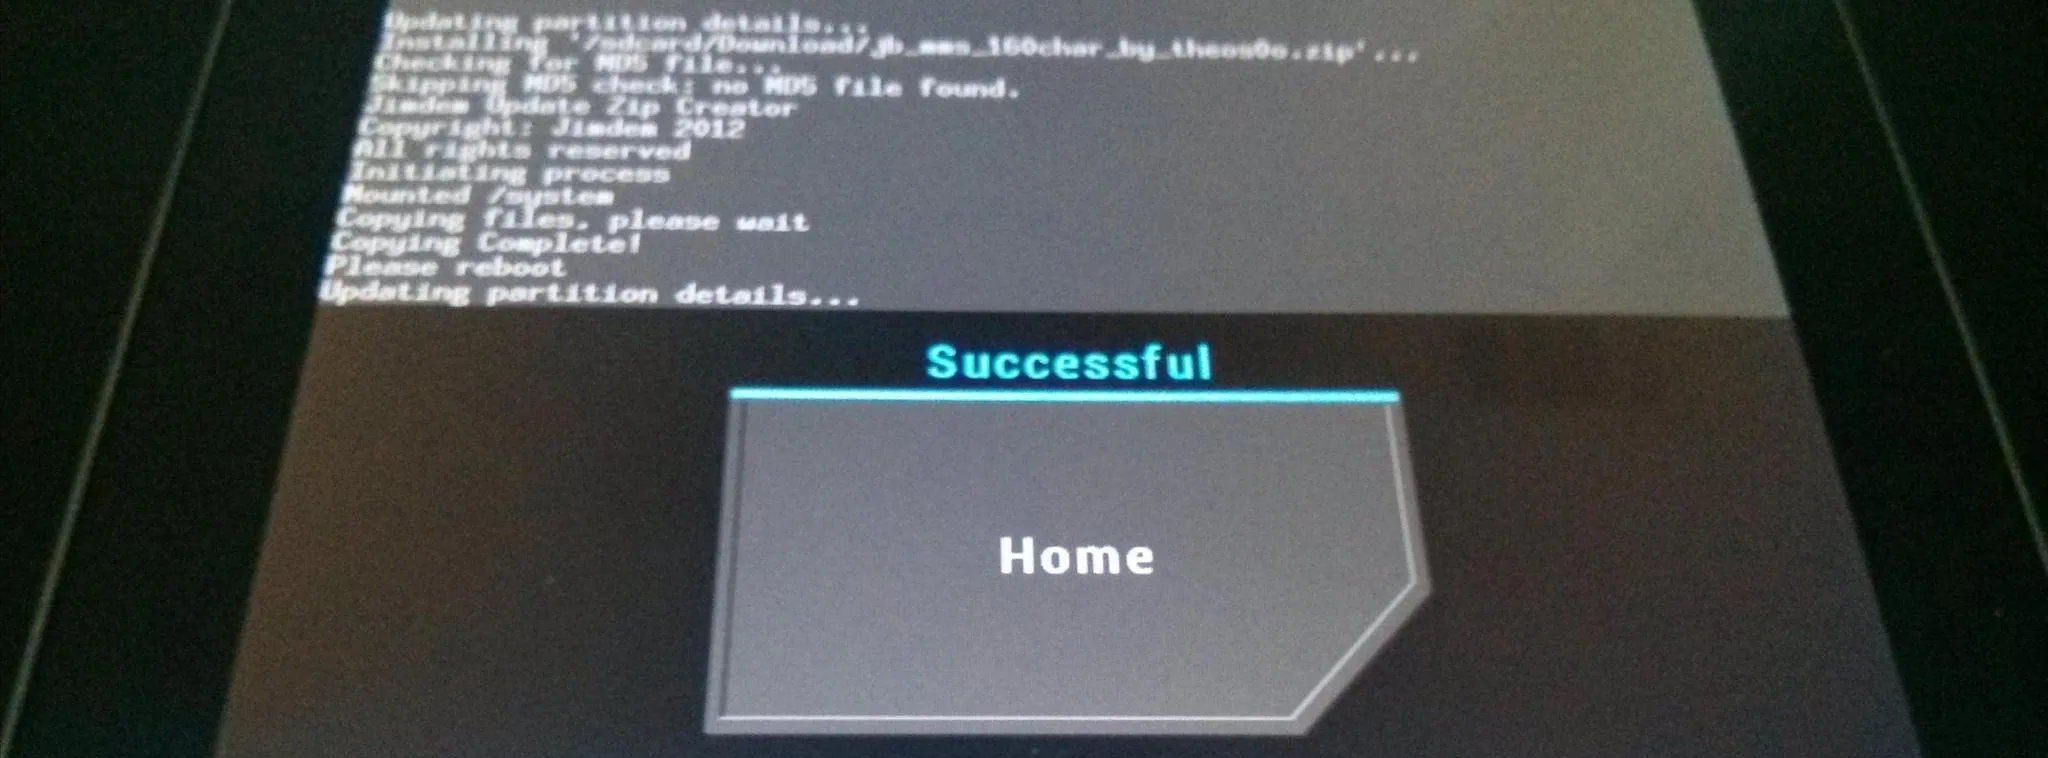


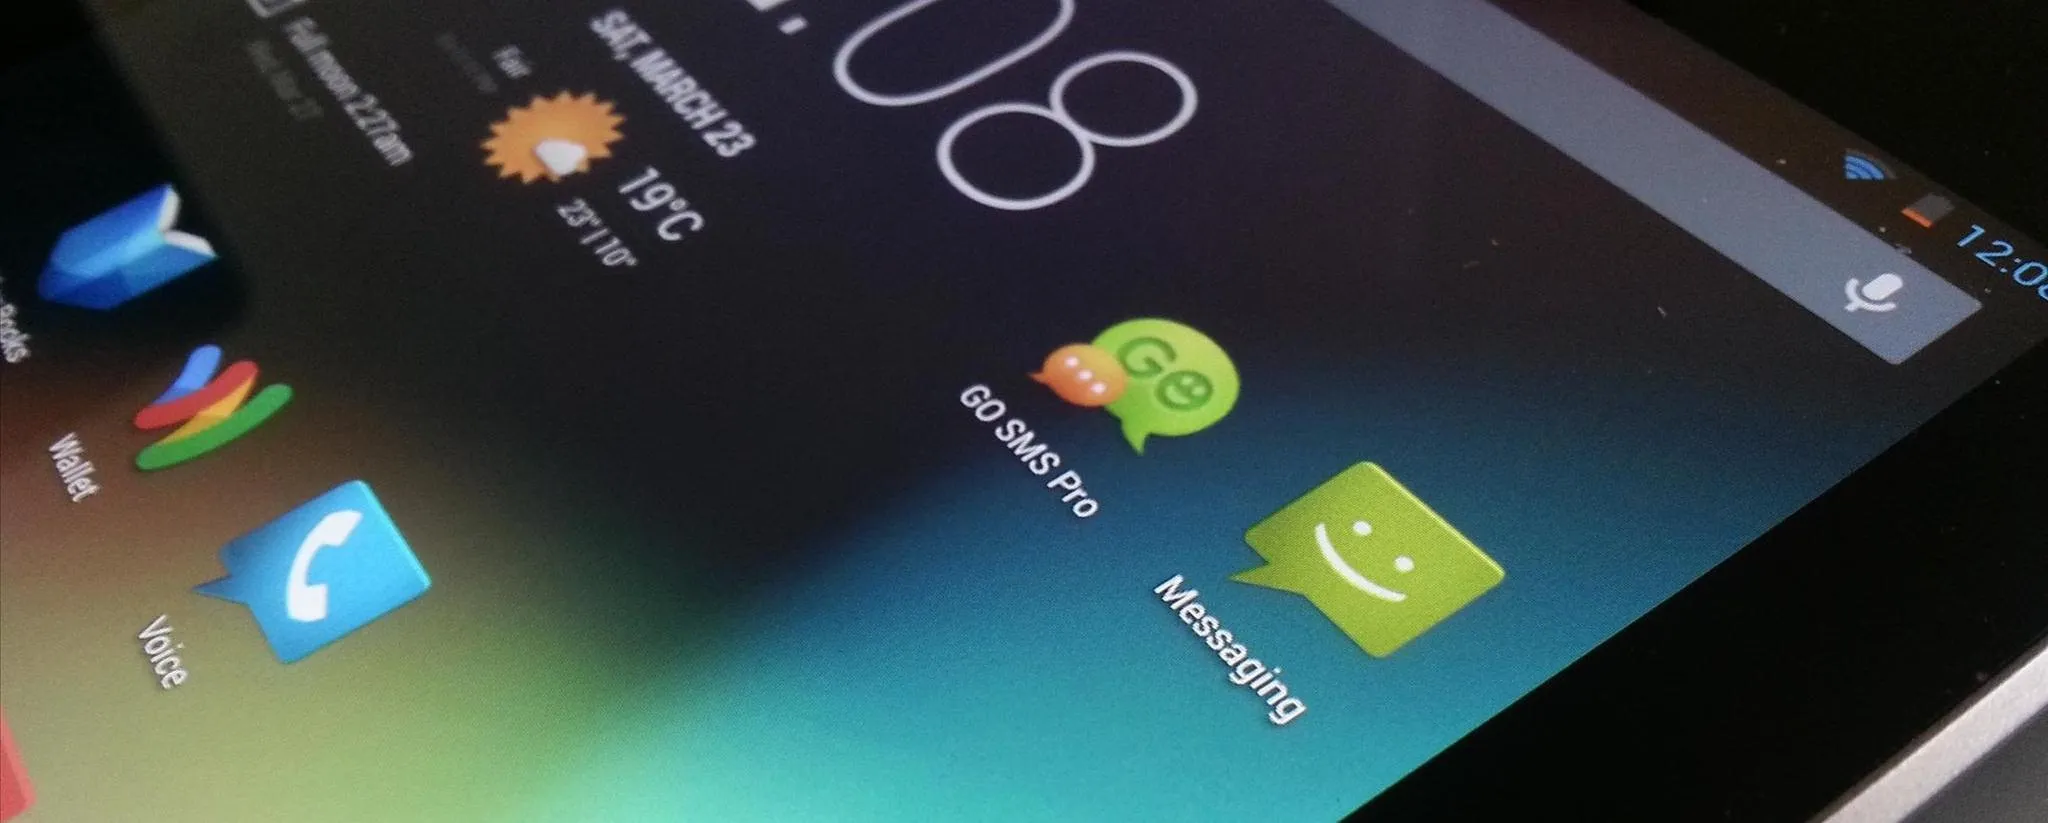
And...success!!! Here you can see both apps installed.
Screenshot of Stock Jelly Bean SMS App:
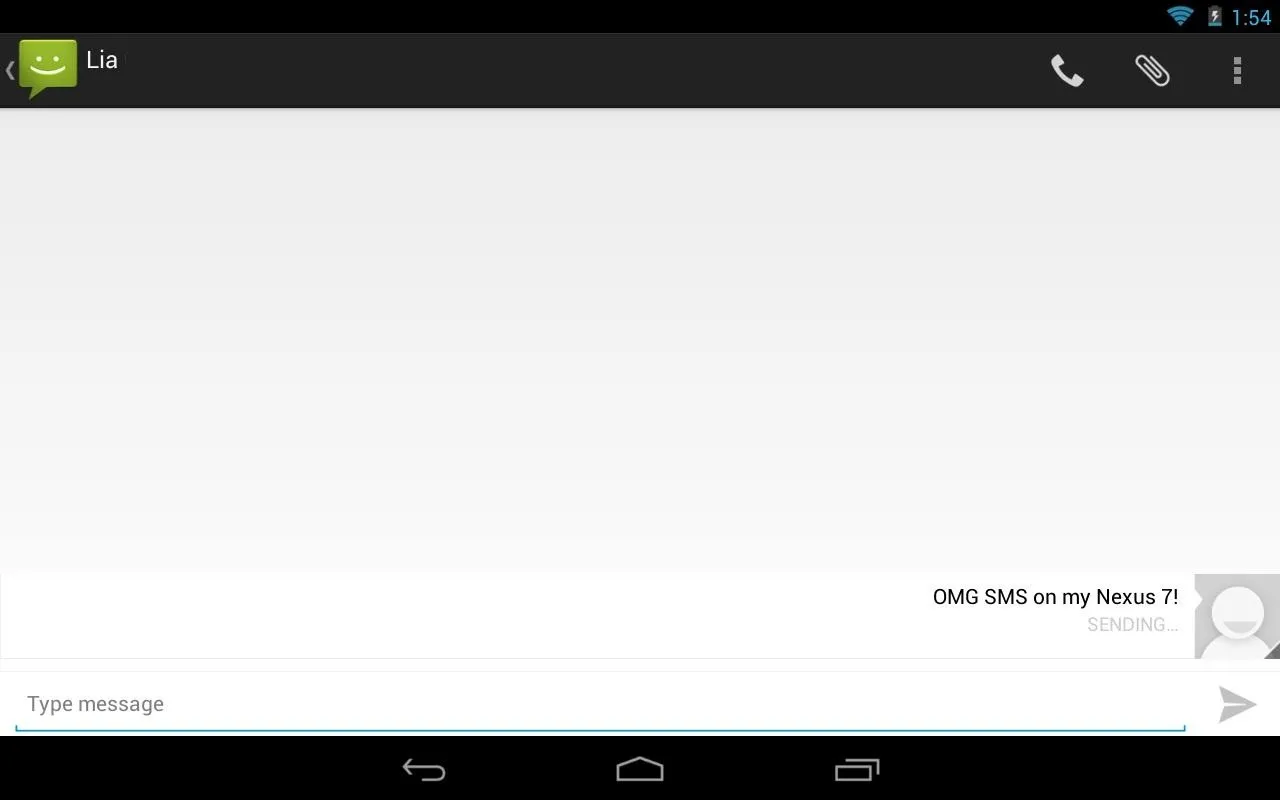
See, that wasn't too hard. Give it a shot and tell us it worked for you!
SIM slot photo by TechHive


Comments
No Comments Exist
Be the first, drop a comment!