WhatsApp is one of the most well-known and most utilized cross-platform chat applications available today. It's free for one year, and only $0.99 a year after, which is chump change when you realize there are no hidden costs like international charges. Basically, it creates an easy to use forum for you and your friends to chat, regardless if they're an Android or iPhone user.
Unfortunately, tablets don't support the application, but that barrier can always be broken. Previously, we showed you how to install WhatsApp on a rooted Nexus 7, but it's a pretty complicated procedure, and if you're not rooted, even more complicated. Lucky for you, there is another way without rooting, and I'm going to show you how it's done.
Please note that this method will not let you sync WhatsApp between your Nexus 7 and other device. You can only have one WhatsApp account per device. I'm not sure why, but that's the way it is. If you want to sync accounts between devices, you'll have to try out the root method instead.
The Two Possible Ways to Activate WhatsApp
Before going any further, let's see which activation method you'd prefer. There are two ways to go about this after you install it on the Nexus 7 tablet.
- Using your own phone number to receive the activation code. This is recommended if you plan on only using WhatsApp on your tablet—not your phone.
- Downloading textPlus, which will generate a phone number for your tablet where you can receive a text with your activation code. If this is what you're planning on doing, check out our softModder guide to using textPlus on the Nexus 7 tablet for information on making free calls and texts.
What You'll Need to Continue
Depending on which activation method you plan on using, you will need the following.
- Either a phone that doesn't have WhatsApp on it, so you can receive the activation code, or textPlus installed on your tablet.
- The official WhatsApp APK downloaded onto your Nexus.
Step 1: Enable Unknown Sources
After you've successfully downloaded the APK from the link above, you'll need to enable the Unknown sources option on your tablet, which allows installation of apps from sources other than the Google Play Store. To do so, go to Settings -> Security -> check Unknown sources.
Step 2: Install WhatsApp on Your Tablet
Now that that's out of the way, head into your Downloads and locate the WhatsApp APK. Tap on it, then hit Install, then hit Done (we'll open the app later).
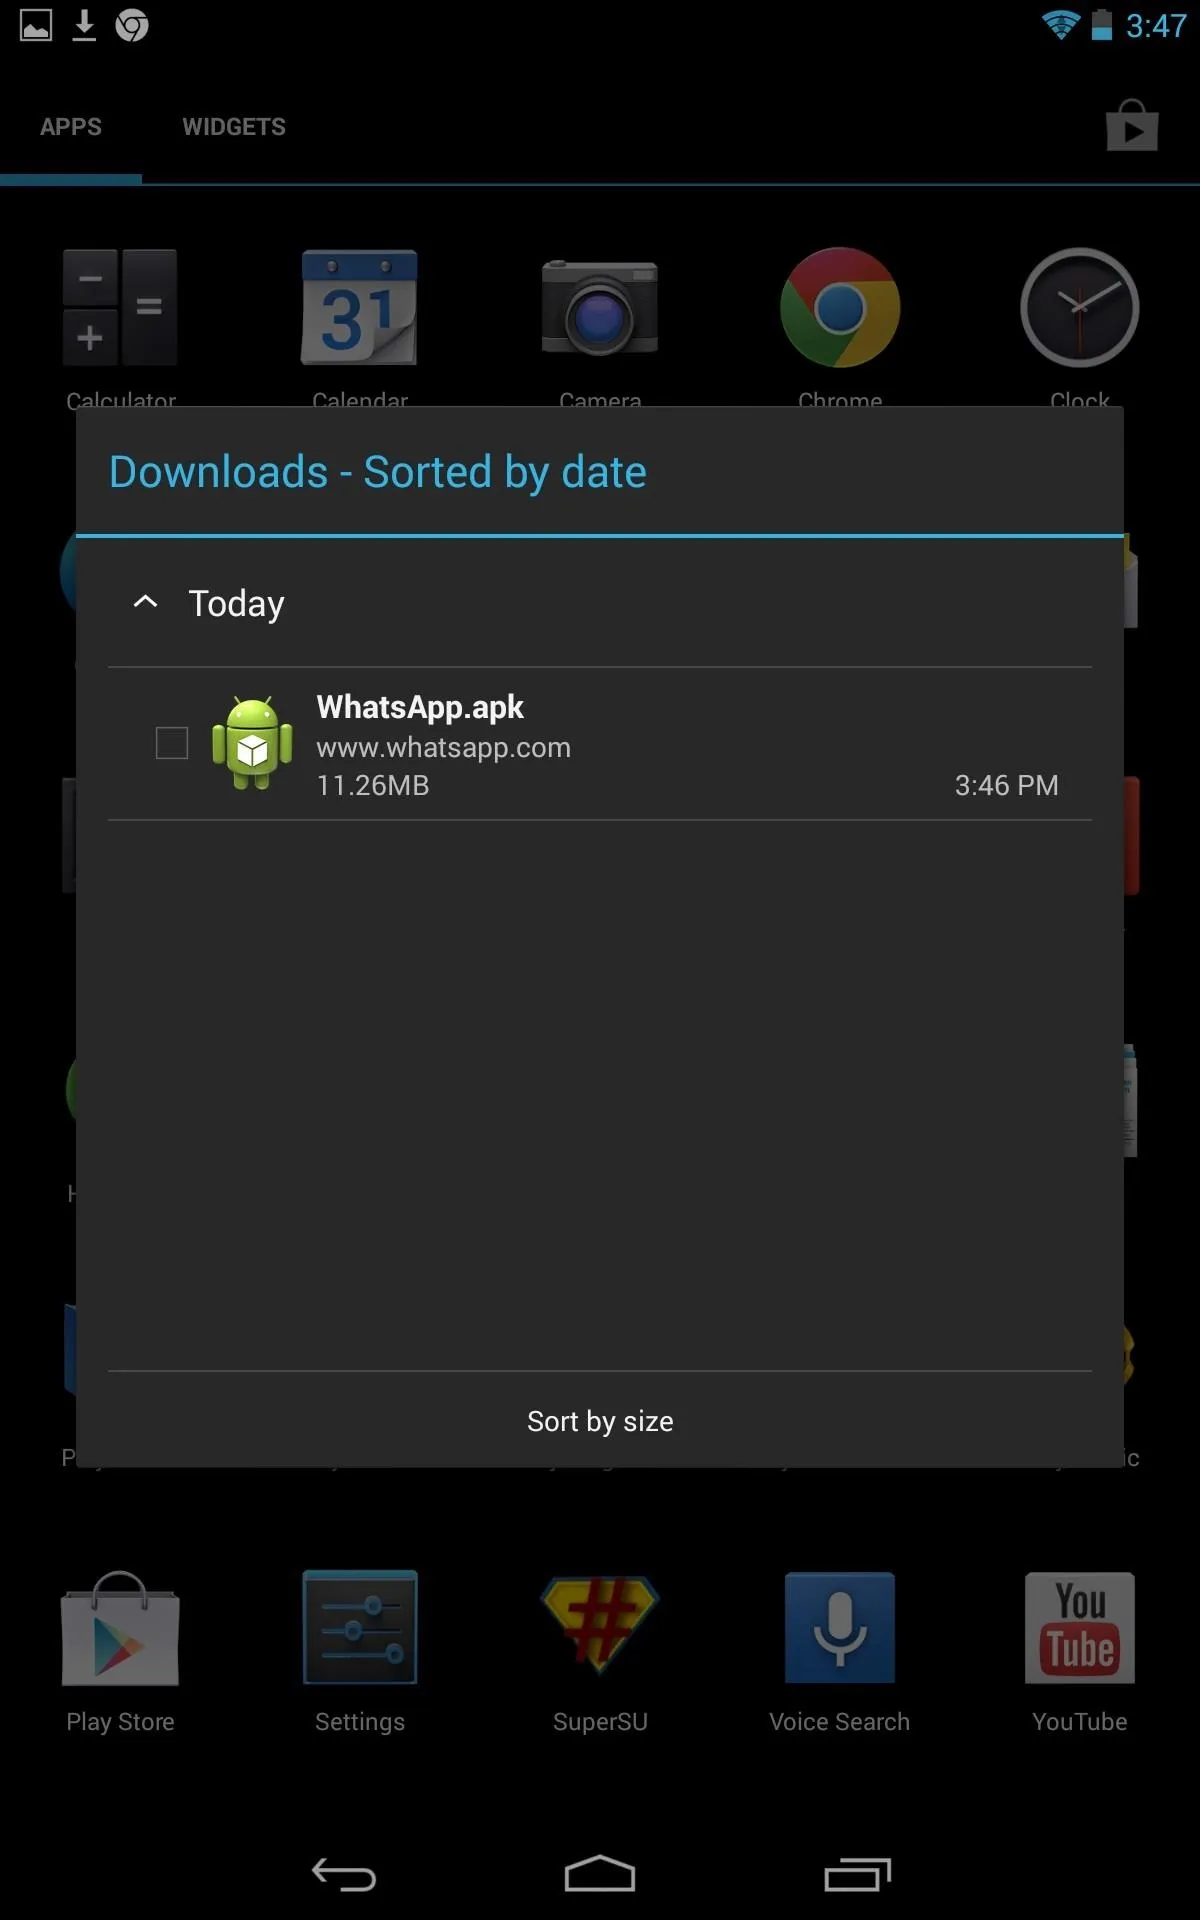
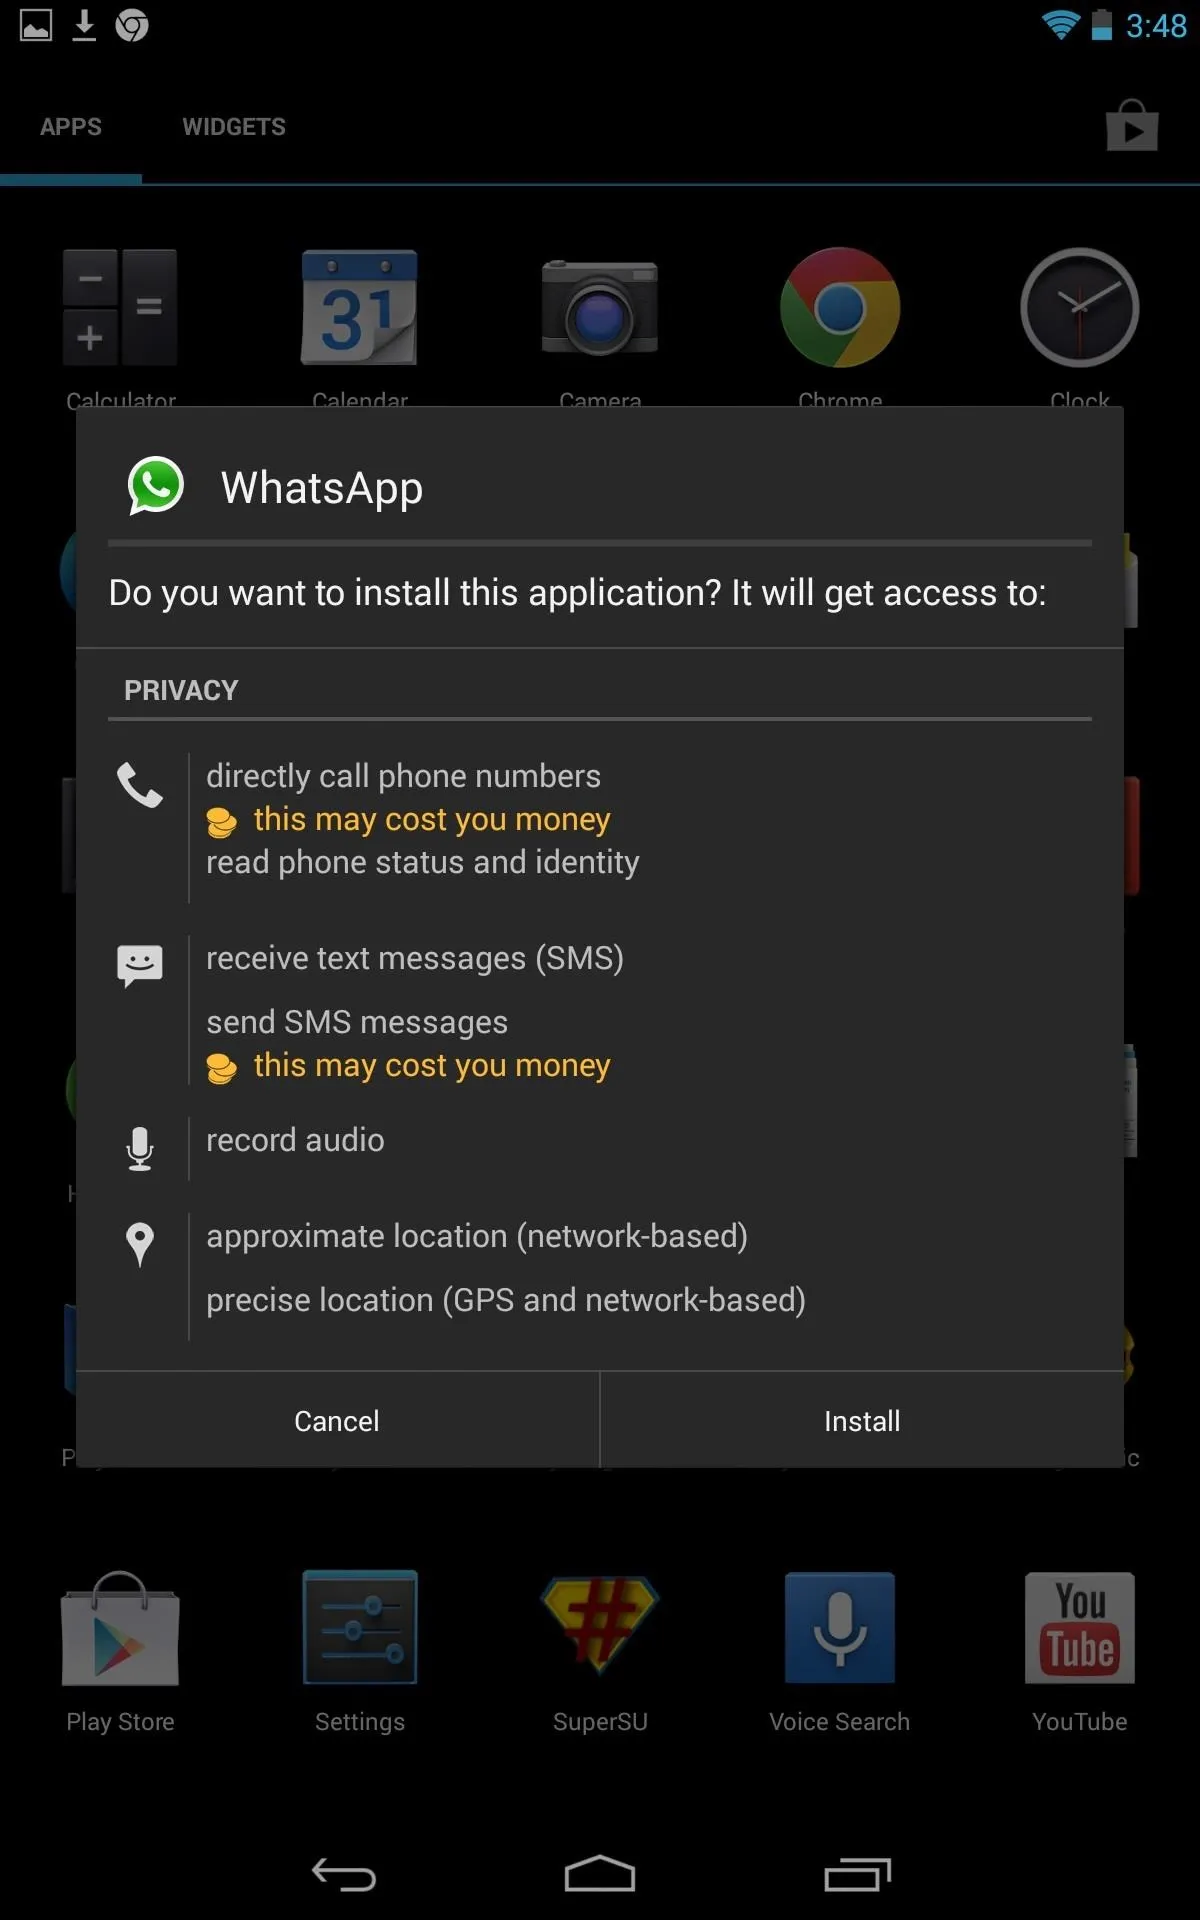


That's it for installation! You should be able to locate the app icon in your applications folder now.
Step 3: Install TextPlus (Optional)
As previously stated, you can use your phone number to receive the WhatsApp activation code, but only if you are not already running it on that same phone.
The alternative is using textPlus on your tablet to generate a phone number where you can then receive the activation code. This means you'll be able to use WhatsApp on both your tablet and smartphone, only they'll be separate accounts and won't be synced.
Install and set up textPlus on your tablet, using your own phone number (don't worry—you'll be assigned a new number after registering). For more information, check out our softModder guide to using textPlus on the Nexus 7 tablet.
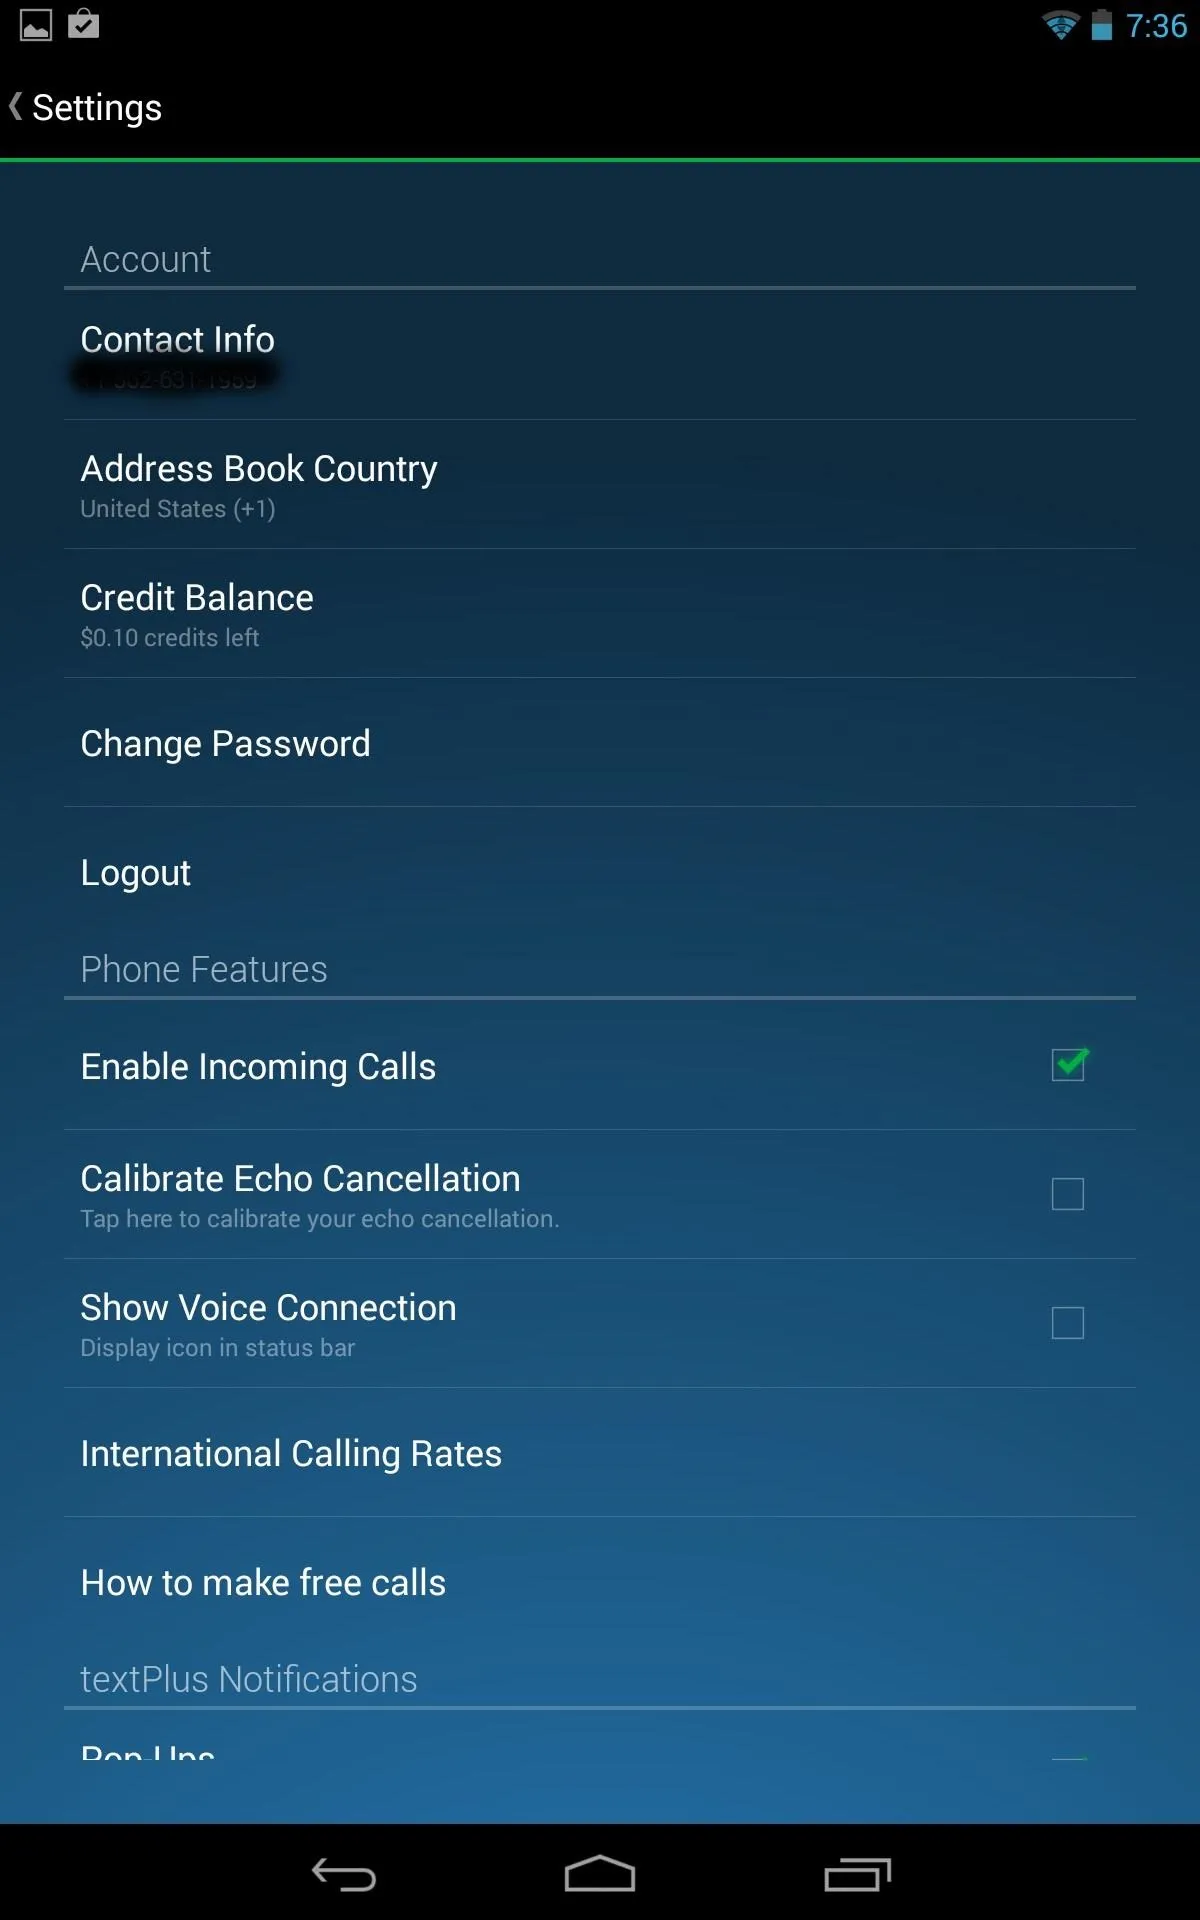
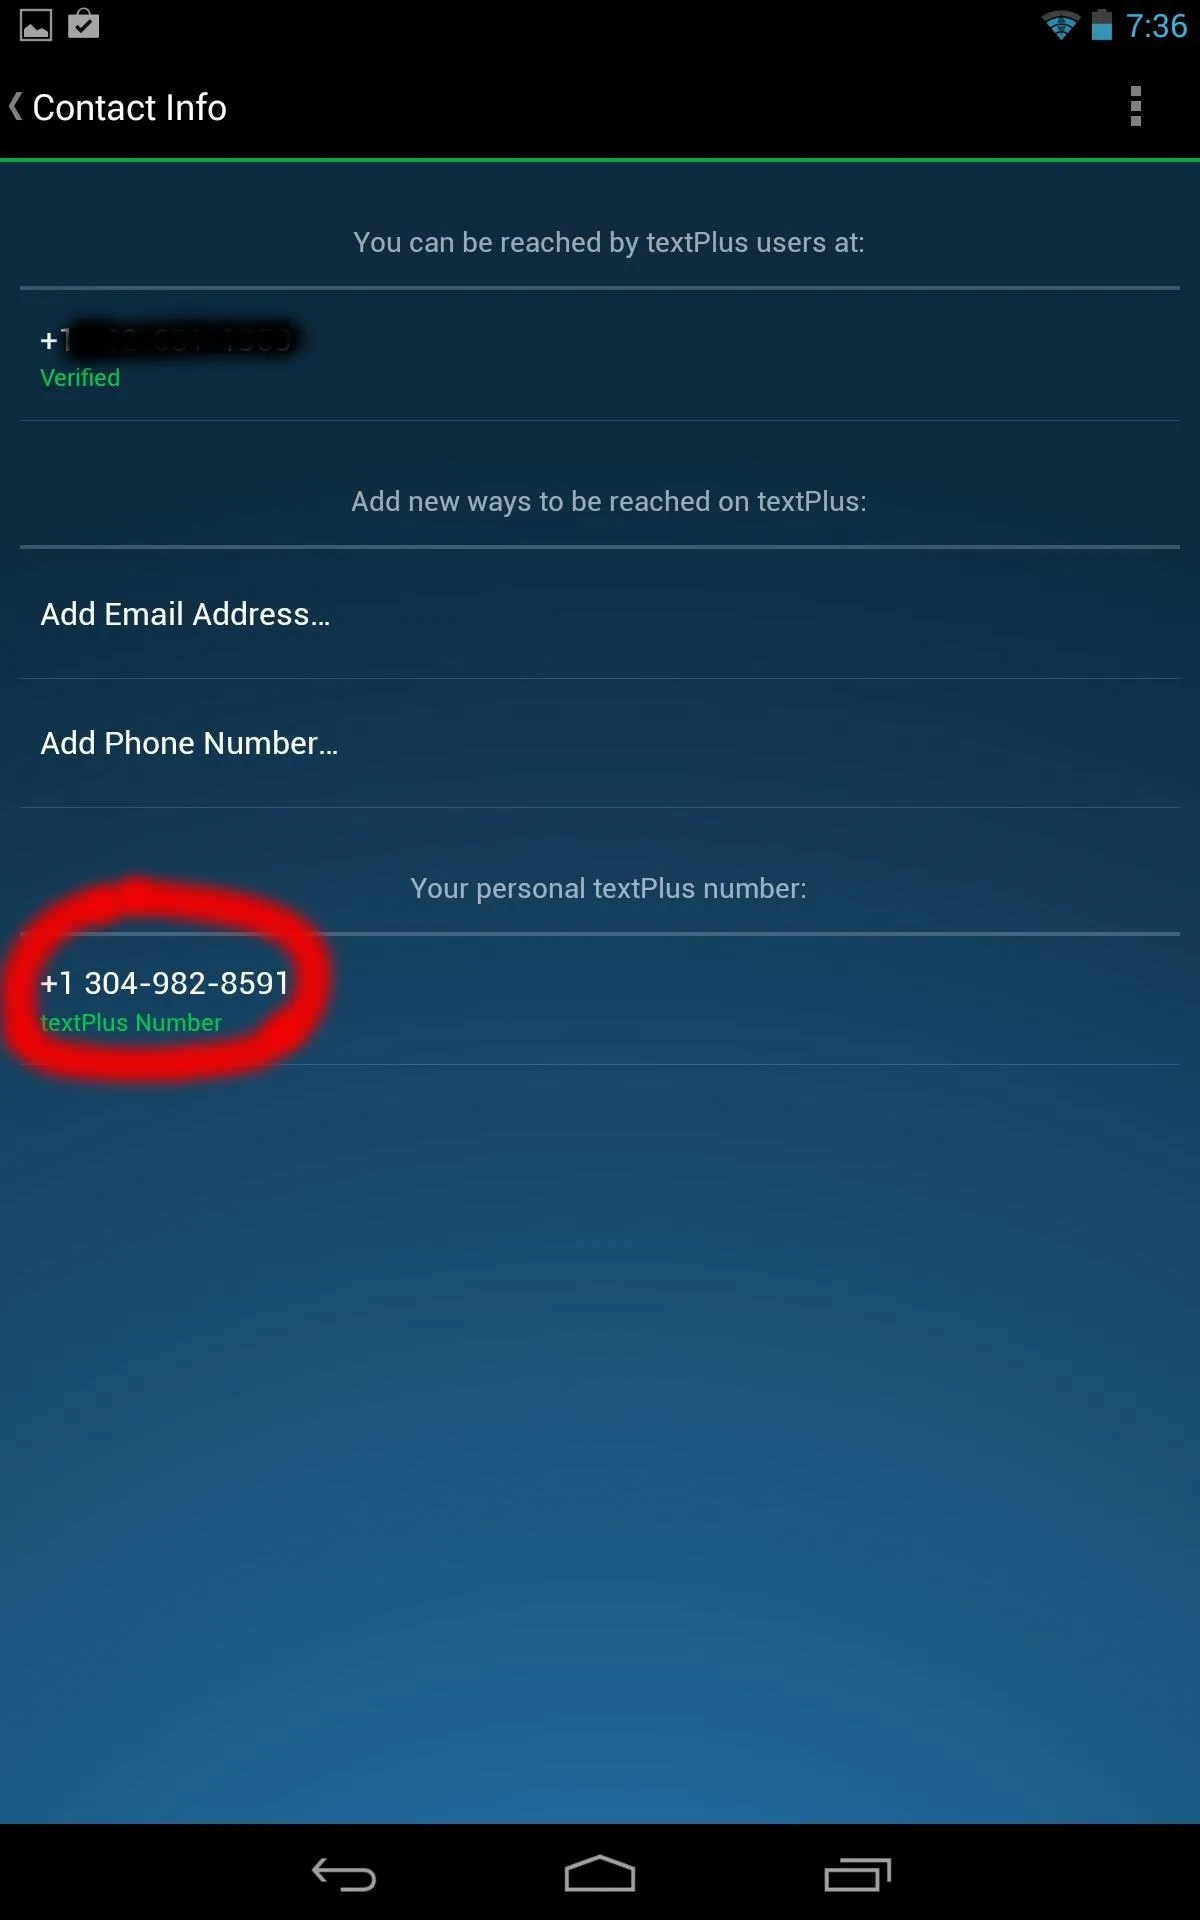
After you've installed textPlus, open the app and go to Settings -> Contact info and locate your textPlus number.


Step 4: Activate WhatsApp on Your Tablet
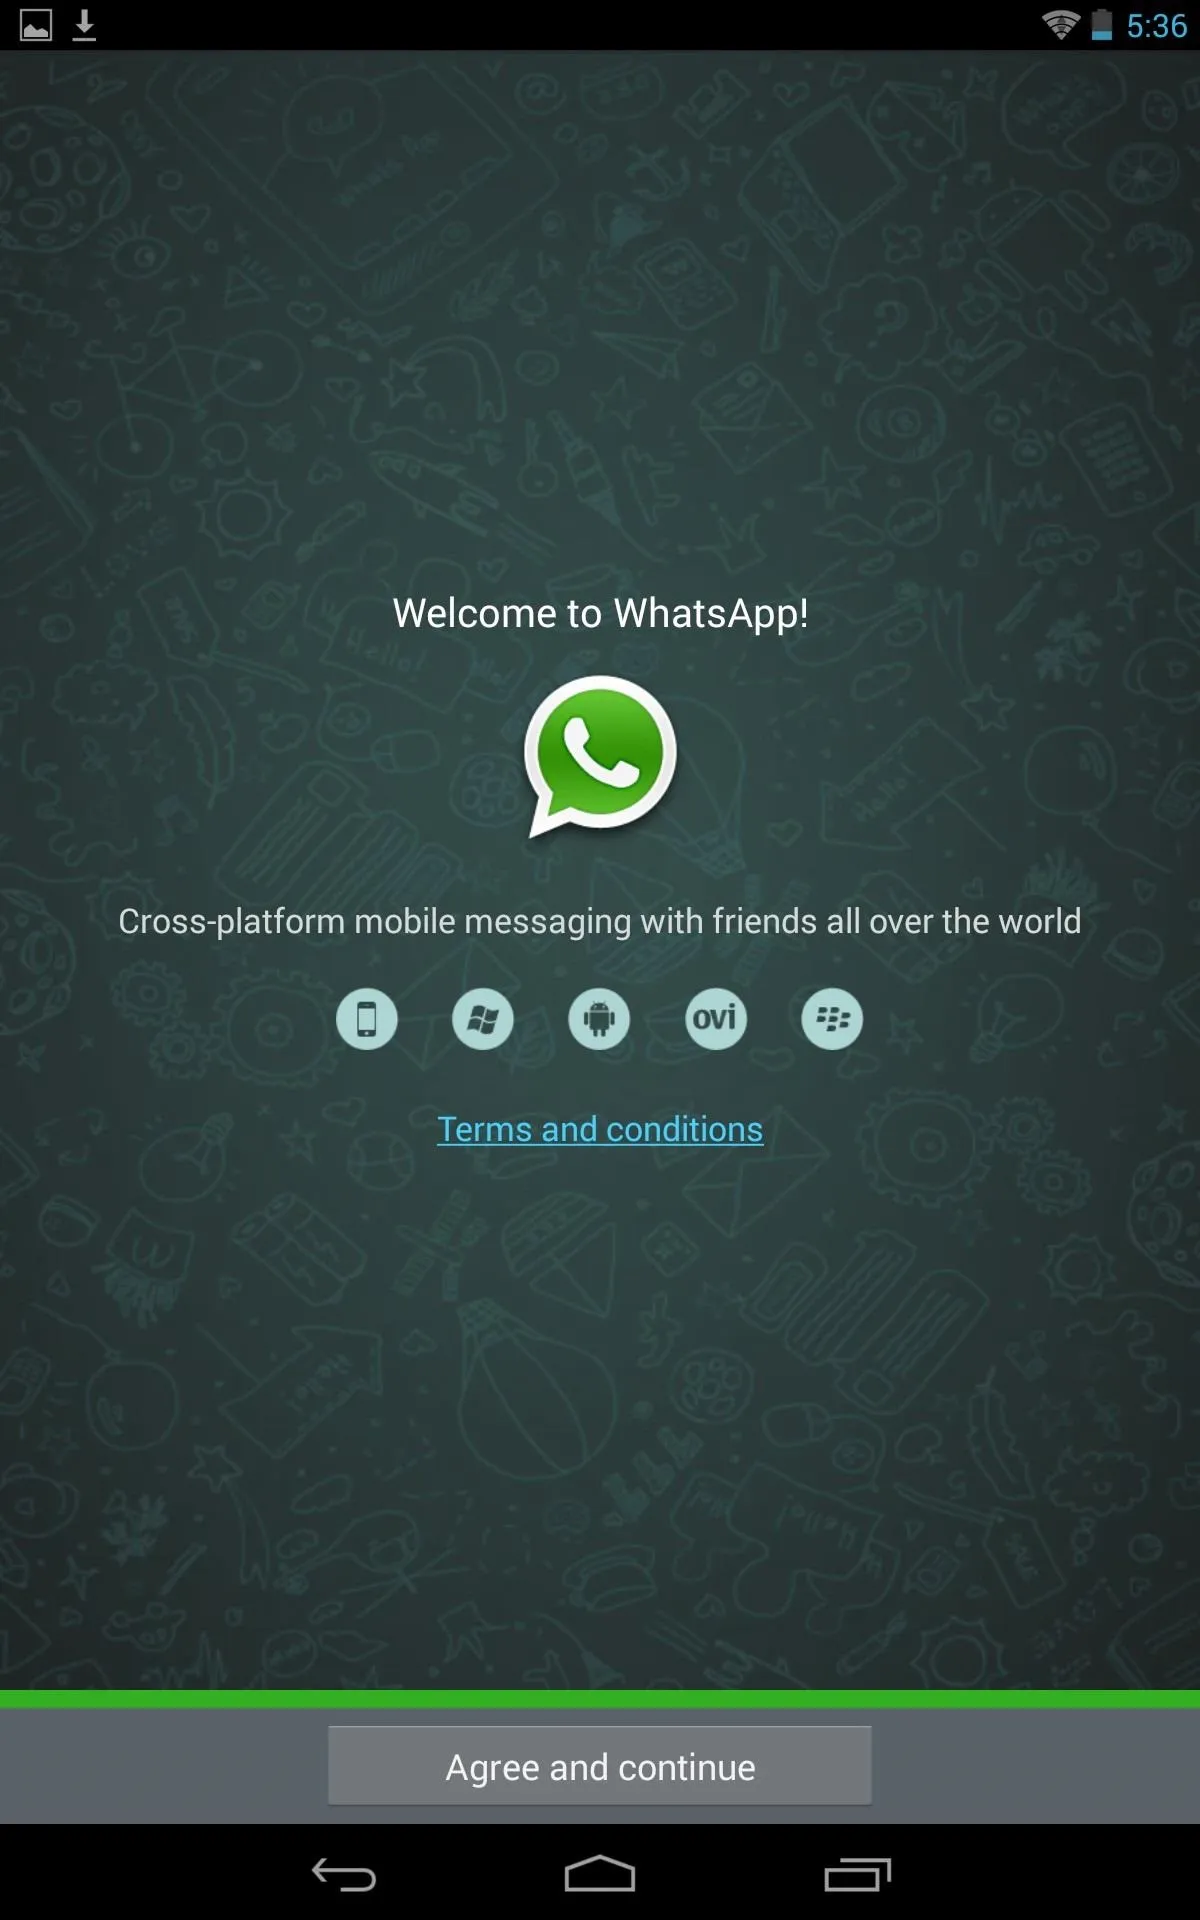
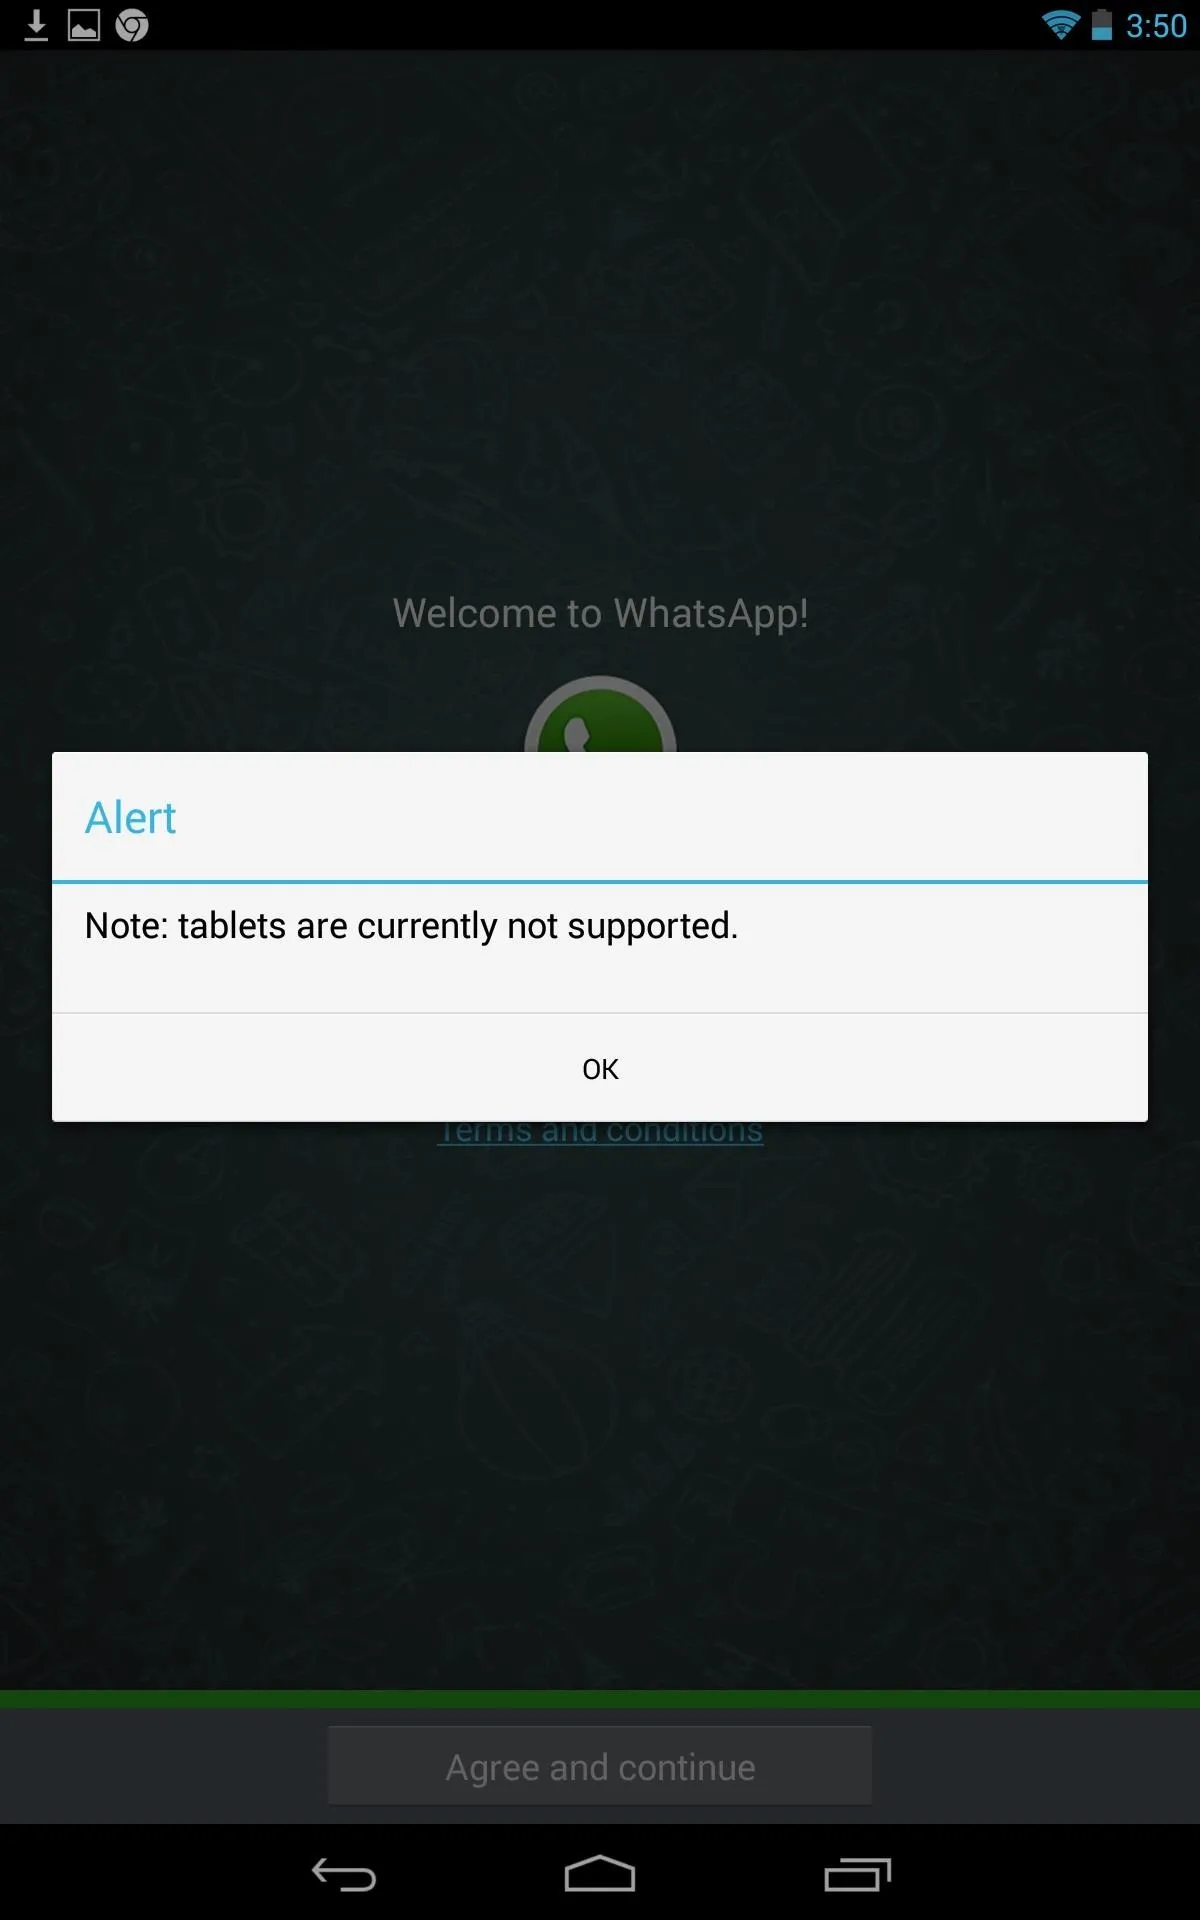
Open the WhatsApp application and you'll see the welcome screen. Click Agree and continue. You will notice a notification saying "Note: tablets are currently not supported." Ignore it and select OK.


You will now be in the setup screen. All you need to do here is select your country and input a phone number where you can receive your code via SMS text or call. Use either your real phone number or textPlus number, depending on which method you chose above.
Sometimes the SMS message will fail. Don't worry, just try again or choose to receive a phone call with your code instead.
Step 5: WhatsApp Your Heart Out
Once you receive your code, type it in and you'll now be ready to enjoy chatting away with your friends. What more can you ask for? It's easy, free (initially), quick, and you don't even need a rooted device!
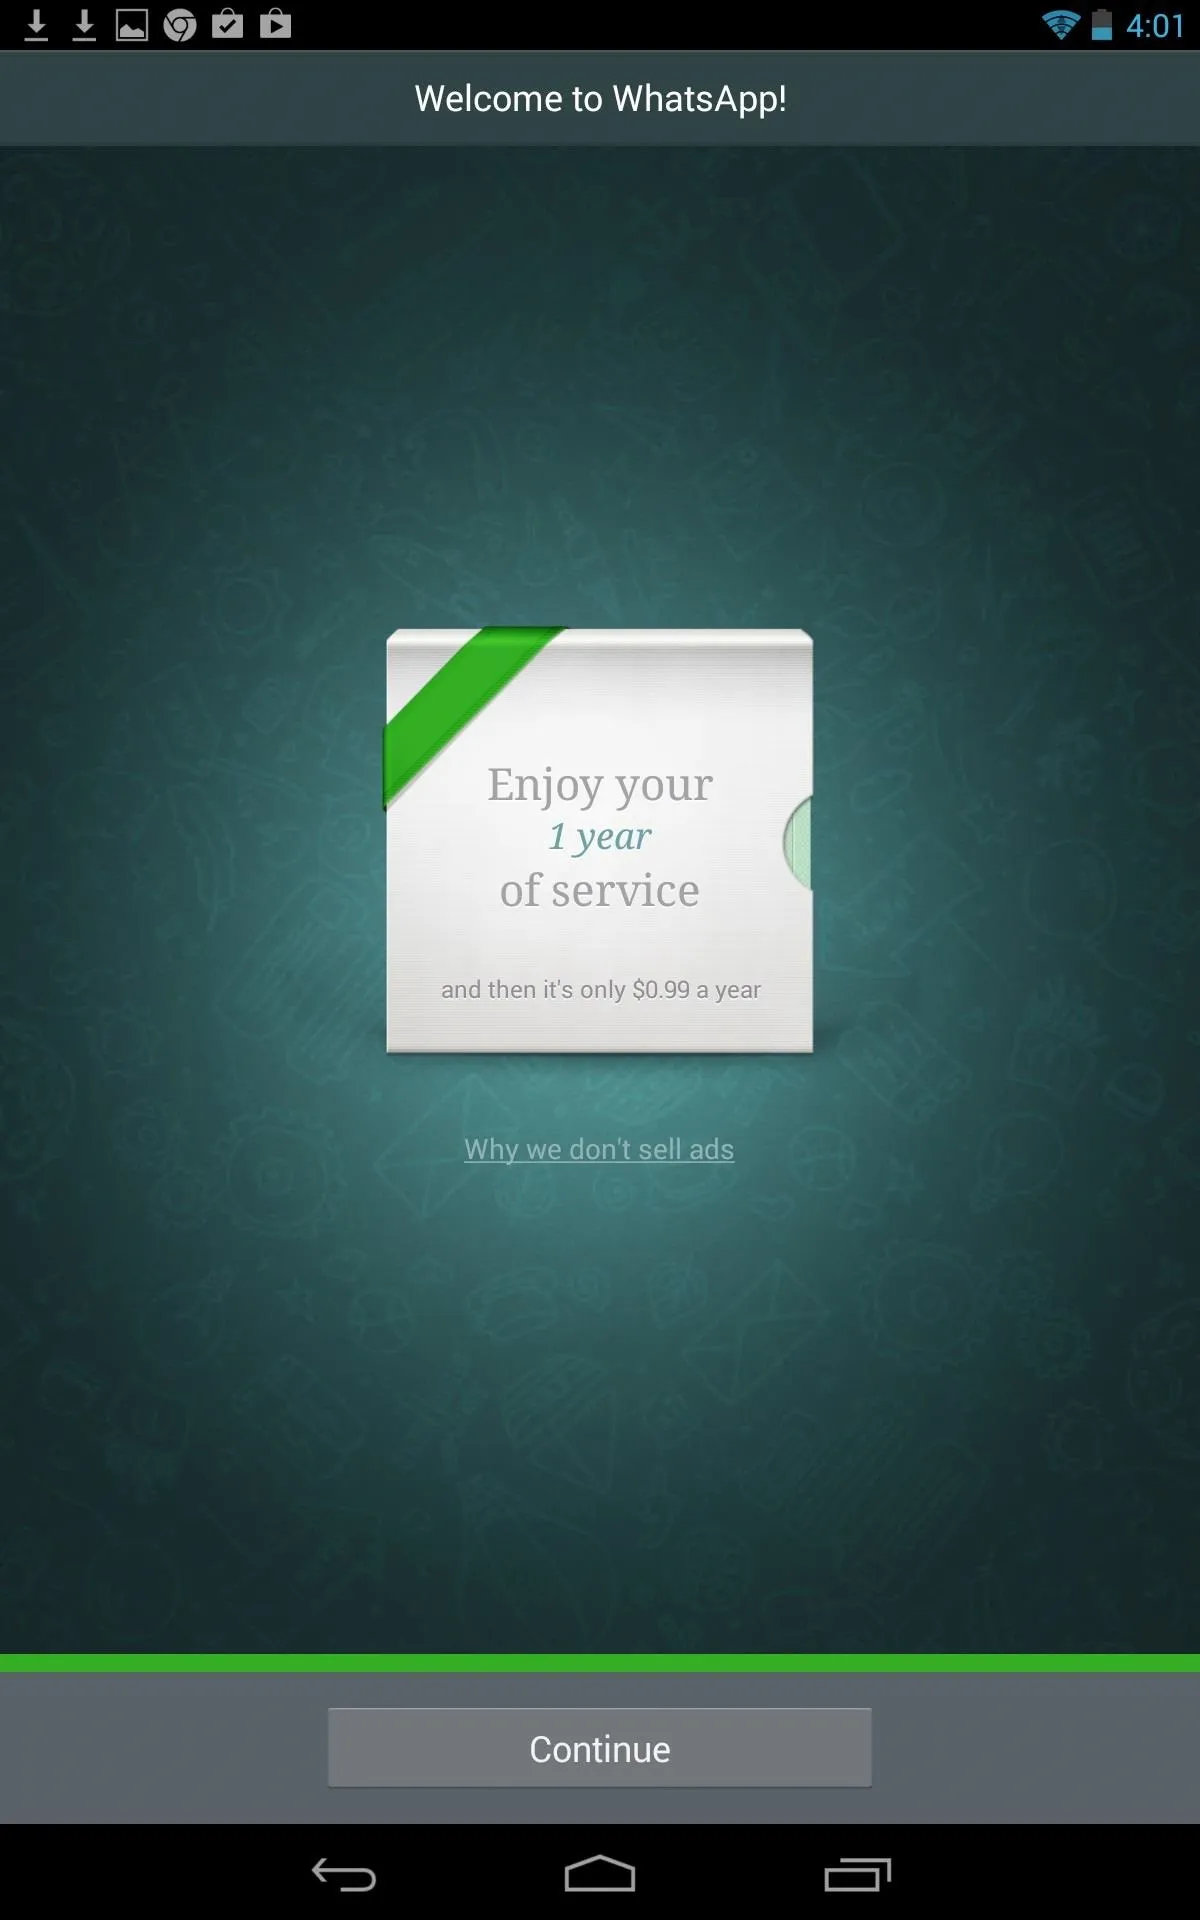
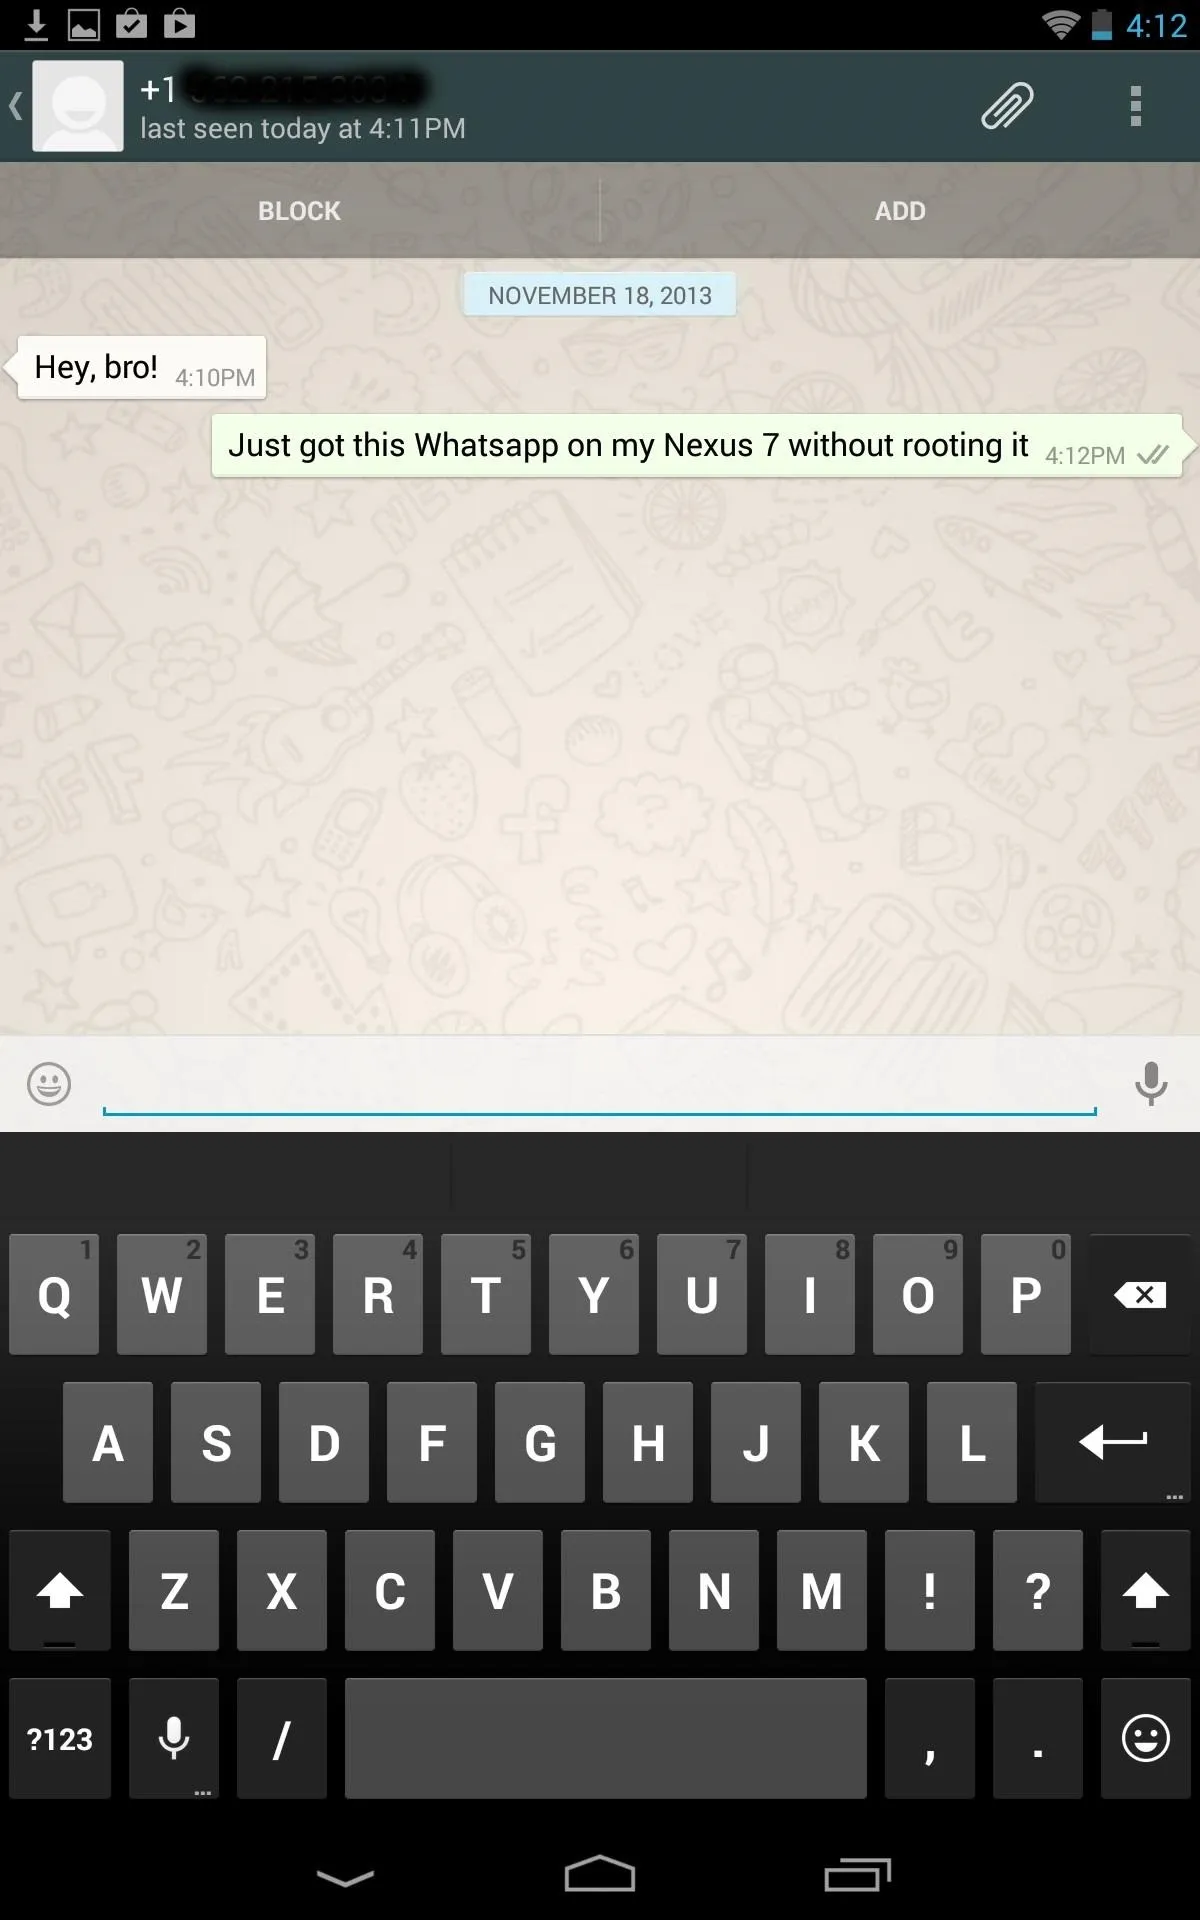


Hopefully this was easy and straight forward for all of you. In the case that you do run in to any trouble, leave a comment and I'll make sure to try and help you out.
Try It Out on a Different Tablet
This guide was executed with the Nexus 7 tablet, but that doesn't mean it's limited to just this tablet. This can work for most Android tablets, like the Galaxy Tab, so why not give it a try? No rooting, no risk.


Comments
No Comments Exist
Be the first, drop a comment!