There is no SD card support on the Nexus 7, so managing internal storage can be tricky. There are ways to free up space, but the biggest space hog on my tablet is music, and that's not something I'm willing to delete just yet.
I could add more storage space with a USB drive, but what if I forget it when I need my tunes the most? The key is to ditch space-hogging MP3s for good and start living in the cloud-based world.
I've already shared a bunch of ways to get more out of the music on your Nexus 7, and now we can add another tip to that list—put your music on Google Drive or Dropbox and stream it from there.
Step 1: Install CloudAmpz Free
To save space and still have your music, download and install CloudAmpz, available for free on the Google Play Store, from developer Fusego.

While other music players can connect you to your cloud services, they still require you to download the tracks, which sort-of defeats the purpose. CloudAmpz lets you actually stream your music from your Google Drive or Dropbox accounts.
Of course, this means that you will need to be connected to a Wi-Fi hotspot to stream, but that's rarely a problem for me these days. Those of you with mobile data versions of the Nexus 7 will also be able to stream using cellular connections.
Step 2: Upload Your Music Collection
To get started, you will obviously need a Google Drive or Dropbox account, and your music uploaded to that account. The CloudAmpz app supports MP3, FLAC, and OGG file formats.
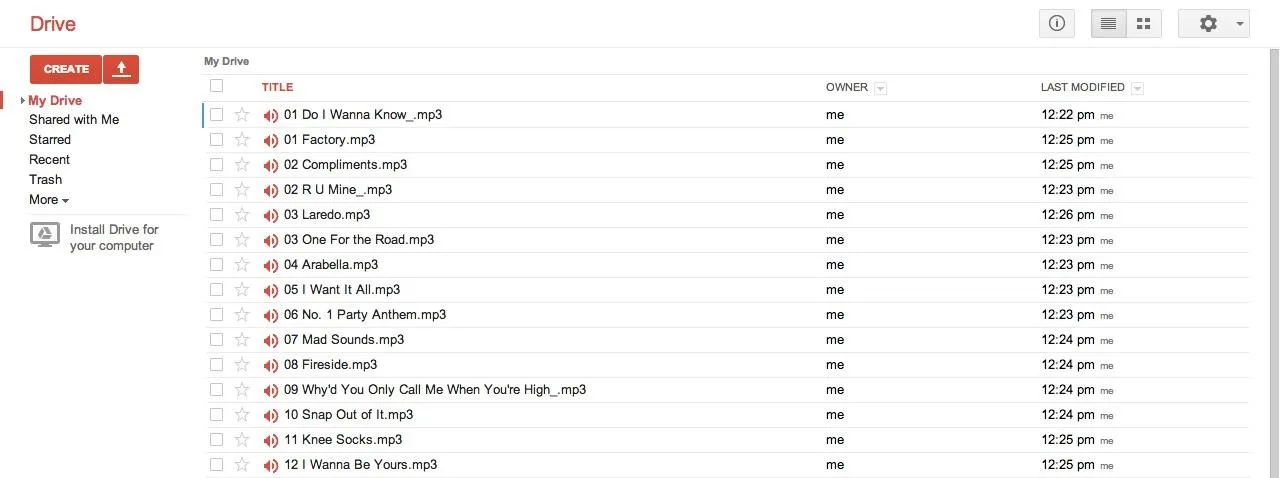
Once you've transferred your music library to one of these cloud storage accounts, you're free to delete the music files off your Nexus 7's internal storage.
Step 3: Link Your Cloud Account
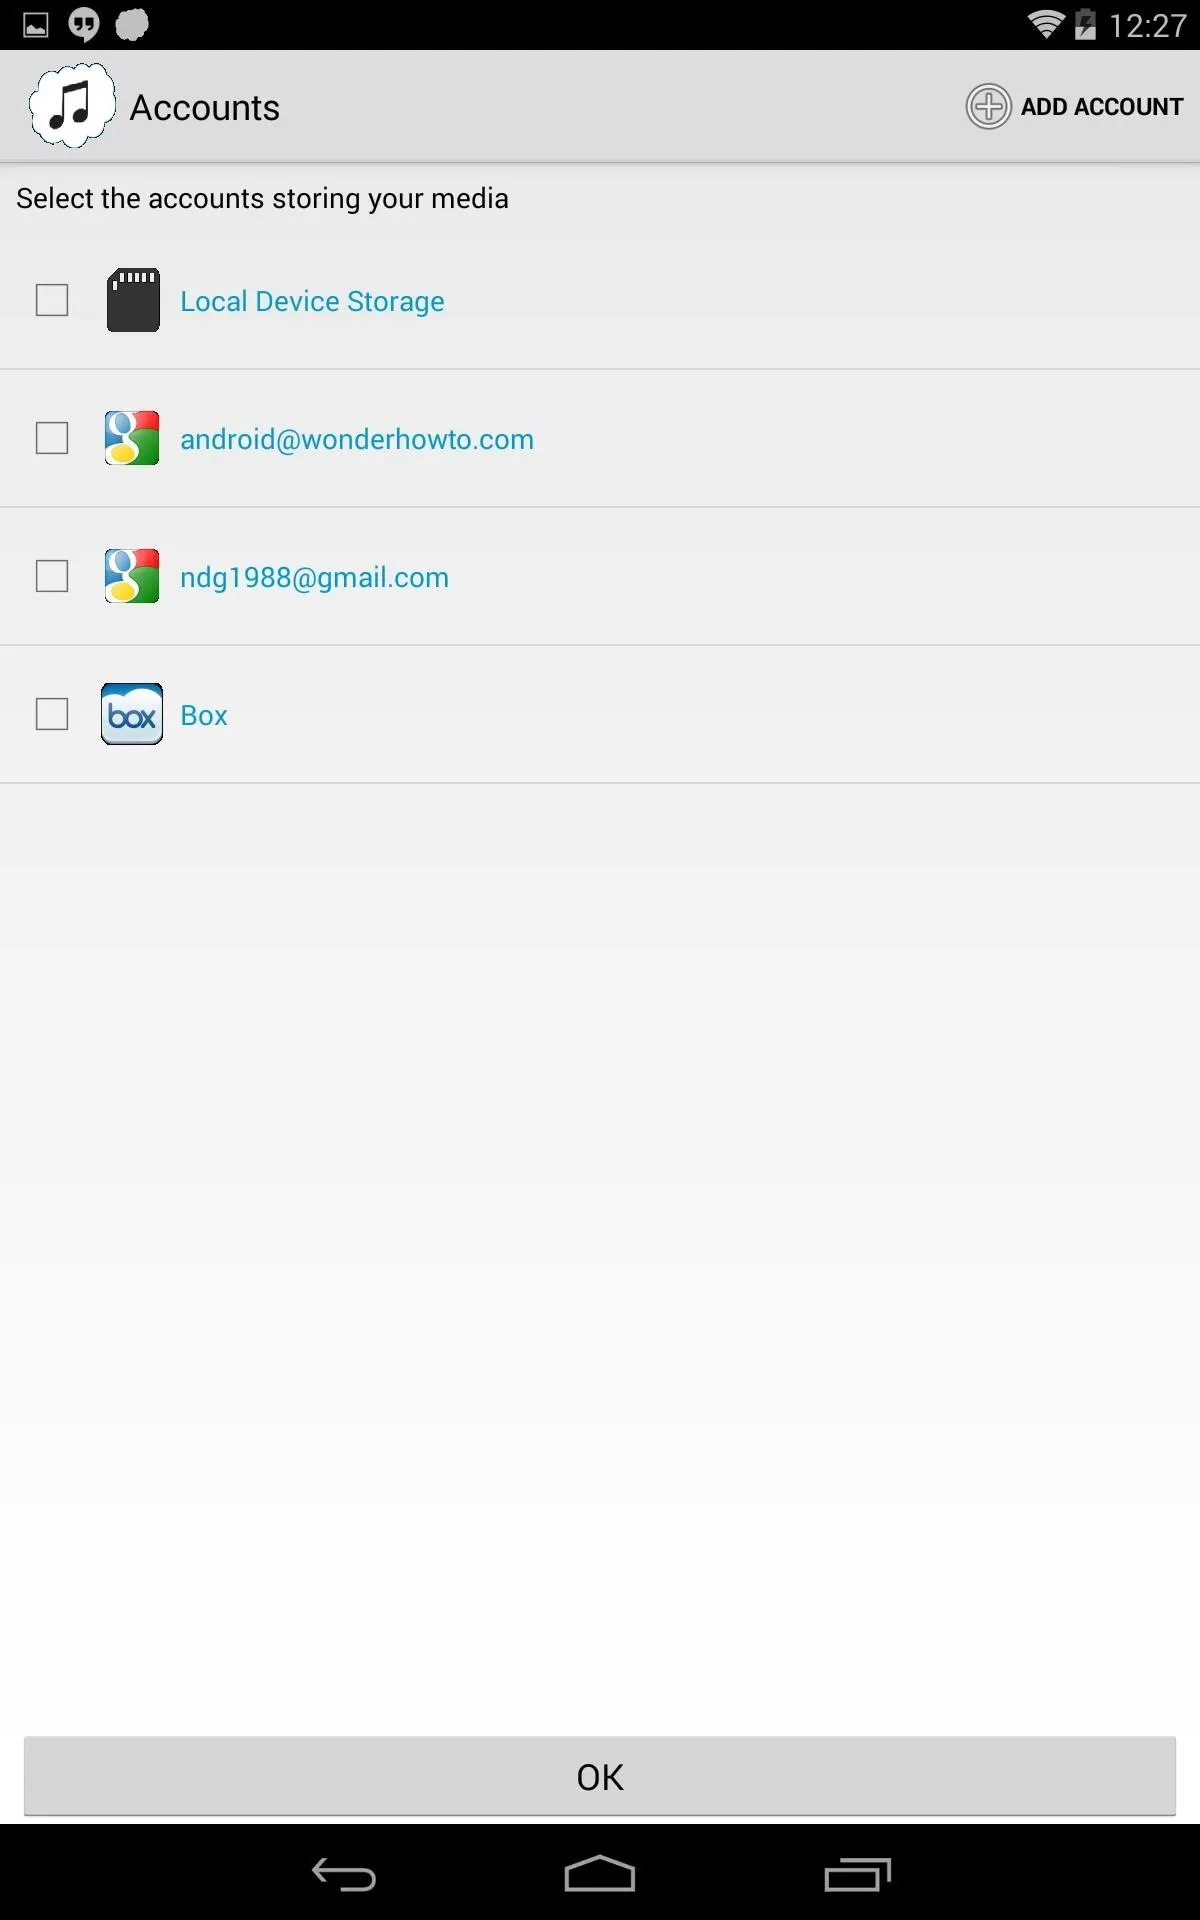
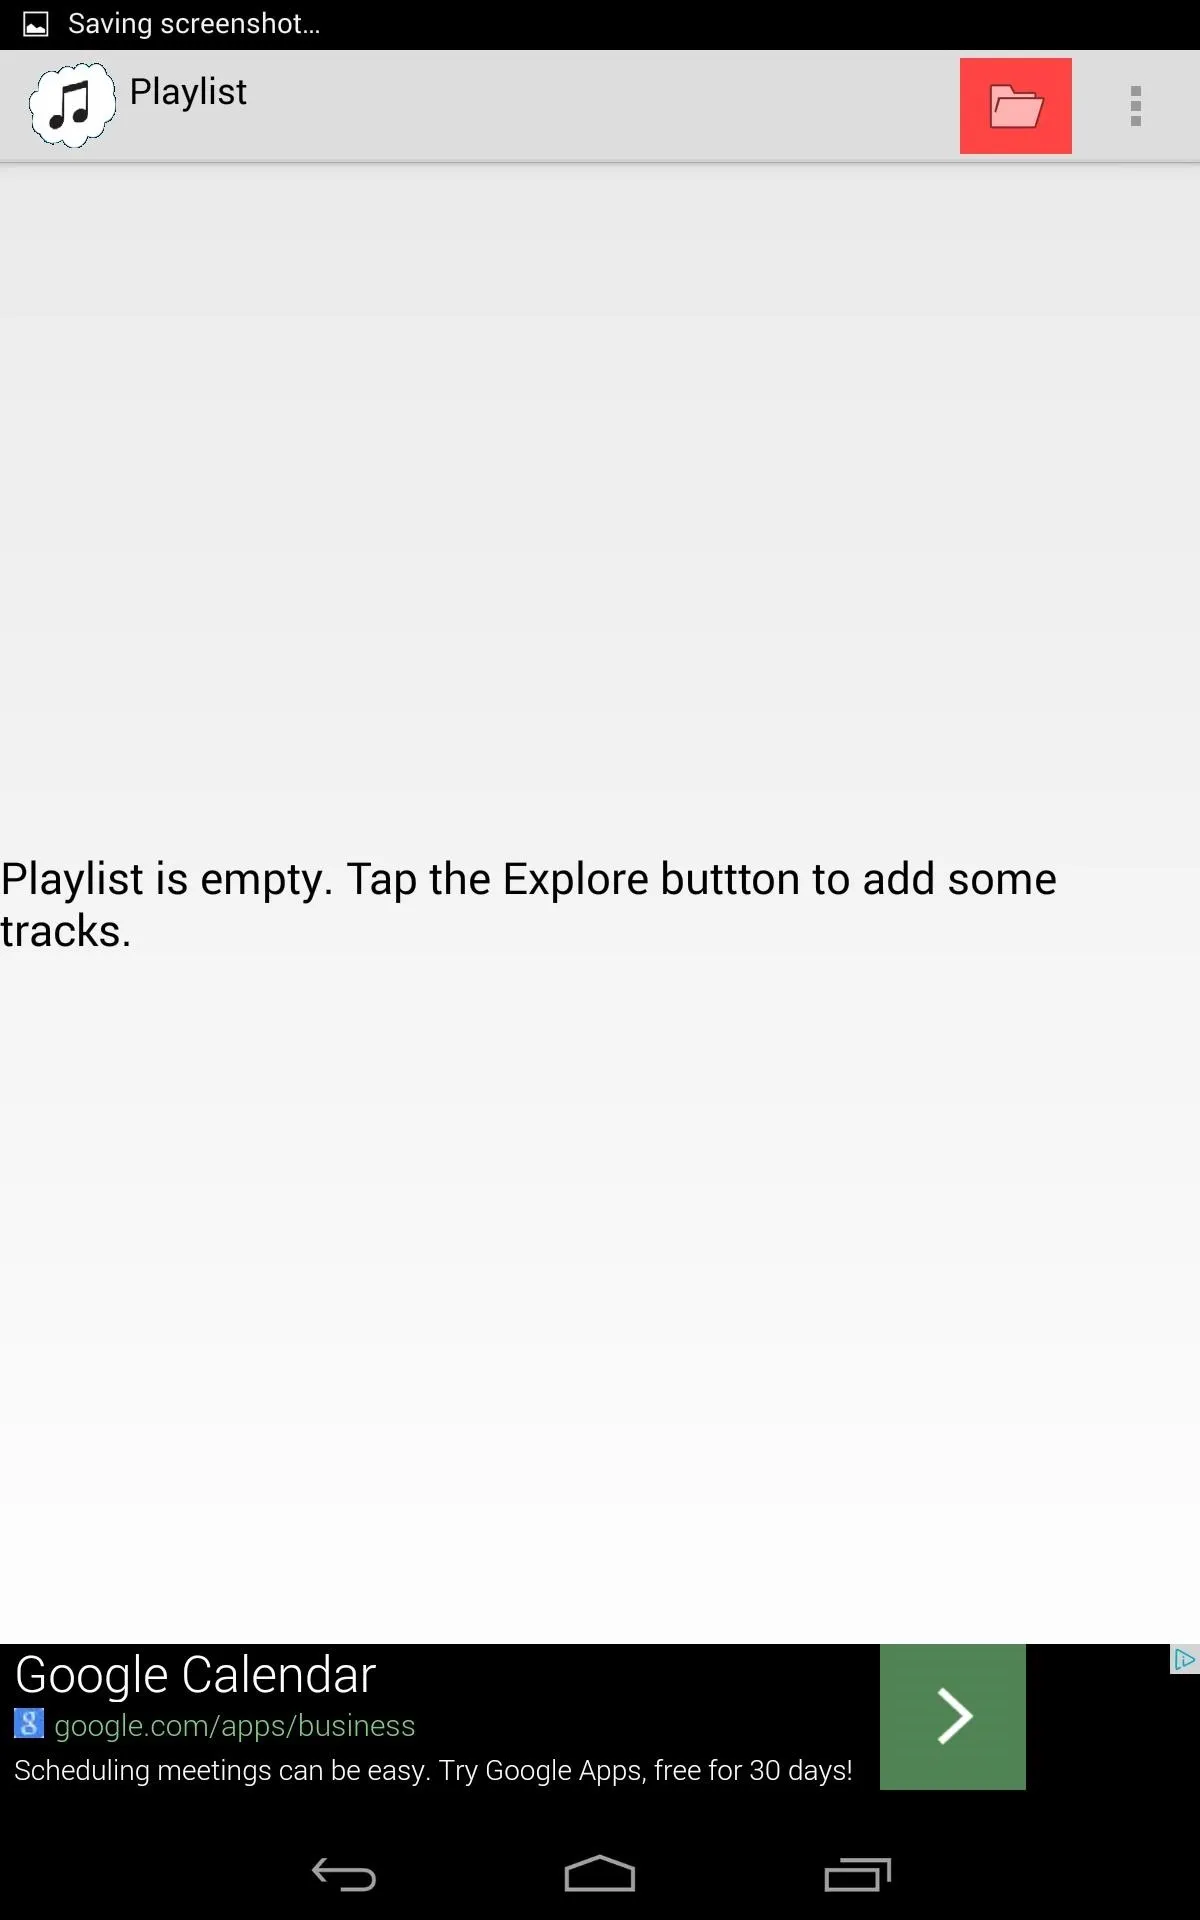
Now that your music is on your cloud account, open up CloudAmpz and select the account where your media is stored, then tap the flashing red file to add music.


Step 4: Add Music to CloudAmpz Playlist
Select the files you want to add to your playlist and tap the addition symbol on top of the page.
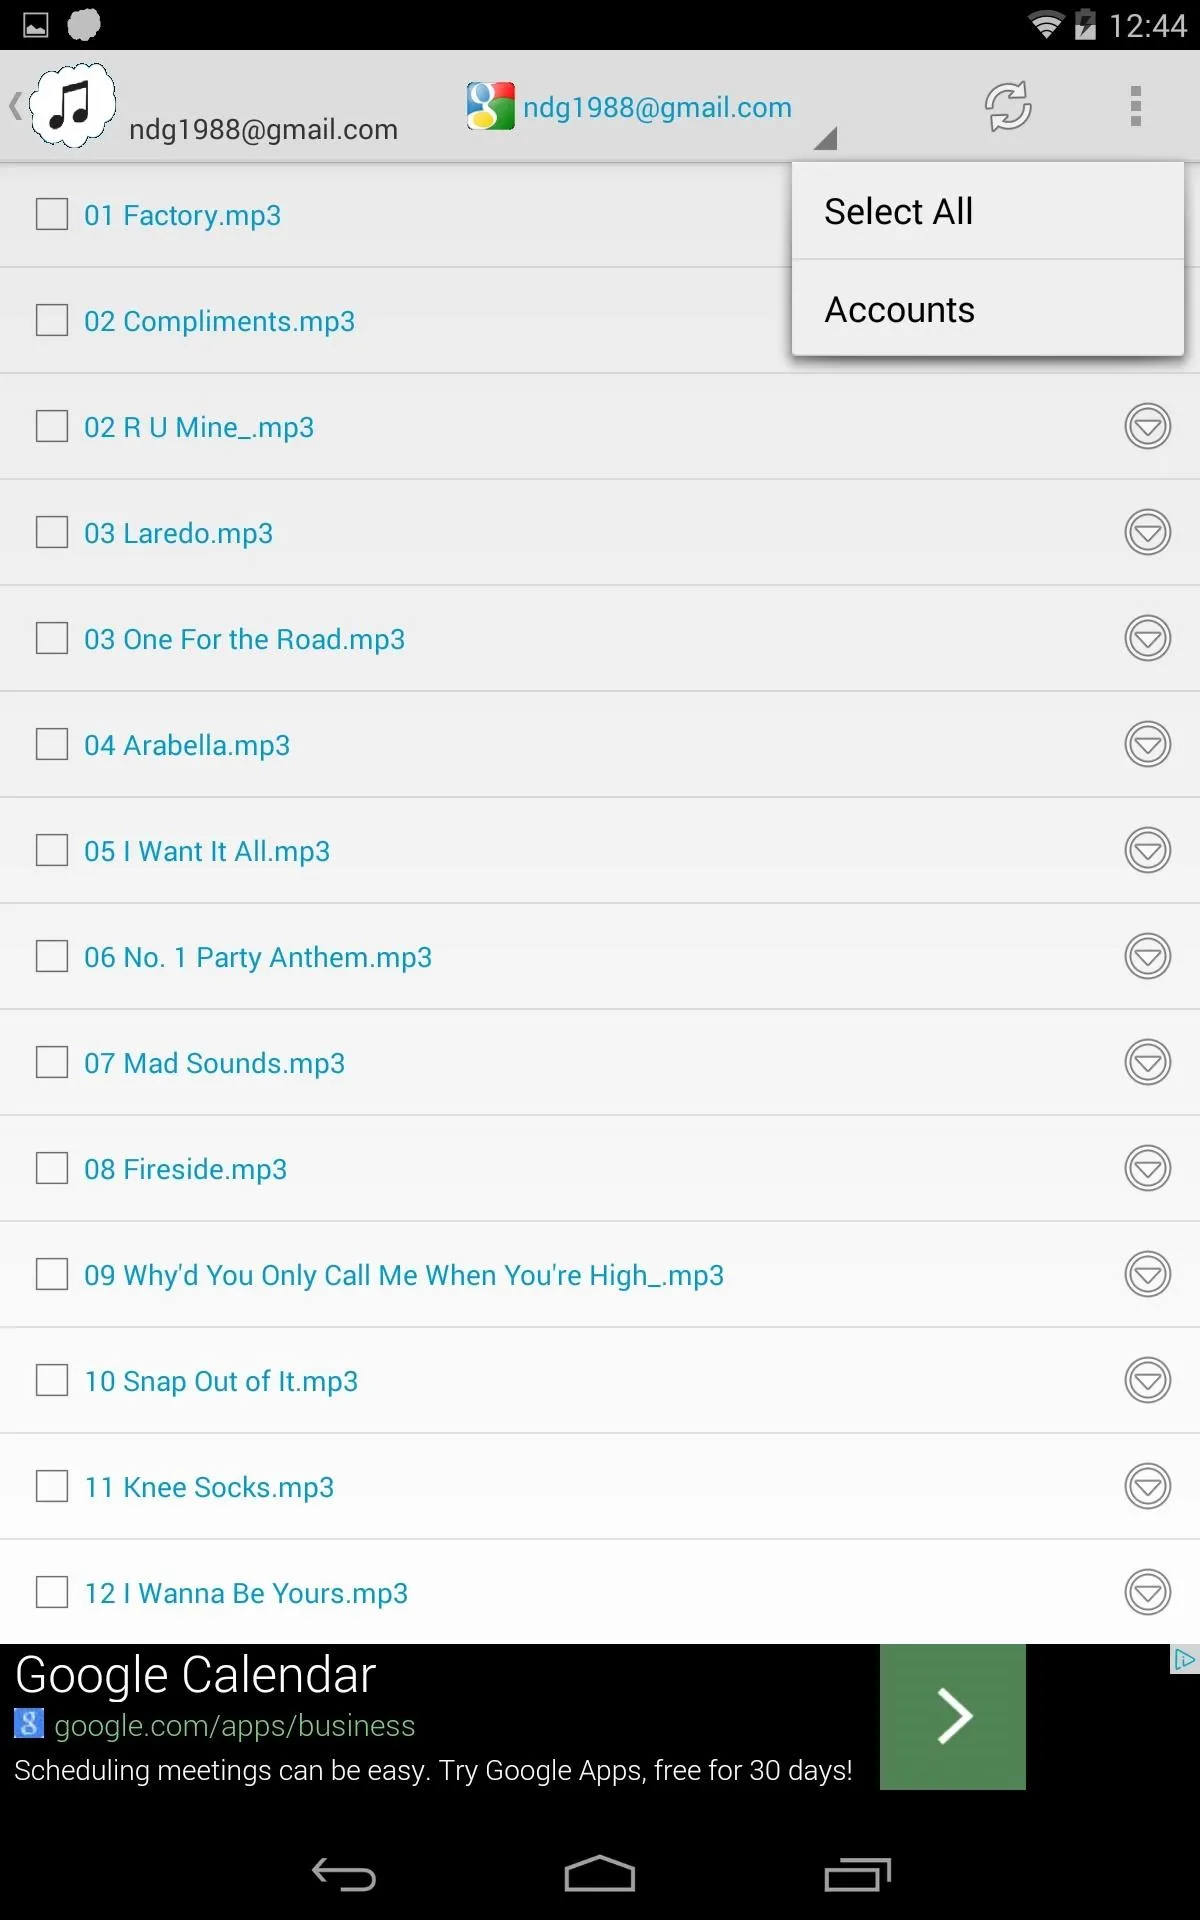
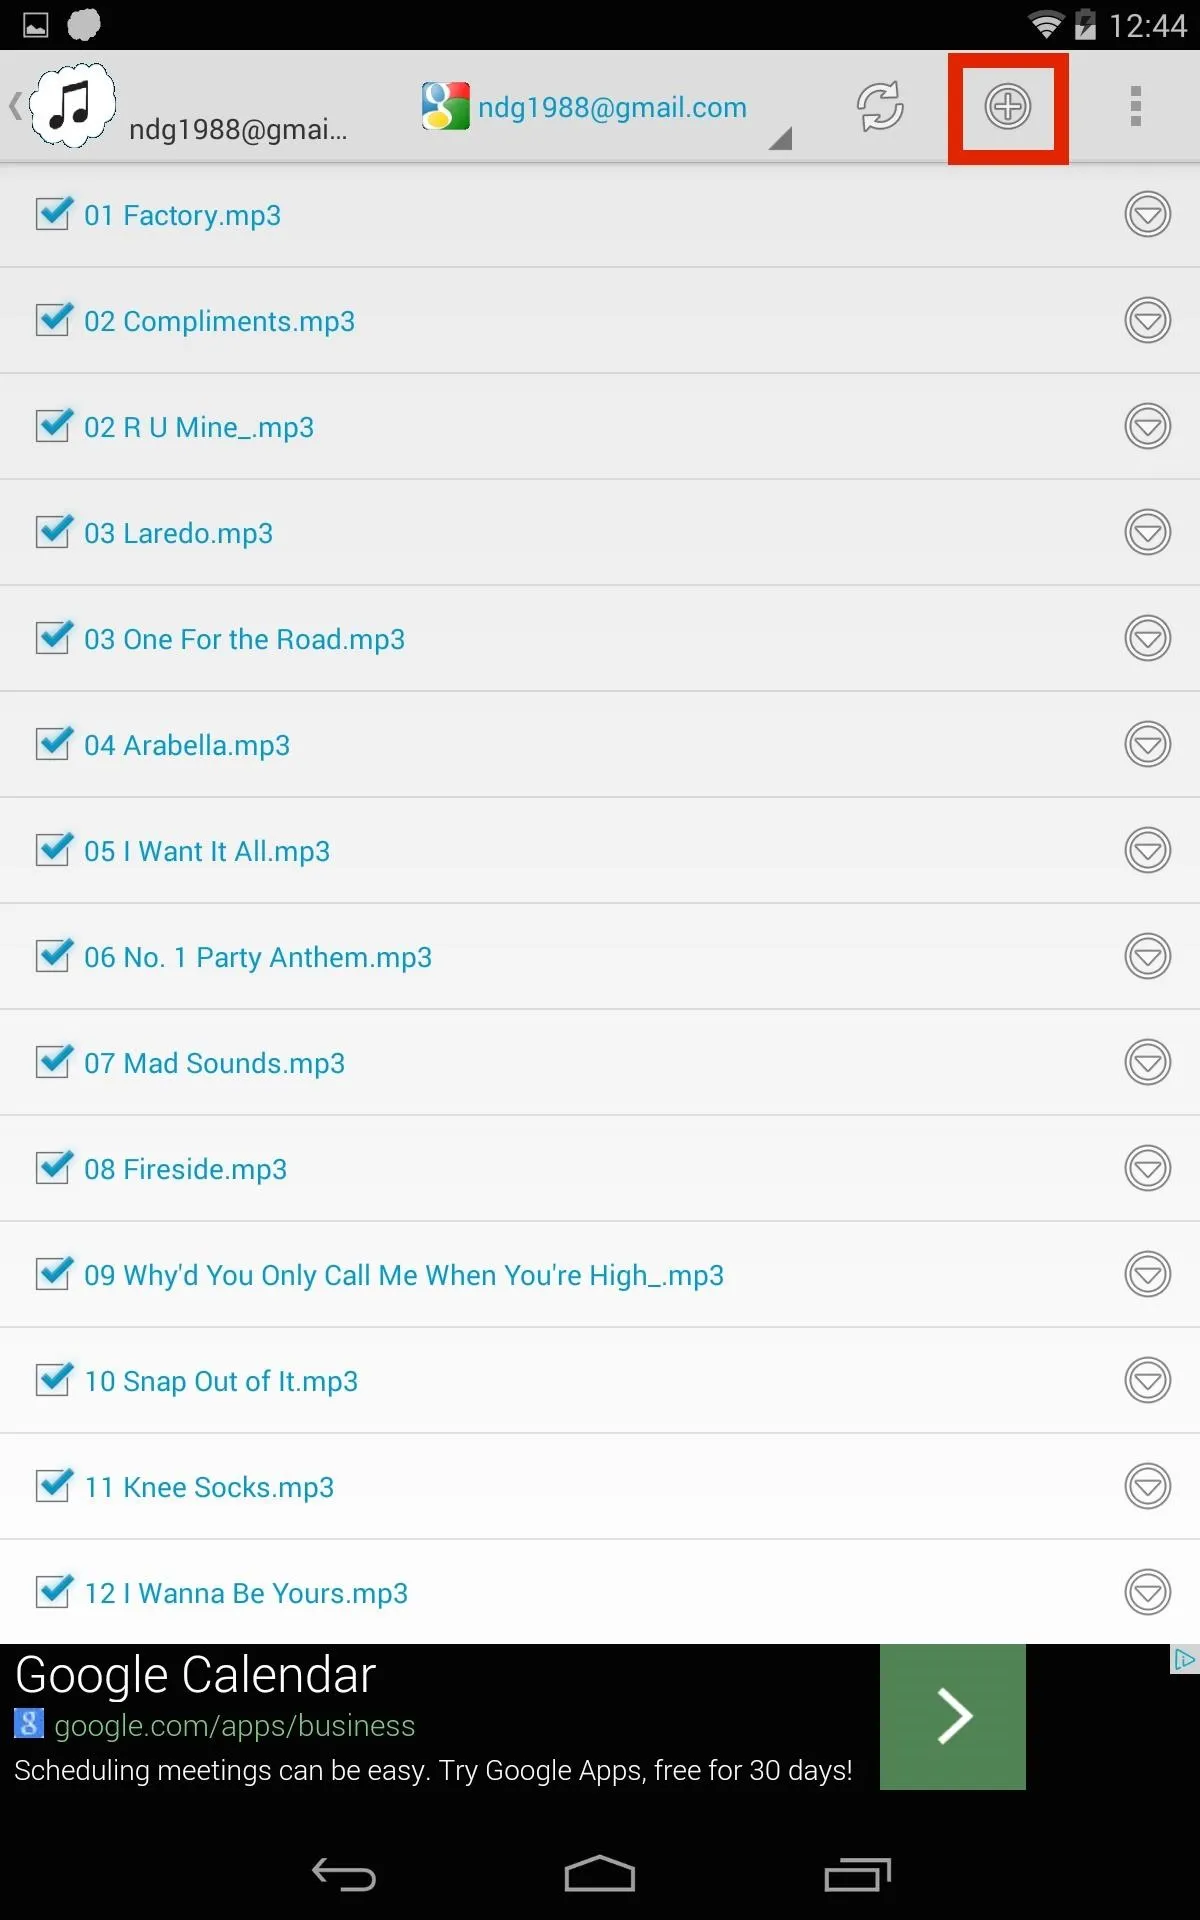


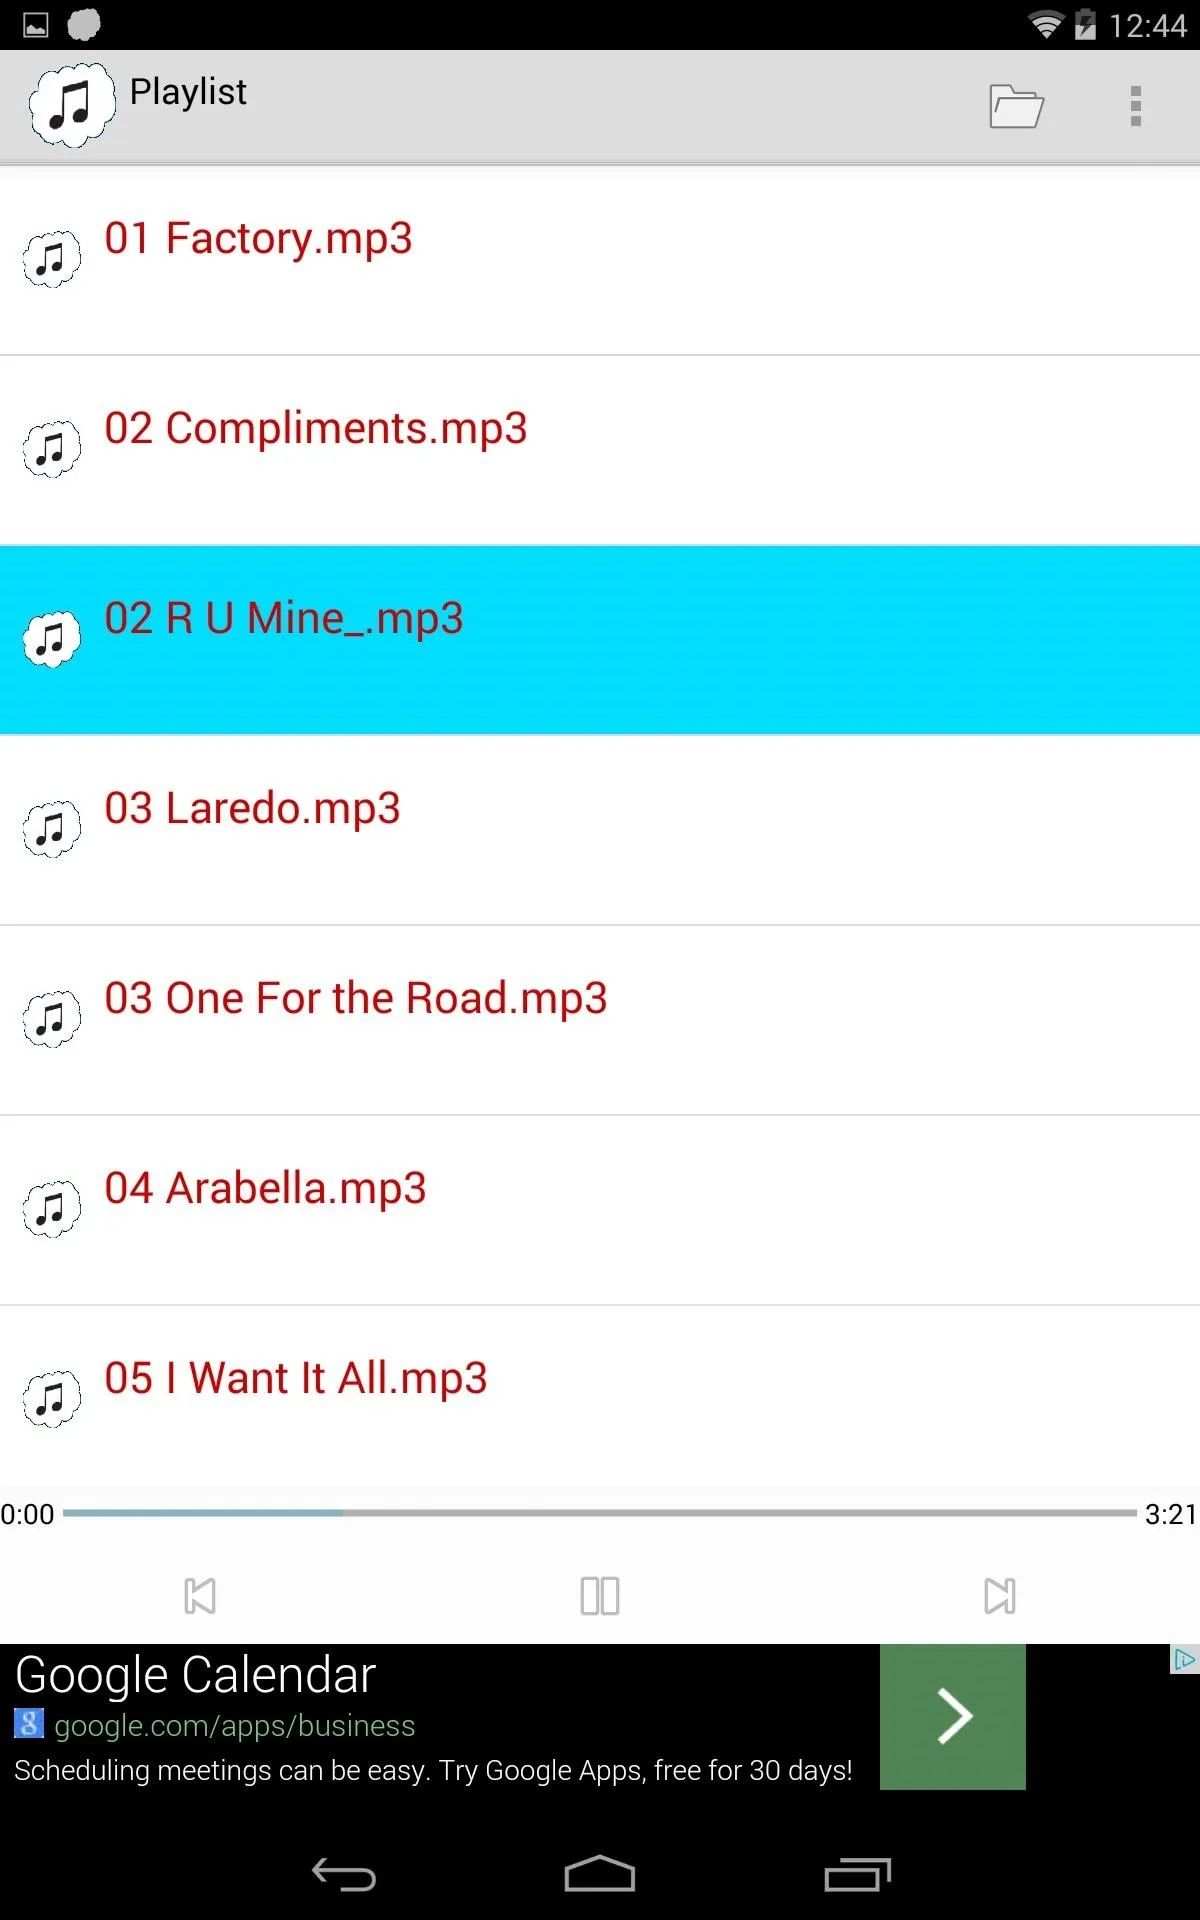
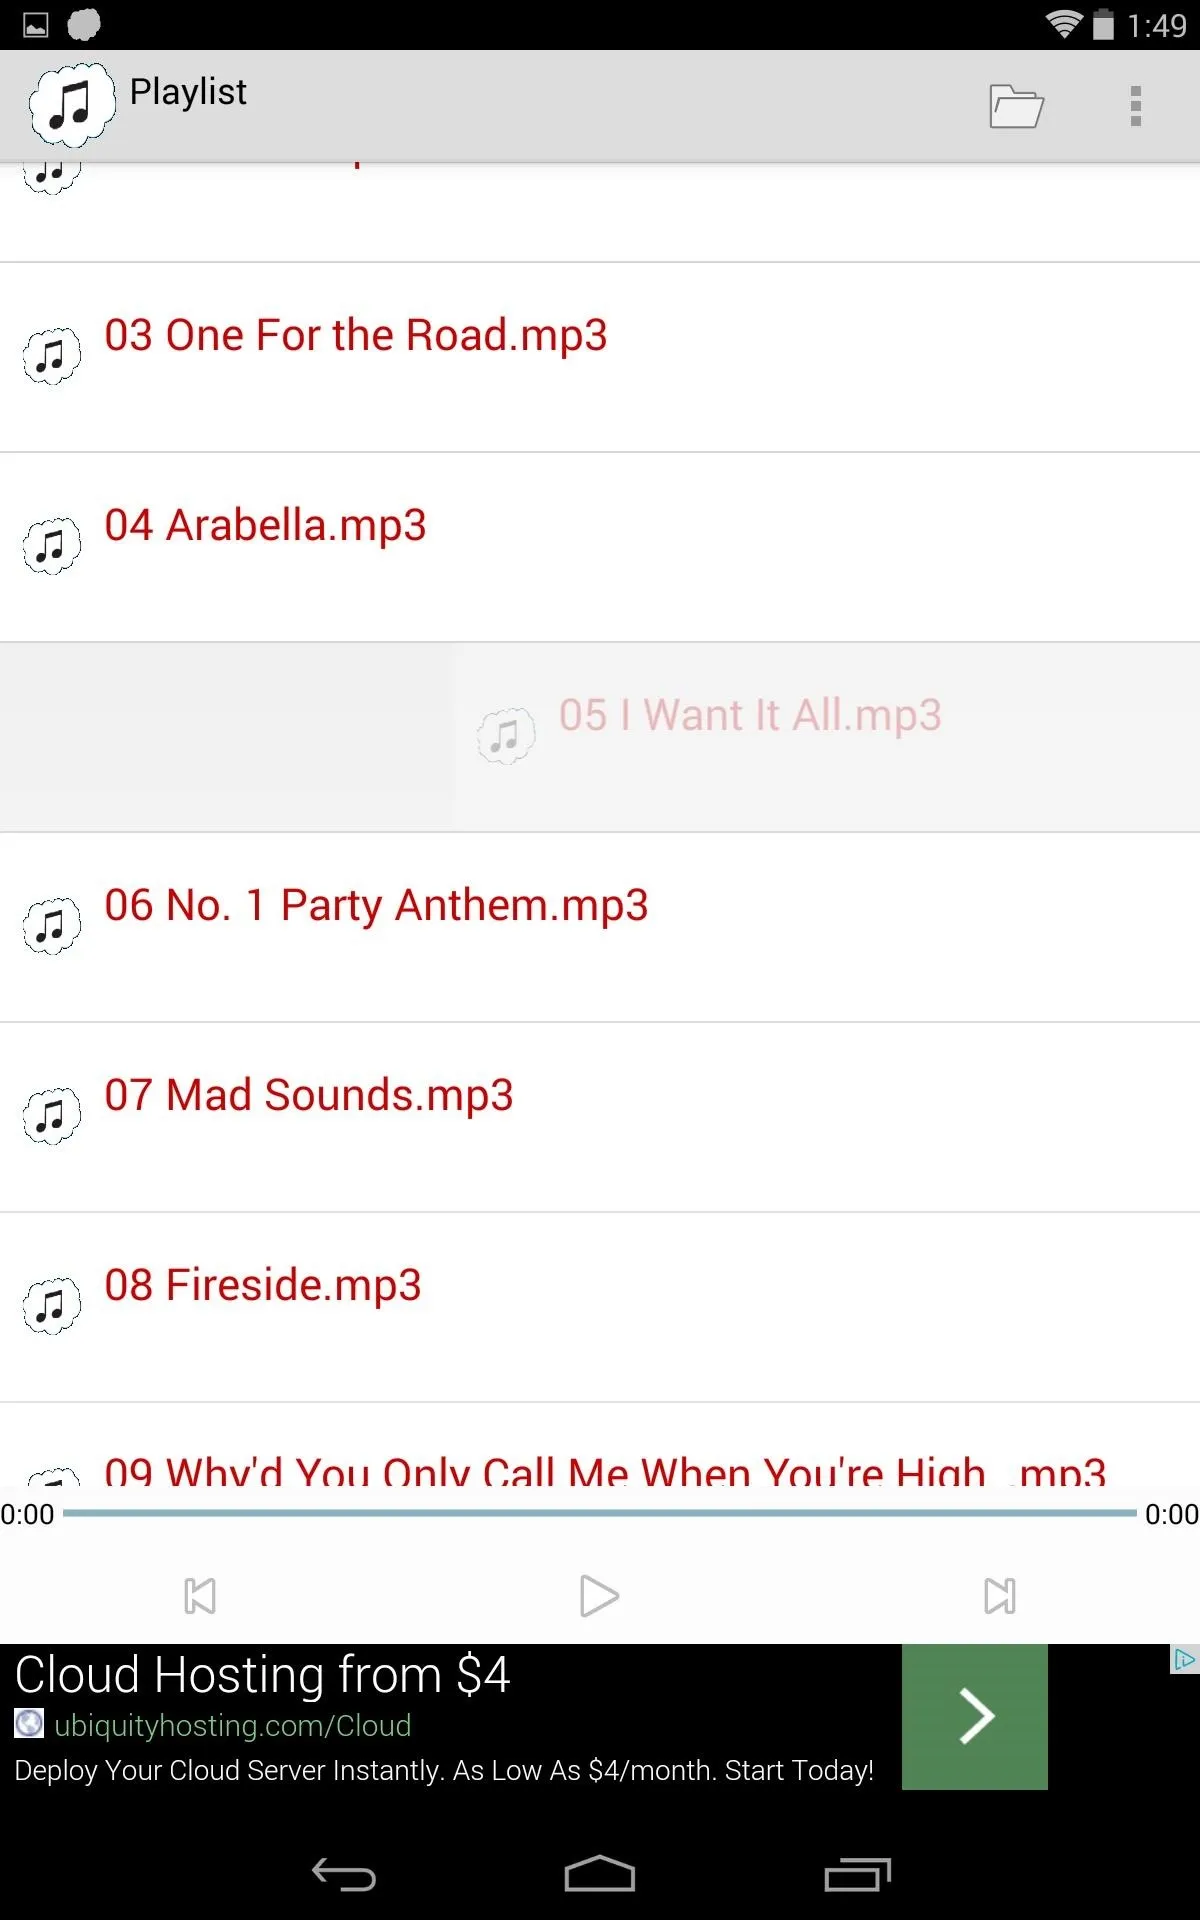
You will now be able to easily stream music directly from the cloud to your device. To remove any tracks from your playlist, just swipe them away.


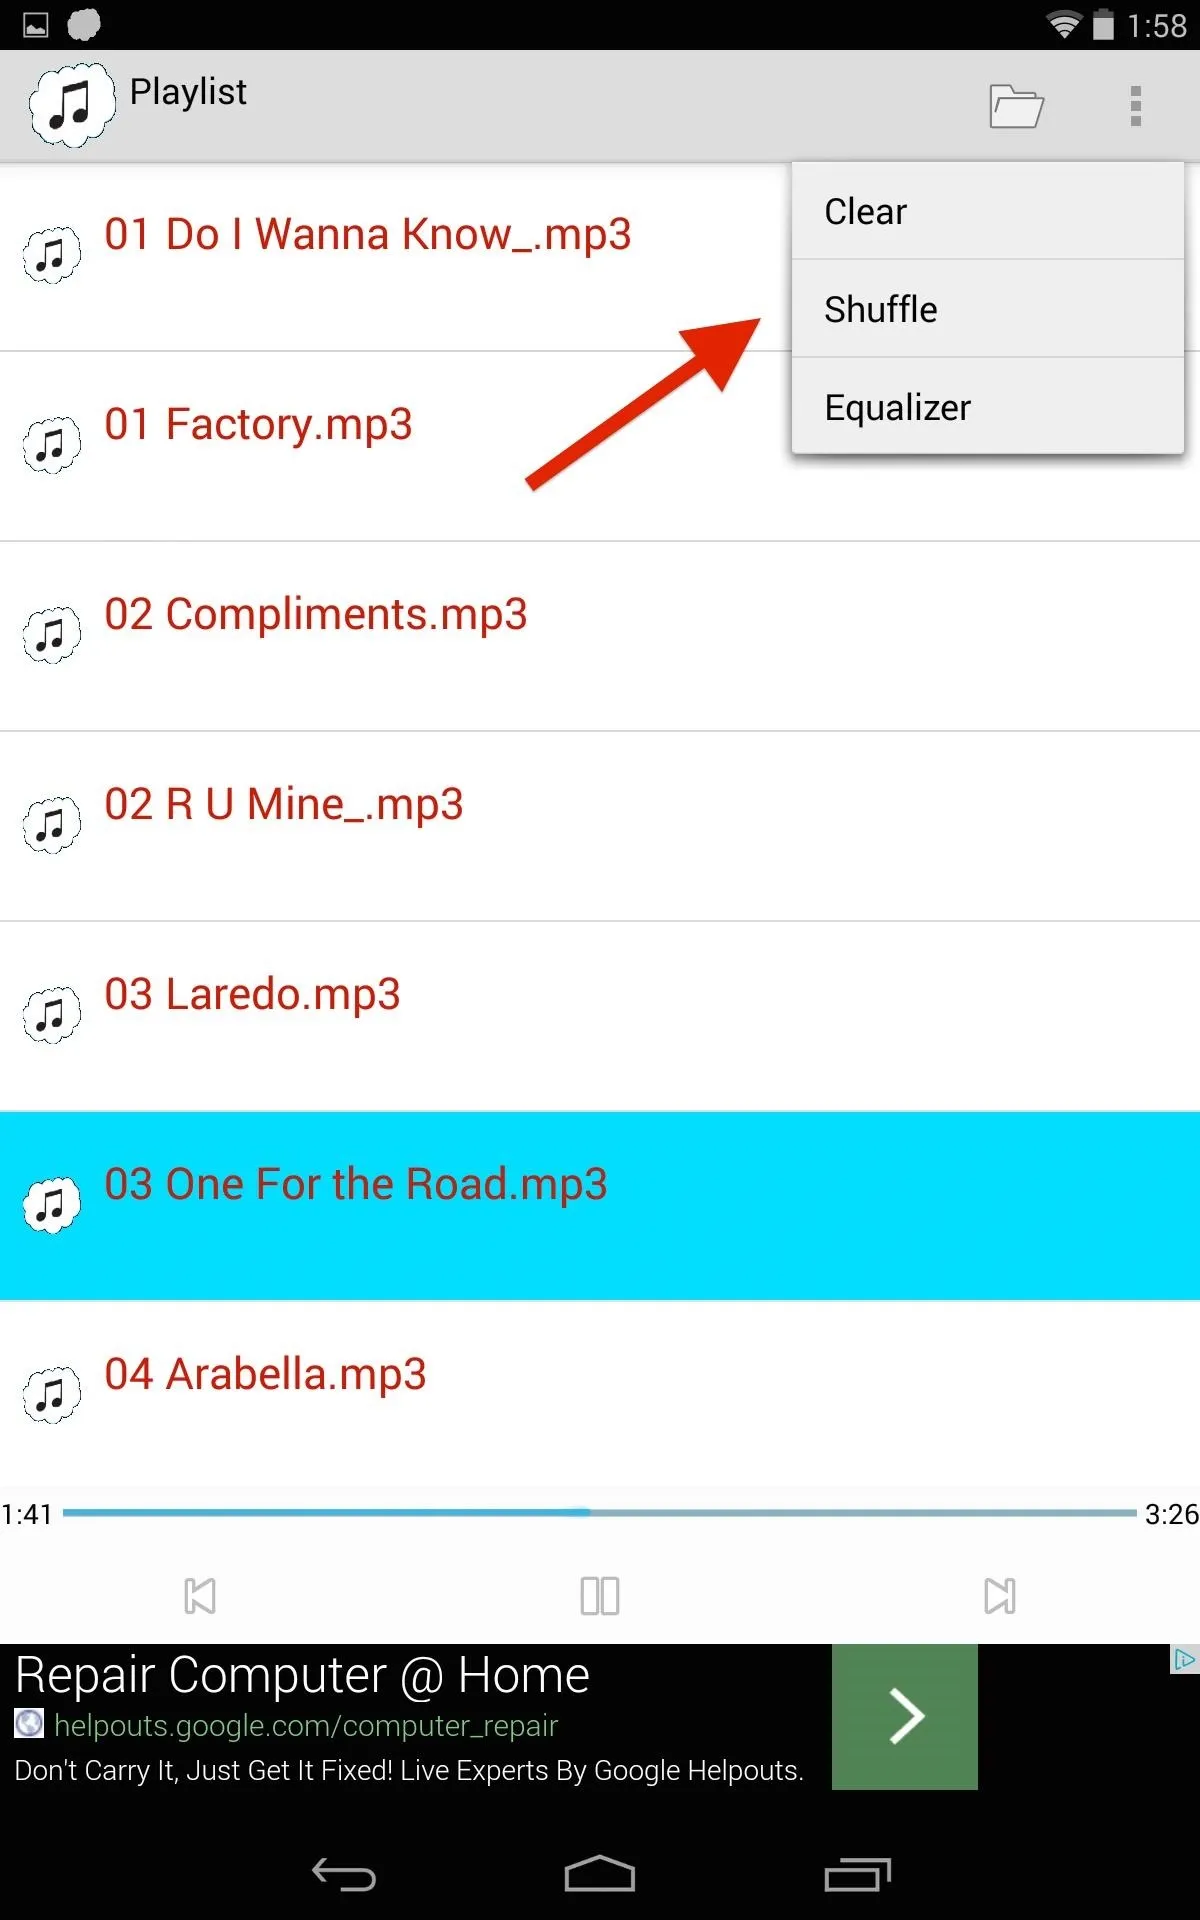
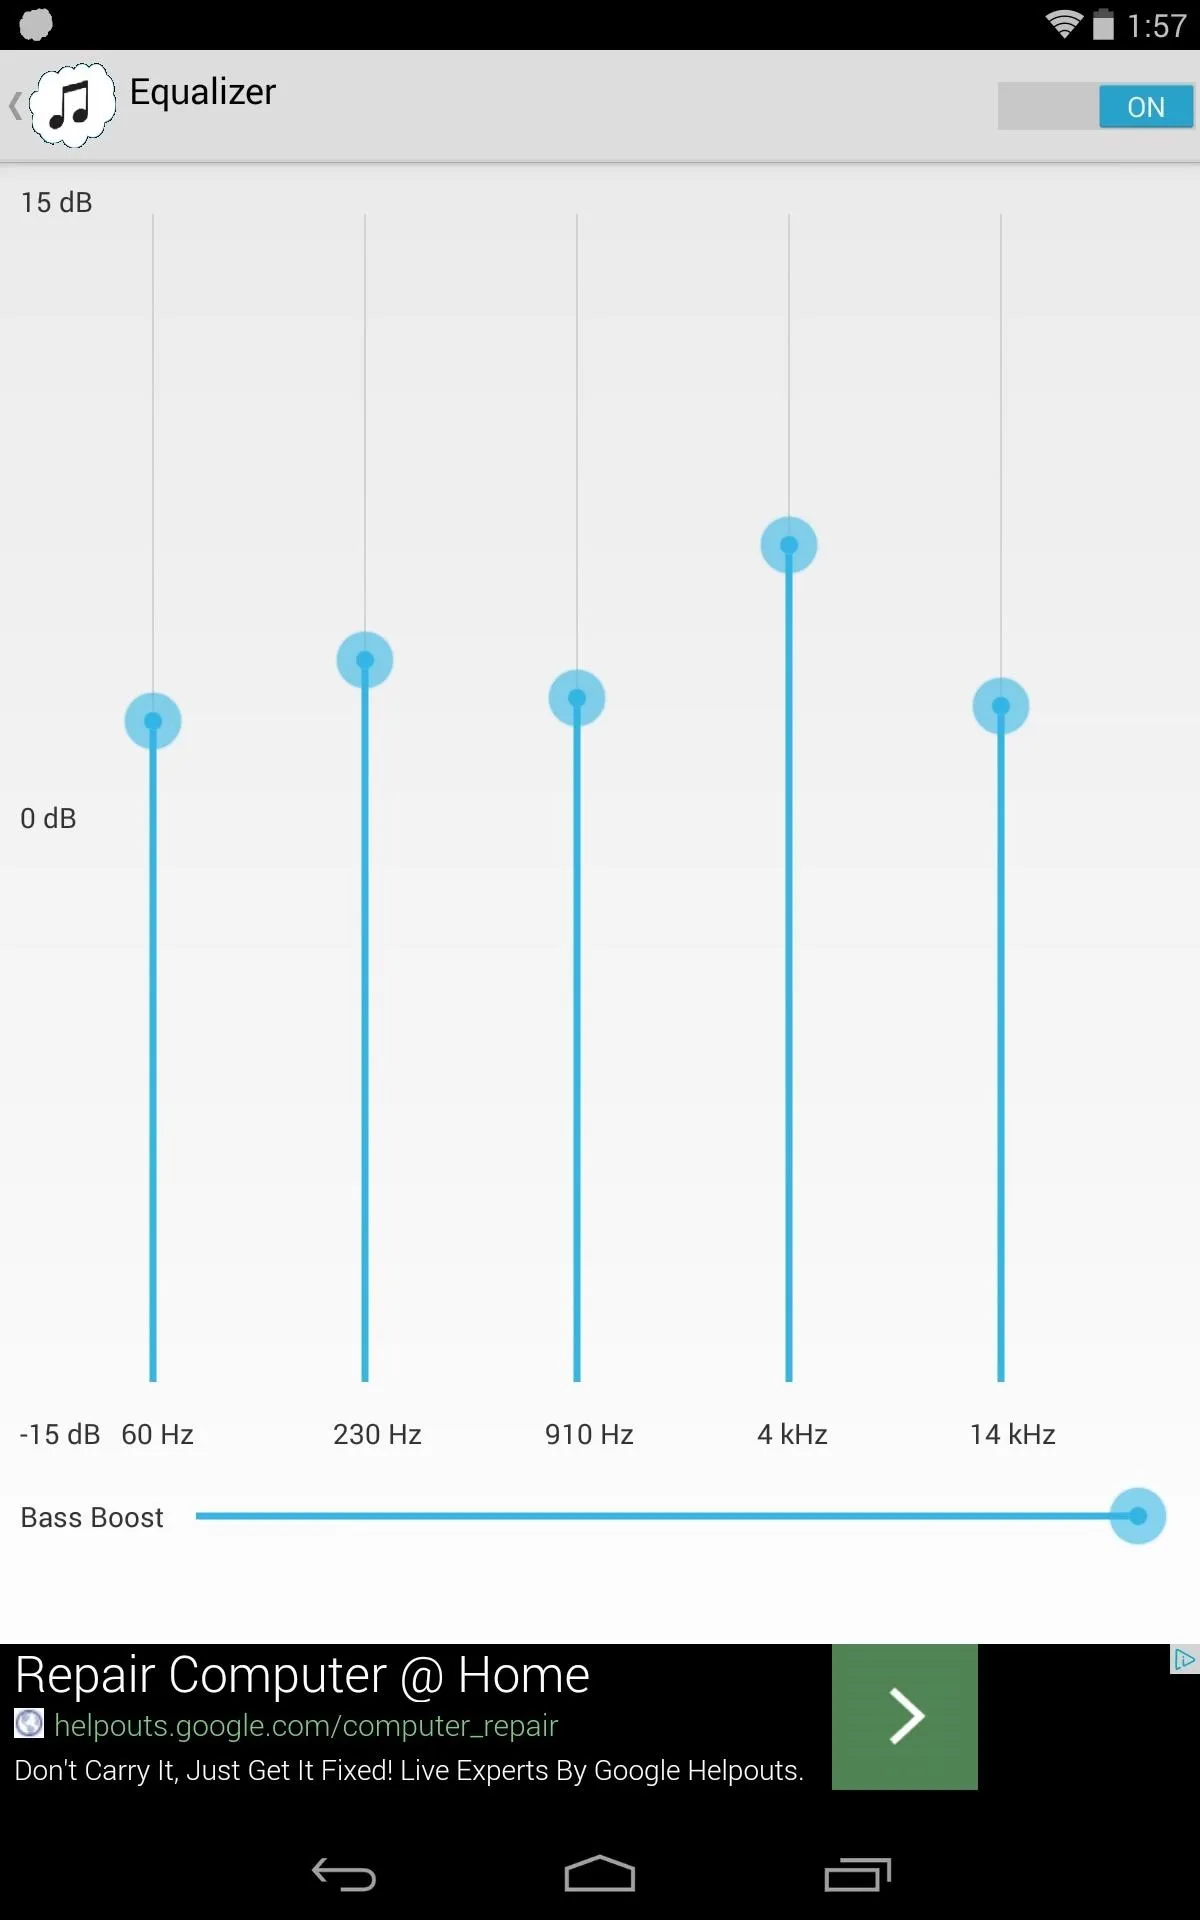
Open the menu to clear your playlist, shuffle it, or even adjust the equalizer, though it sounds better disabled.


You can grab the full version of the CloudAmpz for only a buck. With it, you get lyrics powered by ChartLyrics, album art powered by MusicBrainz and AWS, as well as Chromecast support.
It's a new app, so the interface is a little bland, but it should improve over time. And features like lock screen or notification panel music controls is one I would like to see added, so make sure to leave a comment for the dev.


Comments
No Comments Exist
Be the first, drop a comment!